Introdução
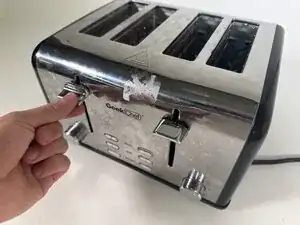
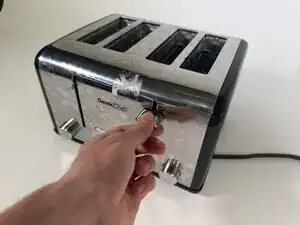
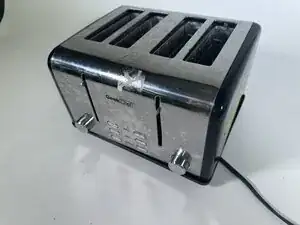
In this guide, we will be disassembling the Geek Chef 4 Slice toaster, displaying the processes needed to take apart all of the different complex pieces of the toaster design, thus showing how to get to different parts of the toaster that might need to be repaired.
Ensure that the device isn't plugged into an electrical outlet while disassembling to prevent electrocution, and make sure you're careful with the toaster, especially the internal components as they could be damaged or break completely.
Additionally, we will only be disassembling one slice-worth of one side of the toaster, but all of the steps can be replicated for all sides and slices-worth of the toaster, although the orientations may be slightly different, the pieces are the same.
-
-
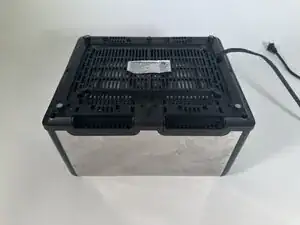
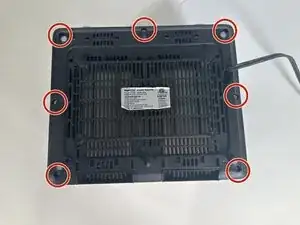
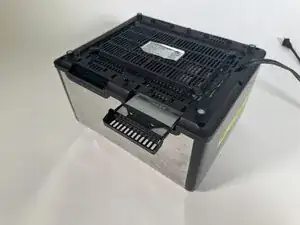
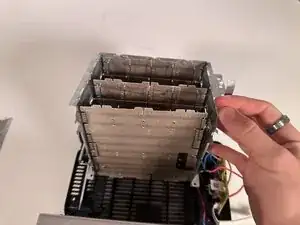
Turn the toaster upside down.
-
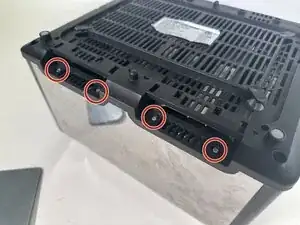
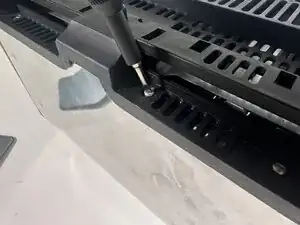
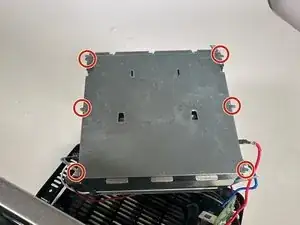
Remove the seven 10.5mm screws from the bottom panel using a Phillips #00 screwdriver.
-
-
-
Slide out the crumb pans located in the bottom of the toaster.
-
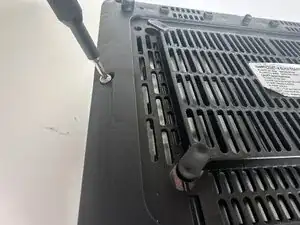
Remove the four 10 mm screws using a Triangle #2 screwdriver.
-
-
-
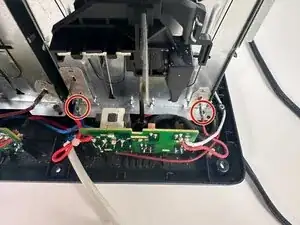
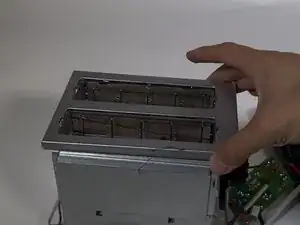
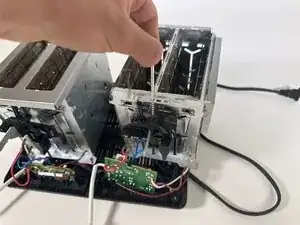
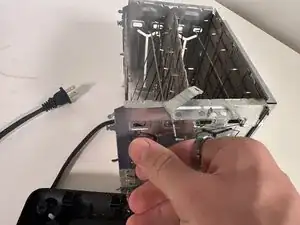
Flip the toaster right side up.
-
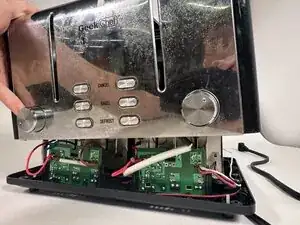
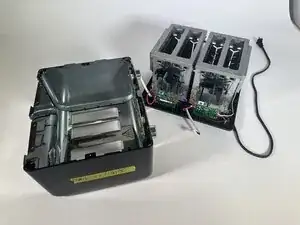
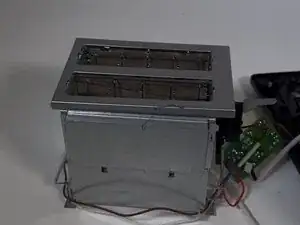
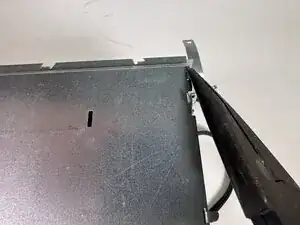
Slowly remove the encasing of the toaster.
-
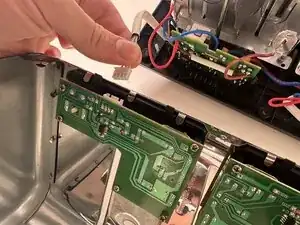
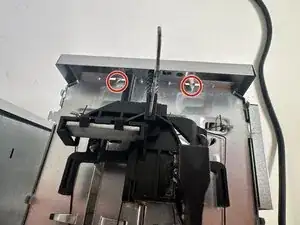
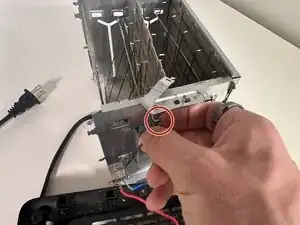
Gently remove the 4-pin connector from the circuit board attached to the encasing of the toaster.
-
-
-
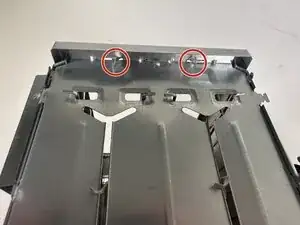
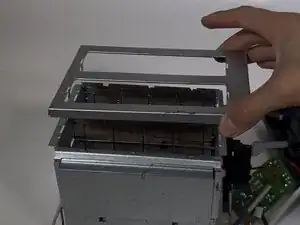
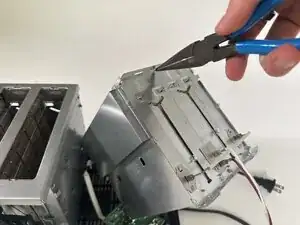
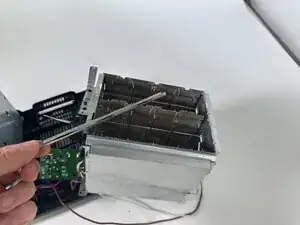
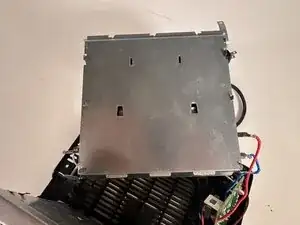
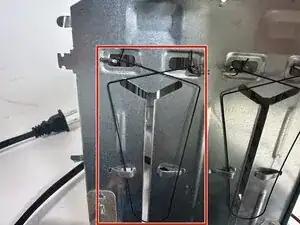
Remove the four 10 mm screws holding down one of the toasting modules using a Phillips #00 screwdriver.
-
-
-
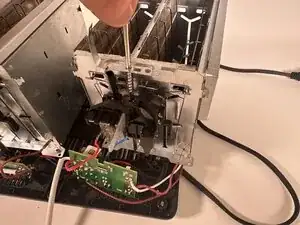
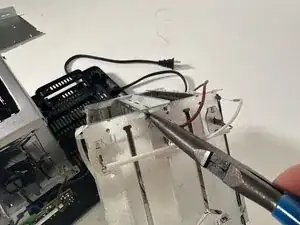
Unbend the four metal tabs that connect the cap of the toasting module to the rest of the module using pliers.
-
-
-
Unbend the small metal tab securing the larger, thin, rectangular metal sheet bent above it.
-
Bend the larger sheet so it is fully vertical.
-
-
-
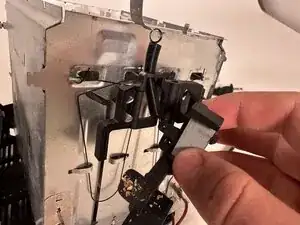
Carefully bend the two metal tabs in the front and back of the toaster that connect the middle securing metal part to the rest of the toaster.
-
Remove this securing part.
-
-
-
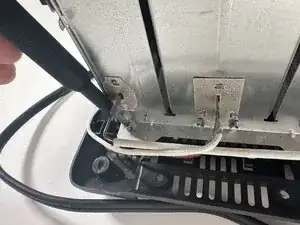
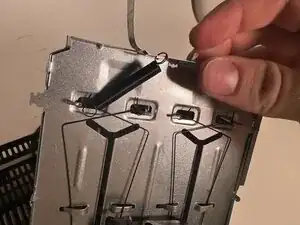
Un-loop the loose, hanging part of the lever mechanism from the black spring.
-
Un-loop the black spring from where the rod (that you just took out of the slot) used to run through.
-
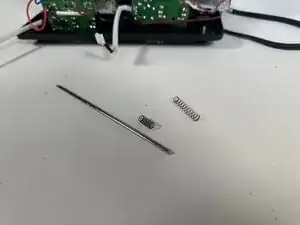
Set the spring aside.
-
-
-
Carefully bend the metal tabs at the rear of the bottom toast holders so they can fit through the slot at the back.
-
Push these two arms up so the angled arms (jutting out from the middle of each toast holder) fit through the top y-shaped cutout on the toasting body.
-
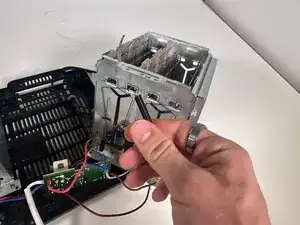
Slide out these holders by pulling the module and wiggling it by the black plastic that holds the two pieces together.
-
-
-
Bend the tabs on the outside of the toaster's side so that they can fit through the holes they are currently secured to.
-
-
-
Unbend the three metal tabs on the top of the side body so they are straight between the tabs of the interior of the toaster.
-
-
-
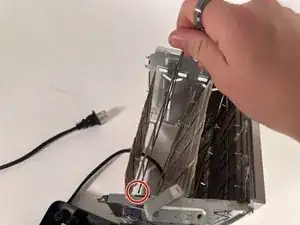
Remove the side panel slowly, watching to see if it gets caught on any interior pieces of the toaster. If so, bend these pieces so they don't rip any part of the interior foam region.
-
-
-
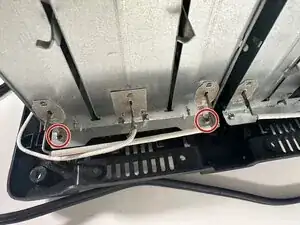
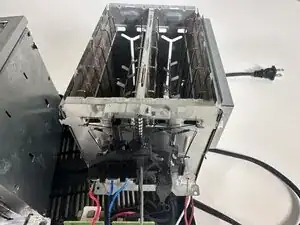
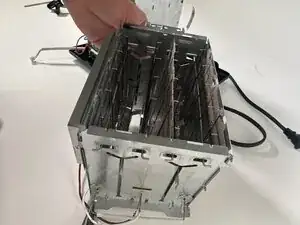
Flip the toasting body upside down.
-
Unbend all of the metal tabs on the middle bottom cover so that they fit through the holes securing the piece.
-
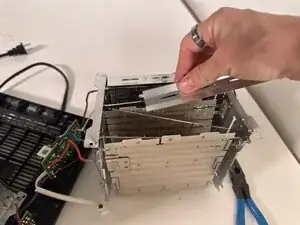
Gently remove the piece.
-
-
-
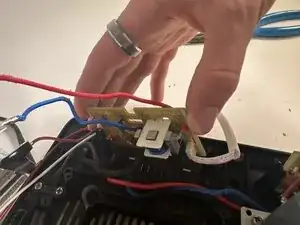
Flip the toasting body right side up.
-
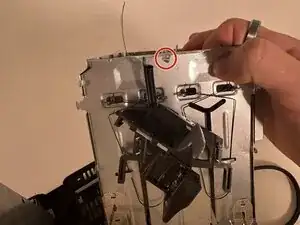
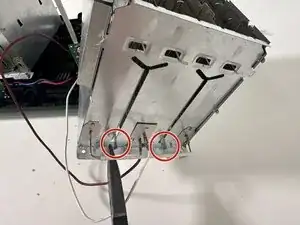
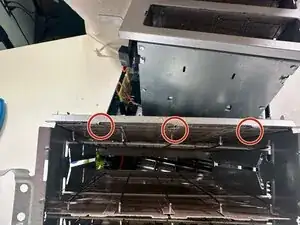
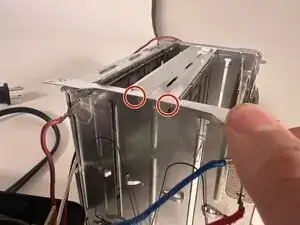
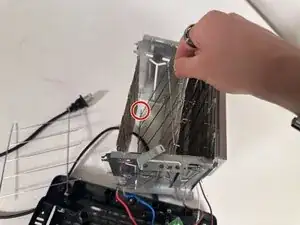
Gently remove the black spring from both small metal arms by threading the looped part surrounding the metal arm off of the small metal arm, circled in red.
-
-
-
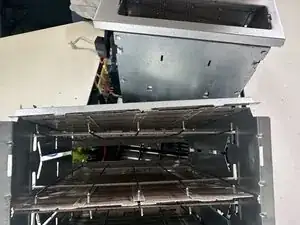
Gently remove both toast holding metal pieces.
-
This will require slightly bending the front and back of the toasting body outward to allow for the small rods, circled in red, to be released.
-
The small arms must also be maneuvered out of the holes provided to remove the toast holding metal pieces.
-


To reassemble your device, follow these instructions in reverse order.