Introdução
This guide explains how to replace the Garmin StreetPilot C330's outer casing, highlighting how crucial this repair is to the device's durability and security. The outer shell is the main line of defense against potential harms such as dust, moisture, debris, and impacts that may cause internal problems or deterioration of the appearance. Repairing the casing as soon as possible is crucial because it aids in heat dissipation and avoids more issues that could develop if the damage is ignored. The manual emphasizes that while this repair doesn't require much skill, it does require a steady hand to prevent inadvertently doing more damage. Users who wish to properly maintain the device can easily follow the repair's detailed instructions.
Ferramentas
-
-
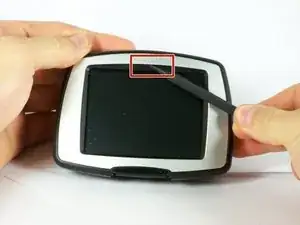
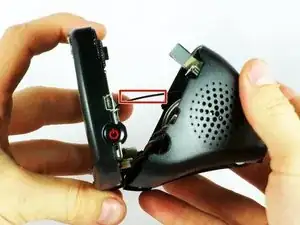
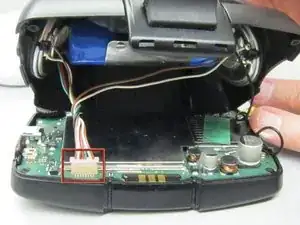
At the top of the outer frame, insert the plastic spudger into the groove in the center.
-
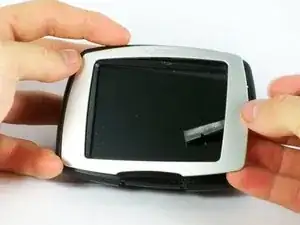
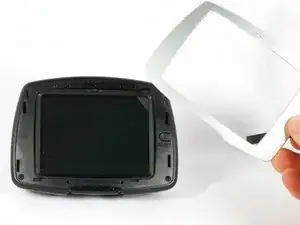
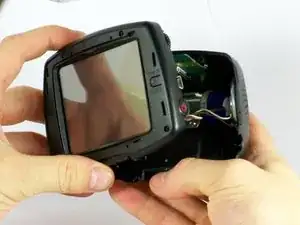
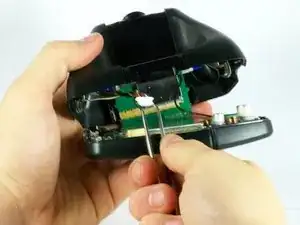
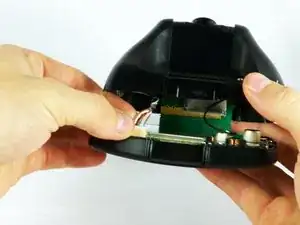
Lever the frame gently until it pops out of the case.
-
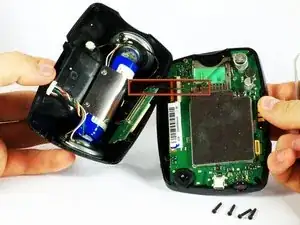
To reassemble your device, follow these instructions in reverse order.