Introdução
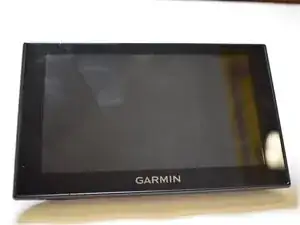
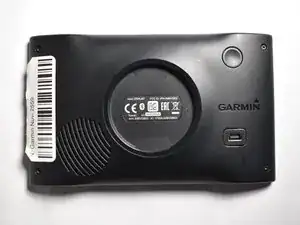
The Garmin Nuvi 2559 (also known simply as Nuvi 2559 LM in some regions) is a portable GPS navigation device used for turn-by-turn navigation. This guide shows you how to replace the touchscreen.
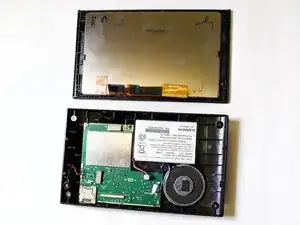
The screen, also called the digitizer + LCD assembly, is responsible for both displaying maps and receiving touch input from the user. Replacing it can restore proper touchscreen responsiveness and clear display if your device has a cracked screen, unresponsive touch, or black display. You can find relevant troubleshooting tips for these symptoms here.
Important tips and warnings:
- Take care when removing shattered glass; wear gloves to avoid injury.
- Be aware that adhesive holds the screen in place do not force the screen apart.
- Disconnect the battery before working with internal components.
- Use ESD-safe tools to prevent damage to the electronics.
- Damaged waterproofing may result if the device was previously water-exposed.
- For guidance on handling broken screens safely, see iFixit Safety Tips.
This guide will walk you step-by-step through safely opening the Garmin Nuvi 2559, removing the old screen, and installing a new one.
Ferramentas
-
-
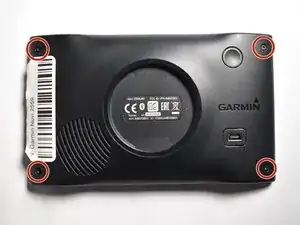
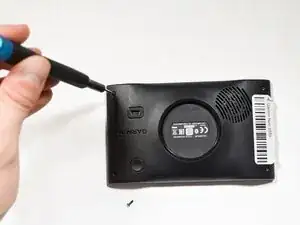
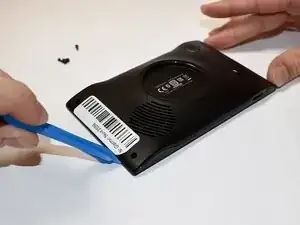
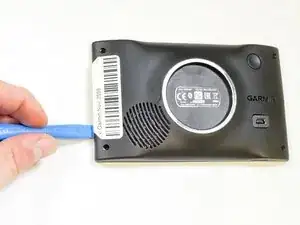
Insert an opening tool into the seam between the front and back halves of the device.
-
Gently slide the tool along the edges to release the internal clips.
-
Work slowly around the entire perimeter to avoid breaking the plastic tabs.
-
-
-
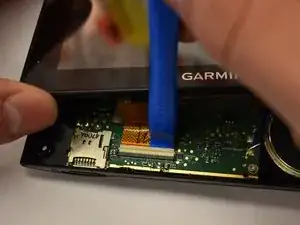
Use an opening tool to gently pry the ribbon cable from its connector.
-
Once the plastic frame is fully released, carefully separate it from the motherboard and set it aside.
-

To reassemble your device, follow these instructions in reverse order.