
Introdução
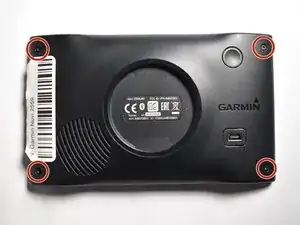
The Garmin Nuvi 2559 (also known as Nuvi 2559 LM) is a portable GPS navigation device. This guide shows how to replace the power button on the device.
The power button controls the device’s ability to turn on and off. Over time, the button may become unresponsive, stuck, or physically damaged, preventing proper operation. Replacing the power button restores normal functionality. Troubleshooting tips for power-related issues can be found here.
Important tips and warnings:
- Disconnect the battery before removing internal components to avoid short circuits.
- Use ESD-safe tools to prevent damage to internal electronics.
- Work carefully around ribbon cables and connectors.
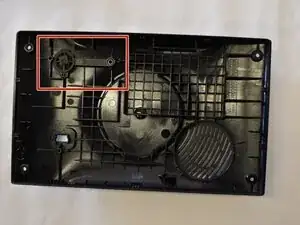
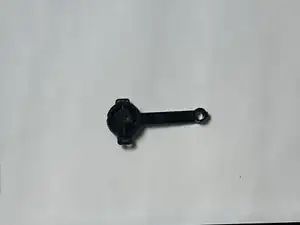
- Take note of button orientation during disassembly for proper reinstallation.
- If your battery is swollen, remove it first to avoid injury.
This guide will walk you step-by-step through opening the Garmin Nuvi 2559, removing the damaged power button, and installing a replacement.
Ferramentas
-
-
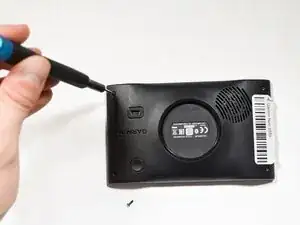
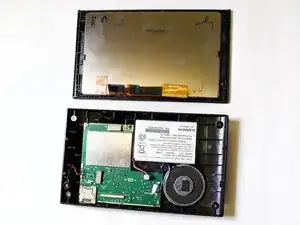
Insert an opening tool into the seam between the front and back halves of the device.
-
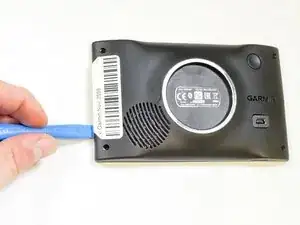
Gently slide the tool along the edges to release the internal clips.
-
Work slowly around the entire perimeter to avoid breaking the plastic tabs.
-
-
-
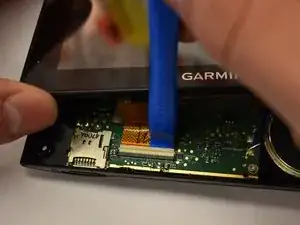
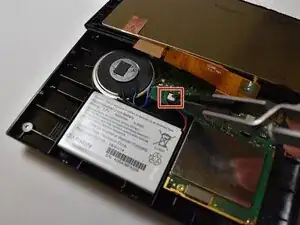
Use an opening tool to gently pry the ribbon cable from its connector.
-
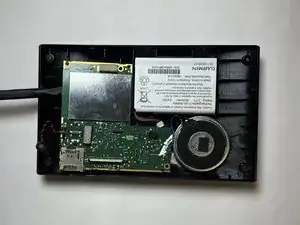
Once the plastic frame is fully released, carefully separate it from the motherboard and set it aside.
-
-
-
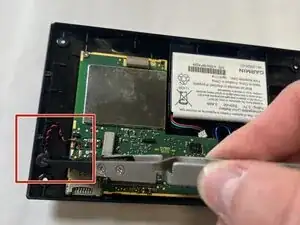
Remove the last component keeping the motherboard connected to the backplate by pulling upwards with the tweezers.
-


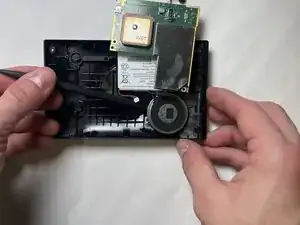

To reassemble your device, follow these instructions in reverse order.