Introdução
If your battery on the Garmin Nuvi 1450 needs replacement due to it possibly being degraded, deep discharged, or having exceeded its cycle count, use this guide to help you replace it.
The battery is a crucial part of this device; it allows it to function without a direct power outlet, as well as powers the internal components. It is crucial to maintain the battery for the device to work efficiently and effectively.
Before using this guide, ensure that you have tried turning it on and checking the battery status, or try charging it by connecting it to a power source.
Before you begin, make sure the device is completely turned off and there is no power source connected to the battery. Be sure to have the new replacement battery available to you before taking apart the device.
Ferramentas
-
-
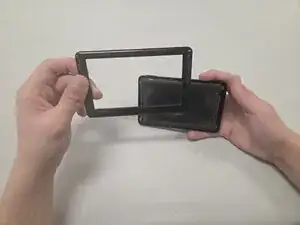
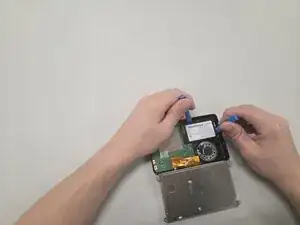
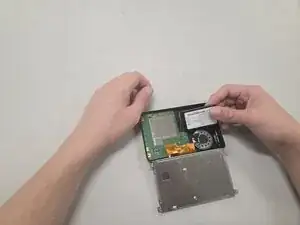
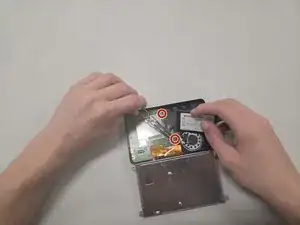
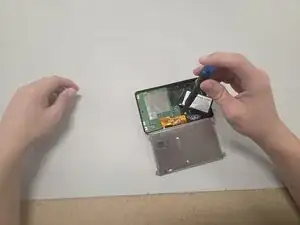
Remove the battery slowly by using an opening tool to pry the underside of the battery, and use another opening tool as leverage to lift the battery slowly. After some time, you should have the battery free from the frame.
-
-
-
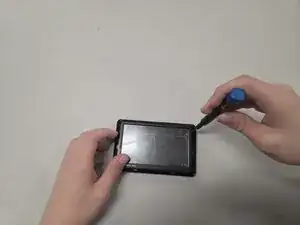
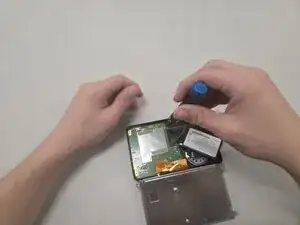
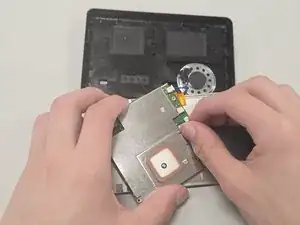
Remove the tape covering the two 3.25 mm-long screws on the motherboard using your hands or Tweezers.
-
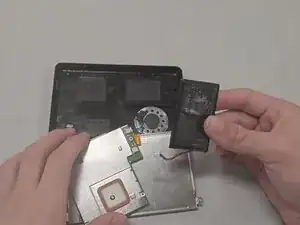
Remove the two 3.2 mm-long screws with a T4 Torx screwdriver.
-


To reassemble your device, follow the above steps in reverse order.
For optimal performance, after completing this guide, calibrate your newly installed battery.
Take your e-waste to an R2 or e-Stewards certified recycler.
Repair didn’t go as planned? Try some basic troubleshooting or ask our Answers community for help.