Introdução
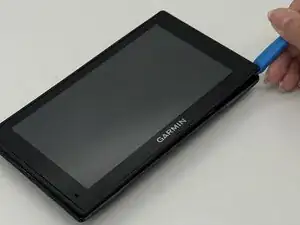
In this guide, we’ll walk you through the steps to replace the LCD screen on your Garmin DriveSmart 60 LMT. Over time, the display may become cracked, unresponsive, or show distorted images due to impact, water damage, or internal failure. Replacing the LCD screen can restore the device’s full functionality and visibility, saving you the cost of buying a new unit. Before you begin, make sure you have all the necessary tools and replacement parts on hand. You’ll need precision screwdrivers, plastic prying tools, tweezers, and a new compatible LCD assembly. It’s also a good idea to wear an anti-static wrist strap to prevent damage to the device’s internal components.Take care not to use metal tools near the screen or circuit board to avoid scratching or shorting components. If your device has been exposed to moisture or the display shows no image at all.
Ferramentas
-
-
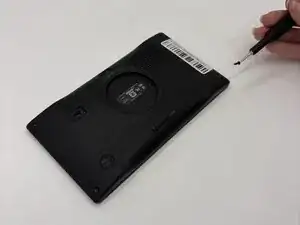
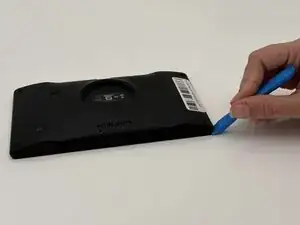
Insert a plastic opening tool into the seam between the rear case and chassis.
-
Pry around the perimeter until the rear case fully releases.
-
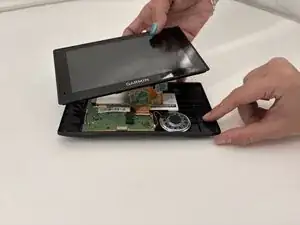
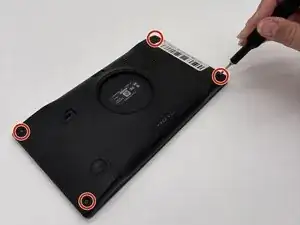
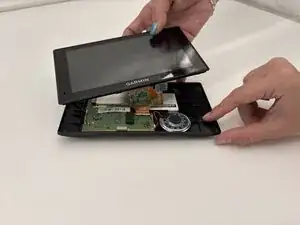
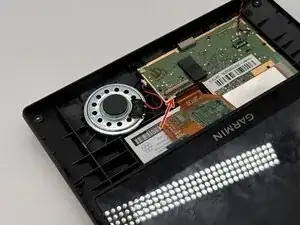
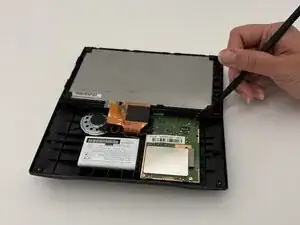
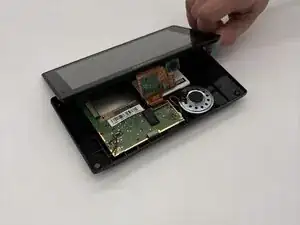
Remove the rear case.
-
-
-
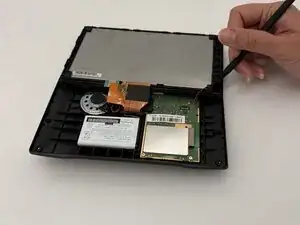
Use a spudger to gently disconnect the black and red wires (ZIF connector) from the socket on the screen assembly. Take care not to pull on the wires or damage the connector.
-
-
-
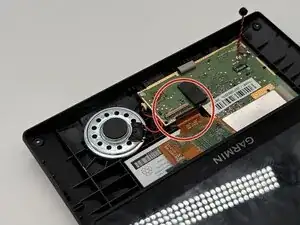
Gently lift the white clamp to release the ZIF Connector, which is the orange ribbon cable, and carefully unsnap it from the connector.
-
-
-
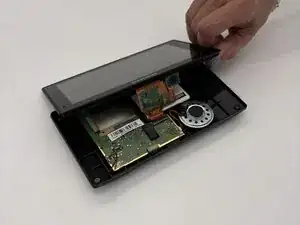
Using a plastic spudger, gently disconnect the black and red wires (ZIF connector) from the socket on the screen assembly. Take care not to pull on the wires or damage the connector.
-
-
-
Gently lift the white clamp to release the ZIF Connector, which is the orange ribbon cable, and carefully unsnap it from the connector.
-
-
-
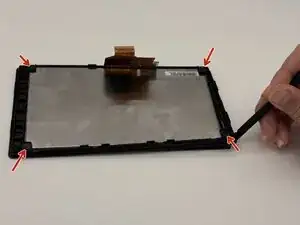
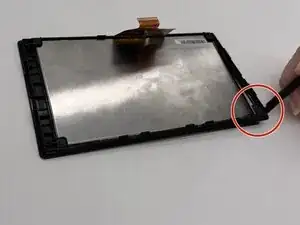
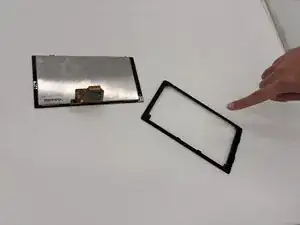
Carefully unsnap the frame surrounding the LCD screen using a spudger tool. Remove the four brackets located in each corner of the back of the screen. Gently flip the screen over and use the spudger tool to pry it open from the front, taking care not to crack or bend the screen.
-
To reassemble your Garmin DriveSmart 60 LMT, simply follow the steps in reverse order. Make sure all connections are secure and components are properly aligned before powering on your device.