Introdução
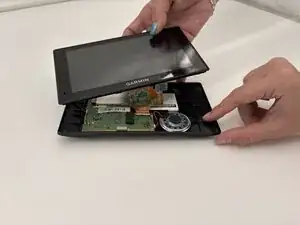
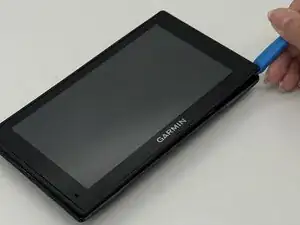
Replacing the rear case on the Garmin Drive 60 LMT is a straightforward repair that can resolve issues caused by cracks, warped housing, or loose internal pressure on components such as the battery and display connectors. The rear case not only protects the internal electronics but also helps keep the screen assembly, motherboard, and battery properly seated. If the device has been dropped, the back cover is damaged, or the screen has stopped responding due to internal misalignment, replacing the rear case is an effective first step. This guide will walk you through safely removing the old housing and installing a new one to restore proper fit and function.
Ferramentas
-
-
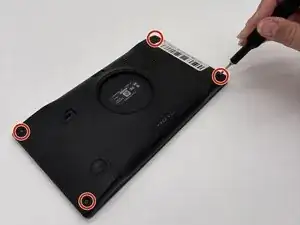
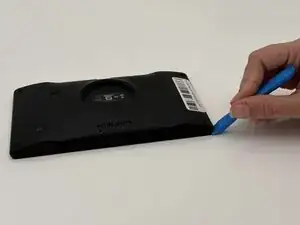
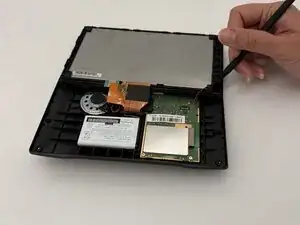
Insert a plastic opening tool into the seam between the rear case and chassis.
-
Pry around the perimeter until the rear case fully releases.
-
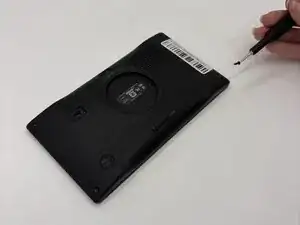
Remove the rear case.
-
-
-
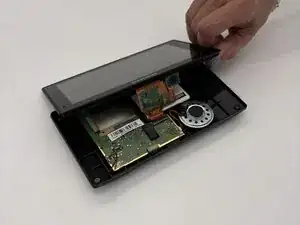
Use a spudger to gently disconnect the black and red wires (ZIF connector) from the socket on the screen assembly. Take care not to pull on the wires or damage the connector.
-
-
-
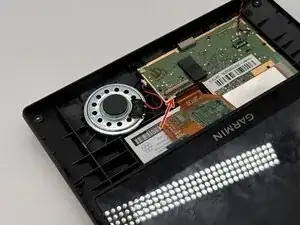
Gently lift the white clamp to release the ZIF Connector, which is the orange ribbon cable, and carefully unsnap it from the connector.
-

To reassemble your device, follow these instructions in reverse order.