Introdução
In this Guide Page, we will show you how to replace the Motherboard in your Garmin DriveSmart 60 LMT when the device experiences power issues, freezing, or completely fails to start. The Motherboard is the main circuit board that controls the GPS's functions, so any damage to it can cause the device to stop working entirely. Before you begin, please make sure you have the right tools, and a wide and clean workspace. Follow each step carefully to remove the old Motherboard and install the new one for a successful repair.
Ferramentas
-
-
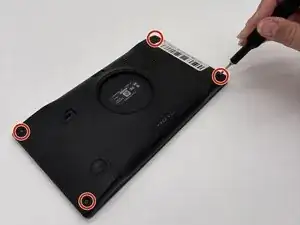
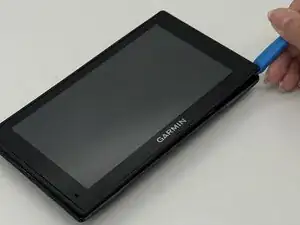
Insert a plastic opening tool into the seam between the rear case and chassis.
-
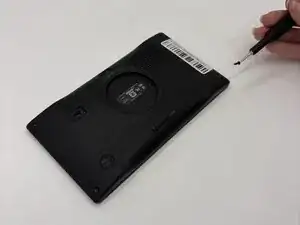
Pry around the perimeter until the rear case fully releases.
-
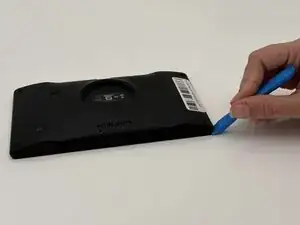
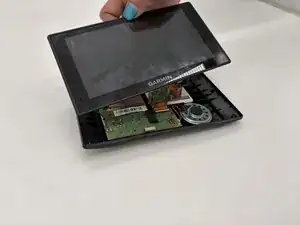
Remove the rear case.
-
-
-
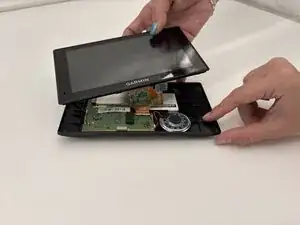
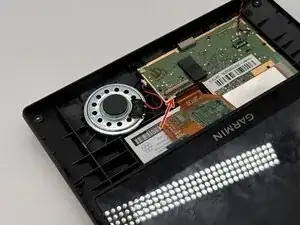
Use a spudger to gently disconnect the black and red wires (ZIF connector) from the socket on the screen assembly. Take care not to pull on the wires or damage the connector.
-
-
-
Gently lift the white clamp to release the ZIF Connector, which is the orange ribbon cable, and carefully unsnap it from the connector.
-
-
-
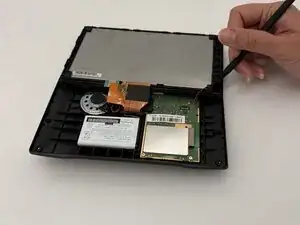
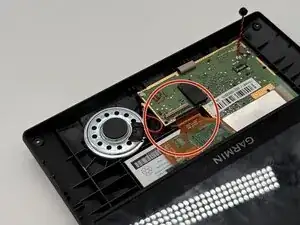
Using a plastic spudger, gently disconnect the black and red wires (ZIF connector) from the socket on the screen assembly. Take care not to pull on the wires or damage the connector.
-
-
-
Gently lift the white clamp to release the orange ribbon cable and carefully unsnap it from the connector.
-
-
-
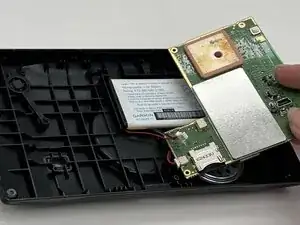
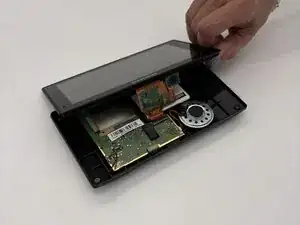
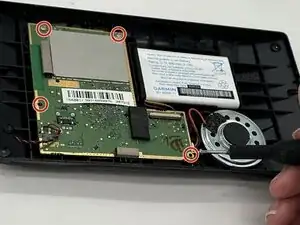
Remove the four 5 mm Phillips screws that secure the motherboard.
-
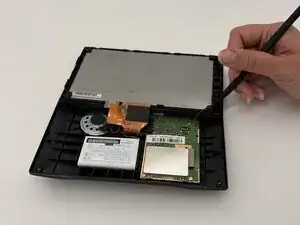
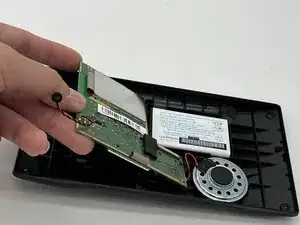
Gently lift the motherboard; take care not to strain the connected battery.
-
-
-
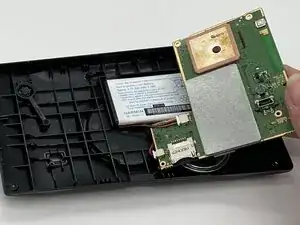
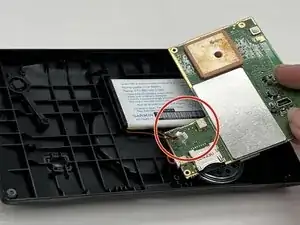
Flip the motherboard over towards the right and then gently disconnect the 2 sets of wires out of the battery.
-

To reassemble your device, follow the above steps in reverse order.
Take your e-waste to an R2 or e-Stewards certified recycler.
Repair didn’t go as planned? Try some basic troubleshooting or ask our Answers community for help.