Introdução
Over time, the internal battery in your Garmin DriveSmart 60 LMT can lose its ability to hold a charge, leading to shorter run times or requiring constant connection to a power source. Replacing the battery can restore the device’s portability and reliability. In this guide, you’ll learn how to safely remove the old battery and install a new one. Before you begin, make sure you have a clean, well-lit workspace and the necessary tools, such as a plastic spudger, small screwdriver set, and replacement battery. Use care when handling internal connectors and cables to avoid damage during the process.
Ferramentas
-
-
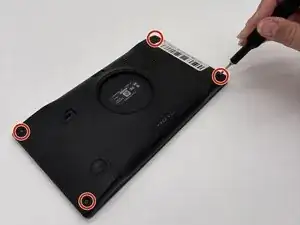
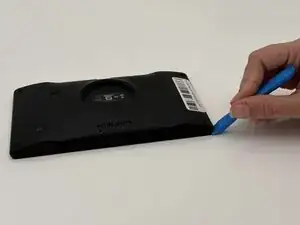
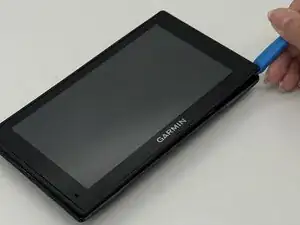
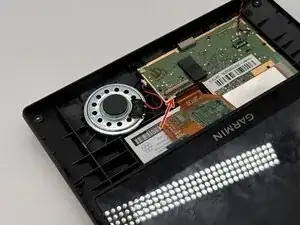
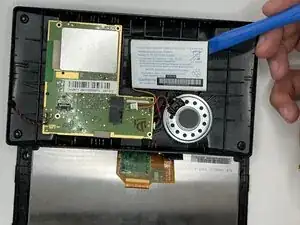
Insert a plastic opening tool into the seam between the rear case and chassis.
-
Pry around the perimeter until the rear case fully releases.
-
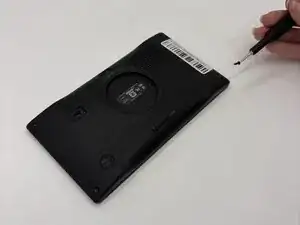
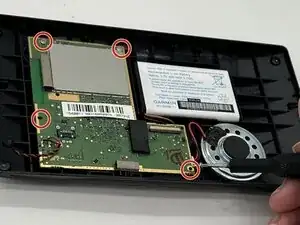
Remove the rear case.
-
-
-
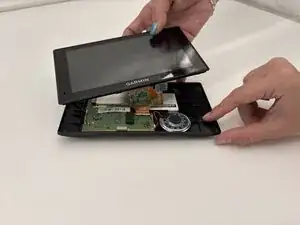
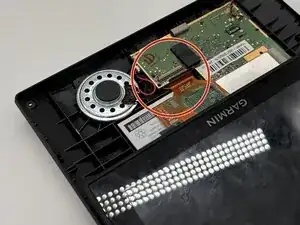
Use a spudger to gently disconnect the black and red wires (ZIF connector) from the socket on the screen assembly. Take care not to pull on the wires or damage the connector.
-
-
-
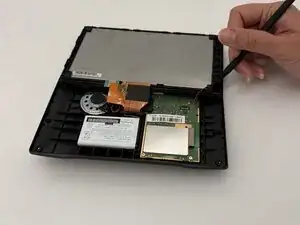
Gently lift the white clamp to release the ZIF Connector, which is the orange ribbon cable, and carefully unsnap it from the connector.
-
-
-
Using a plastic spudger, gently disconnect the black and red wires (ZIF connector) from the socket on the screen assembly. Take care not to pull on the wires or damage the connector.
-
-
-
Gently lift the white clamp to release the ZIF Connector, which is the orange ribbon cable, and carefully unsnap it from the connector.
-
-
-
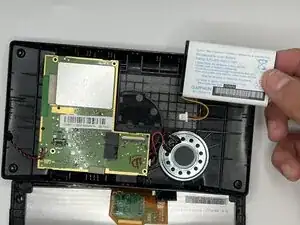
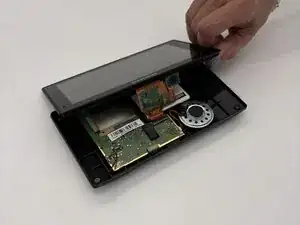
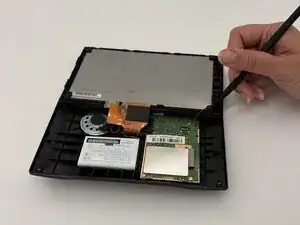
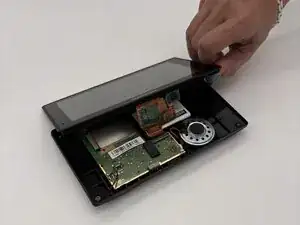
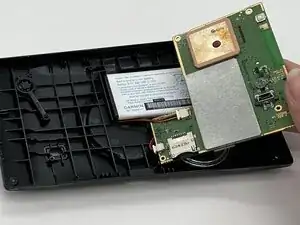
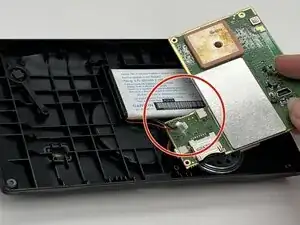
Flip the motherboard over towards the right and then gently disconnect the battery connector.
-
-
-
Place an opening tool under one corner of the battery and slowly lift the battery component out of the device.
-


To reassemble your device, follow the above steps in reverse order.
For optimal performance, after completing this guide, calibrate your newly installed battery.
Take your e-waste to an R2 or e-Stewards certified recycler.
Repair didn’t go as planned? Try some basic troubleshooting or ask our Answers community for help.