Introdução
If your Garmin Drive 61 LM device is freezing or refusing to power on, utilize this guide to help replace the screen to get back to navigating.
Should the device suddenly freeze or refuse to power on, a symptom of these technical issues may lie with a malfunctioning screen that needs to be replaced.
Before utilizing this device guide, ensure the technical difficulties your Garmin Drive 61 LM is facing aligns with the symptoms for a faulty screen on the troubleshooting page: Garmin Drive 61 LM Freezing
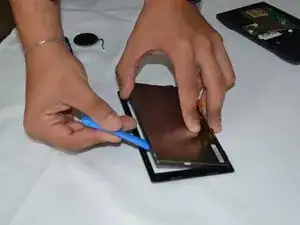
Before beginning to replace the screen, ensure you have all of the correct tools and replacement parts. you will need a T5 screwdriver and a pry tool for taking apart the device. Replacement parts for the screen include a 6.1-inch color touchscreen (LCD + digitizer). If you have a 6.1-inch color touchscreen with dual orientation instead, that is sufficient enough.
Ferramentas
-
-
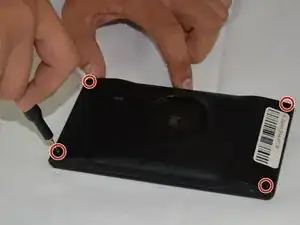
Place the device screen side down with the back screws facing up towards the ceiling.
-
Remove the four T5 Torx screws on the rear case.
-
-
-
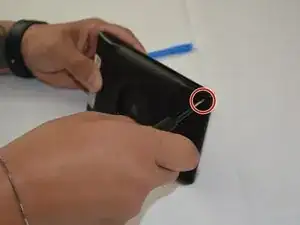
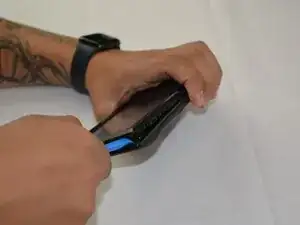
Insert an opening tool into the seam between the rear case and screen.
-
Pry around the perimeter.
-
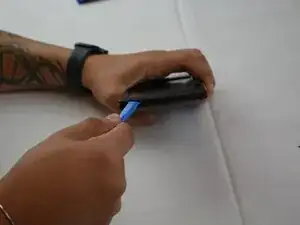
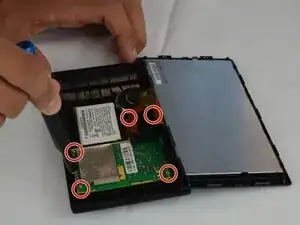
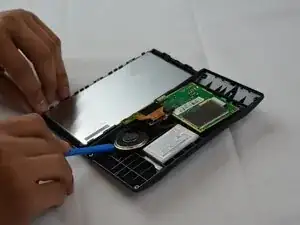
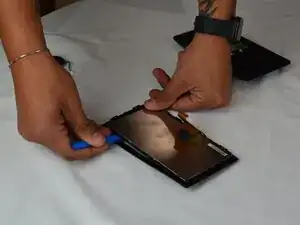
Pull the rear case and screen apart, with care not to strain the attached ribbon cable.
-
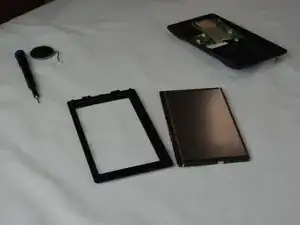
Set the screen next to the rear case.
-
-
-
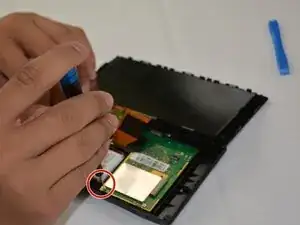
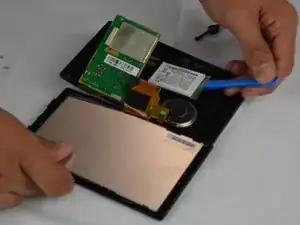
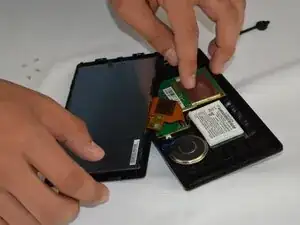
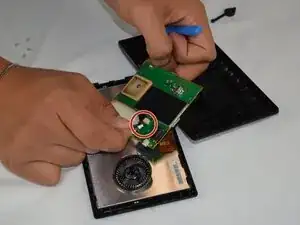
Flip the motherboard upside down and use your fingernails to disconnect the battery connector.
-
-
-
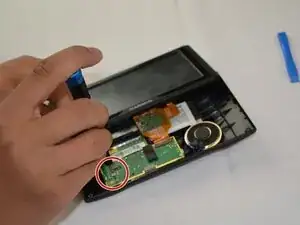
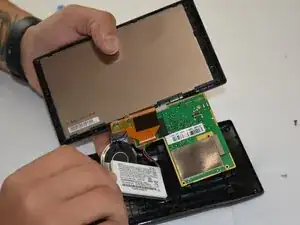
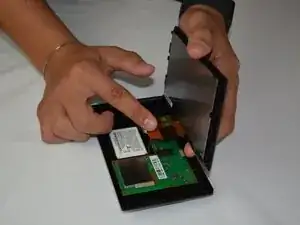
Disconnect the screen ribbon cable.
-
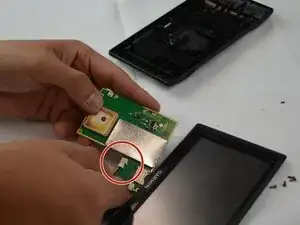
Use an opening tool to gently separate the screen from frame.
-


To reassemble your device, follow the above steps in reverse order.
Take your e-waste to an R2 or e-Stewards certified recycler.
Repair didn’t go as planned? Try some basic troubleshooting or ask our Answers community for help.