Introdução
If your screen is flickering, damaged, or faulty in you Garmin Drive 50 LM, the screen could need replacing. Before going for a full replacement, it is possible that the cord connecting to the motherboard is loose. Please follow these steps and check if said cord is loose before buying a new screen for your device. Remember to always power off the device, and make sure it's not connected before taking the device apart. Make sure that when taking the device apart, to not misplace any pieces because all the pieces will be needed to connect the device back. With the Garmin Drive 50 LM, you can have it download the latest map and software update for your device.
By following this guide and taking the necessary precaution to fix the part, you will be able to successfully replace the screen of the Garmin Drive 50LM.
Ferramentas
-
-
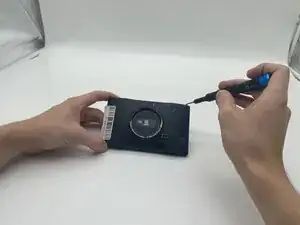
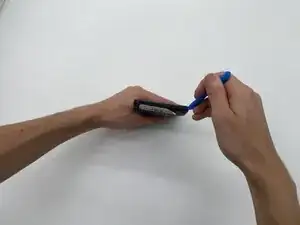
Flip the device over to its back.
-
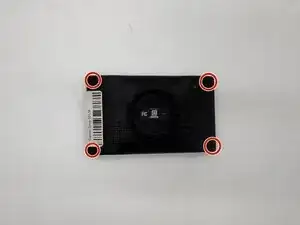
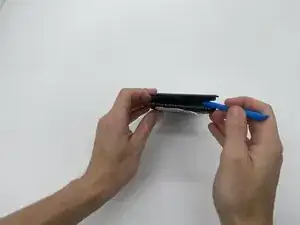
Use a T5 Torx screwdriver to remove the four 5.8 mm screws as shown above.
-
-
-
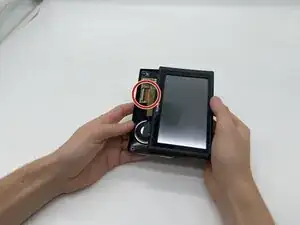
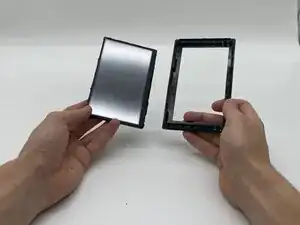
Insert an opening tool into the seam between the case and chassis. Pry open the corner of the screen and work down the length of the device.
-
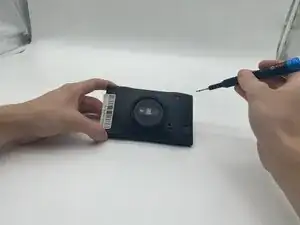
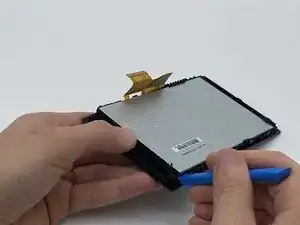
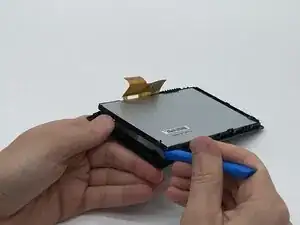
Repeat the same for all other sides of the device until it is out of the case.
-
-
-
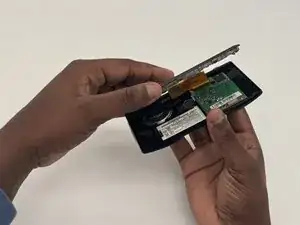
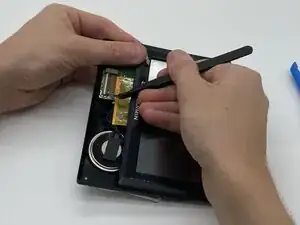
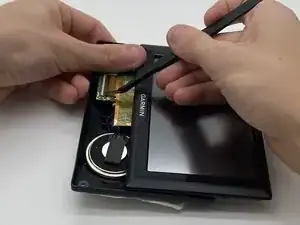
Look for the brown latch holding the orange cord down on the motherboard and with tweezers, flip the latch up.
-
Gently pull the orange cord out of the motherboard.
-

To reassemble your device, follow the above steps in reverse order.
Take your e-waste to an R2 or e-Stewards certified recycler.
Repair didn’t go as planned? Try some basic troubleshooting or ask our Answers community for help.