Introdução
If the power button is not turning on the device when pressed, it could be in need of replacing. Before buying a new part, try cleaning around the button when taken out and check for any debris that could be causing the button to be jammed. If The power button is still not turning on the device, the motherboard could be the main reason the device is not turning on.
follow these steps in order to access the power button and replace it in the Garmin Drive 50 LM.
Ferramentas
-
-
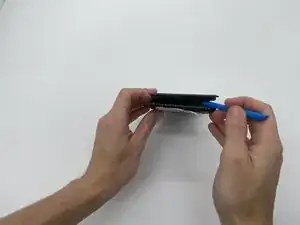
Insert an opening tool into the seam between the case and the chassis.
-
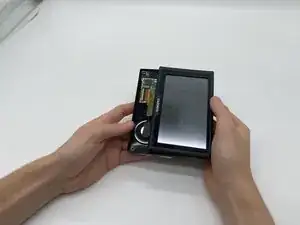
Pry around the perimeter of the device until the case releases.
-
-
-
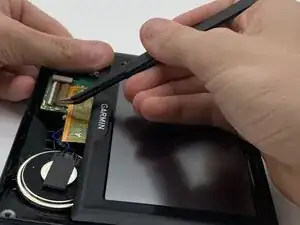
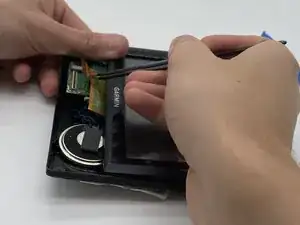
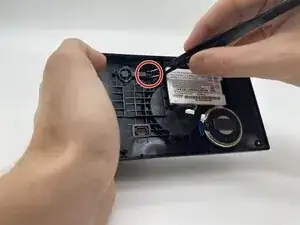
With tweezers, flip up the brown locking flap to release the ribbon cable.
-
Gently disconnect the yellow ribbon cable.
-
-
-
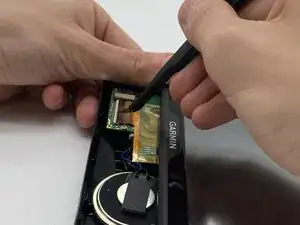
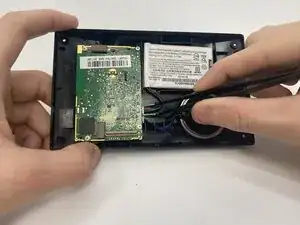
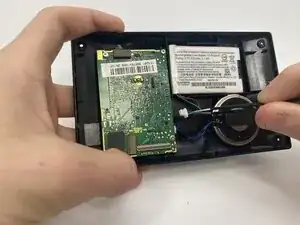
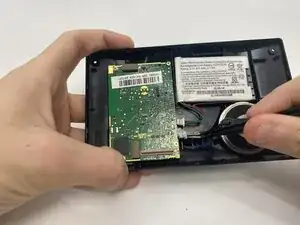
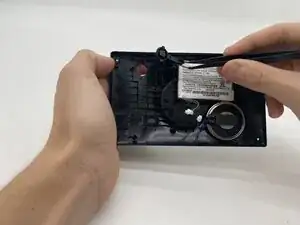
With tweezers, unplug the battery (red cord) from the motherboard.
-
Do the same for the speaker (blue cord).
-
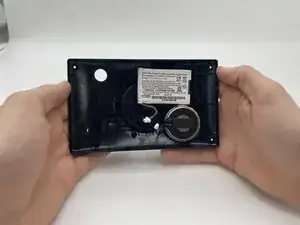
Gently move both cords out of the way of the mother board, if needed, fully remove the speaker and battery by gently pulling them out of the case.
-
-
-
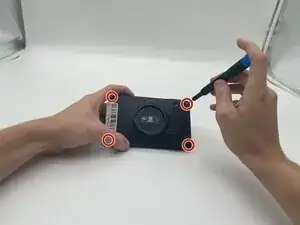
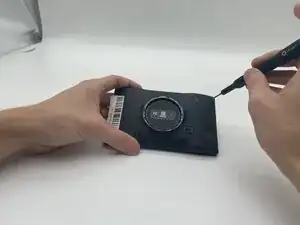
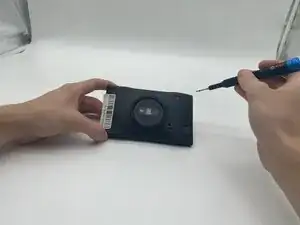
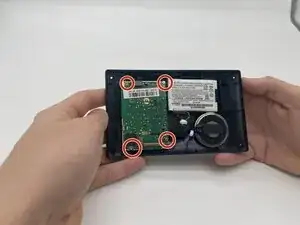
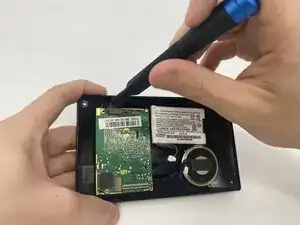
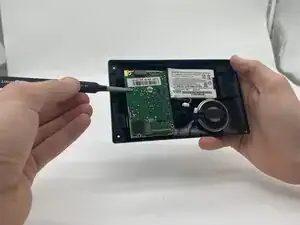
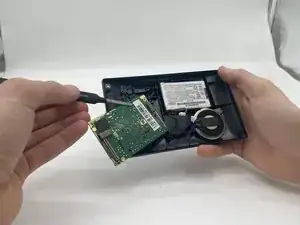
With a T5 Torx screwdriver, remove the four 5 mm-long screws from the corners of the motherboard that is attached to the back of the case.
-
-
-
With tweezers, pickup the button from this latch to the side, gently pull upwards until it is dislodged.
-


To reassemble your device, follow these instructions in reverse order.