Introdução
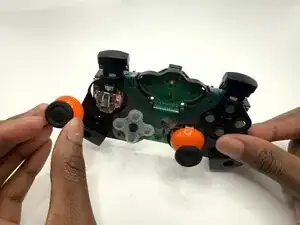
If you are having stick drift issues, please see our troubleshooting page. This guide will help you replace the plastic joystick itself, and not the actual mechanisms underneath. Before you begin, make sure your controller is powered off.
-
-
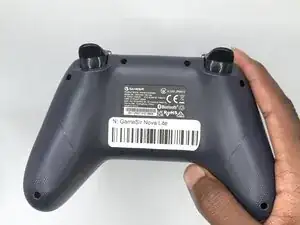
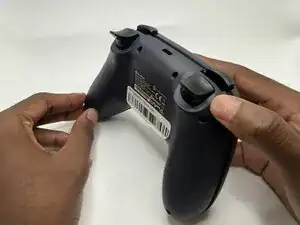
Turn your controller so that the back of the controller is facing you.
-
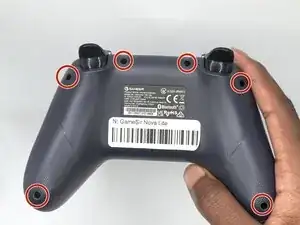
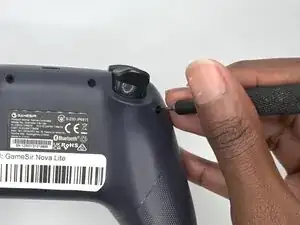
Remove all six 9 mm-long Phillips #1 screws securing the back plate.
-
-
-
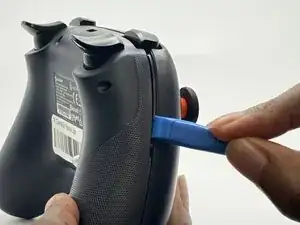
Insert an opening tool in the seam between the back and front case.
-
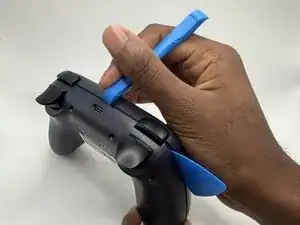
Insert iFixit Opening Picks around the controller to help keep the front and separated.
-
Slowly slide the tool around the controller until the two halves of the controller come apart.
-
-
-
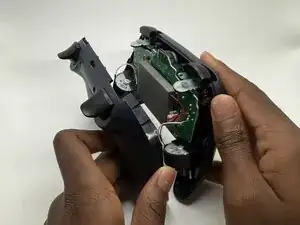
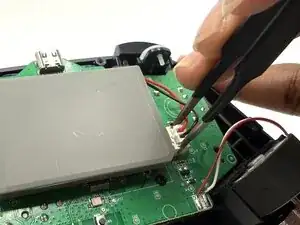
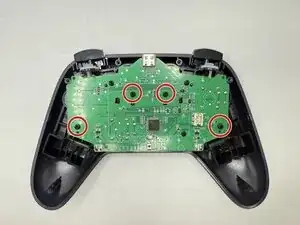
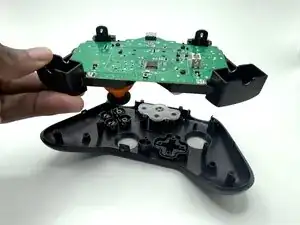
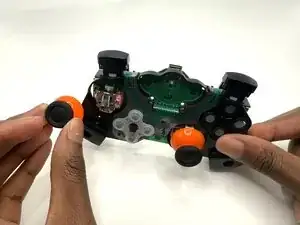
Lay the controller down so that the motherboard and battery are facing you.
-
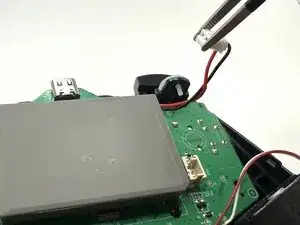
Grasp the white battery connector with blunt tweezers, and gently pull it out of its socket.
-
-
-
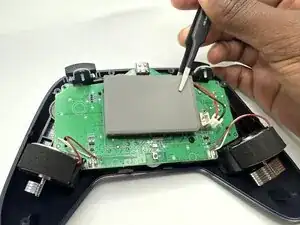
Remove the four 6 mm-long screws securing the motherboard to the front case with a Phillips #2 screwdriver.
-
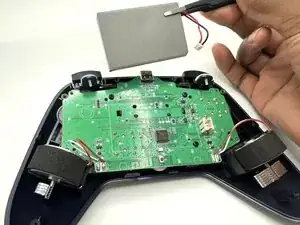

To reassemble your device, follow these instructions in reverse order.