Introdução

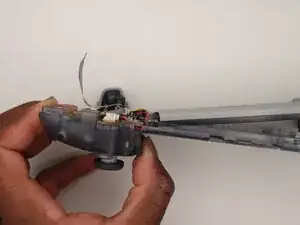
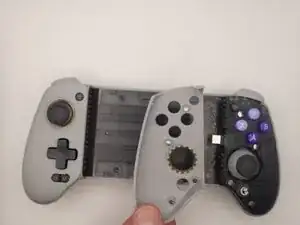
The right trigger was broken, so we had to remove and reinstall a replacement to restore proper.

This guide requires a heat gun or hair dryer. For tips on using a heat gun safely and avoiding damage to your device, see this How to Use a Heat Gun to Soften Adhesive guide.

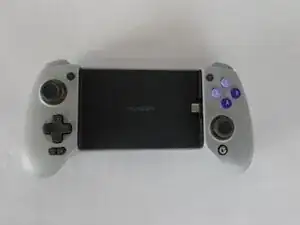
Before you begin, power off the device and disconnect it from the charger.

  1. XPXLMdZjVjRXILCI
    XPXLMdZjVjRXILCI
    jBg3MiPI5LCt3Kqk
    OCrWyHAxorjVew1w
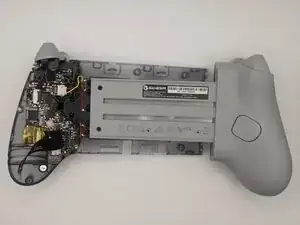
    • Use a hair dryer or heat gun on the low setting to gently warm the center grip pad to soften the adhesive underneath.

    • Place the nozzle 2–3 inches above the device and keep moving it in small circles until the surface is warm and the adhesive has loosened.

    • Don't leave the nozzle in one place for two long or you risk damage to the controller.

  2. ShCAFuUCrIay6WOl
    ShCAFuUCrIay6WOl
    ejvjZvu4BbZWNVM1
    MXcUJhSjRvEOTWGt
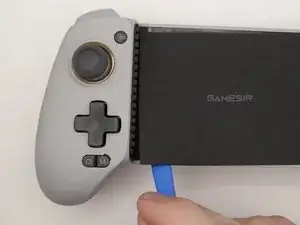
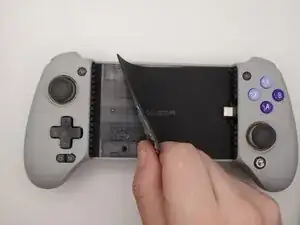
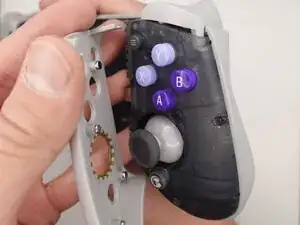
    • Insert the plastic opening tool into the edge of the center grip pad.

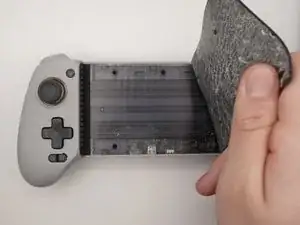
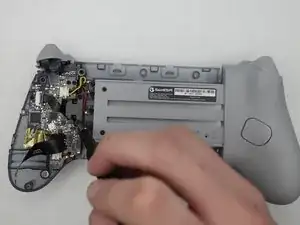
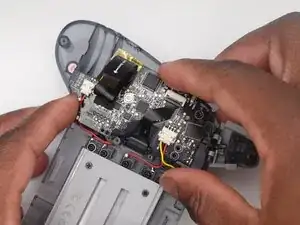
    • Once the edge is free, use your fingers to peel off the grip pad.

  3. G3CAZKtnBaFRrmbO
    G3CAZKtnBaFRrmbO
    ZqWEyWDBX5UumyLv
    EKDWsJ4XMUBuayKS
    • Use a Phillips #0 screwdriver to remove the three screws from the center front panel.

  4. cgo3DiqYtCDuIIEw
    cgo3DiqYtCDuIIEw
    wsZS4gUZNfsPnLCc
    2VsygaIkNHZQBxkP
    • Remove the plastic cover from both sides of the controller with your hand.

    • They’re held in place by magnets and should pop off easily.

  5. cHcdpBXApwUyZDYS
    cHcdpBXApwUyZDYS
    F3nqd3ktKETCK1NB
    ith26ZhwuxaWkaOx
    • Remove the two Phillips #0 screws from the right side.

  6. 45OLRL1yFcETncm1
    45OLRL1yFcETncm1
    cS6bFSxqYYdLJoPd
    WeAVZ1lHE24Nm2cT
    • Turn the controller around and remove the rear housing.

    • The rear housing covers only the back of the center section and the right grip. The back cover of the left grip remains attached to the controller.

  7. 6JprUeDfuA5ToWCk
    6JprUeDfuA5ToWCk
    ZTeSCfdoa35Cp11N
    mKweDQYCepZPqjvE
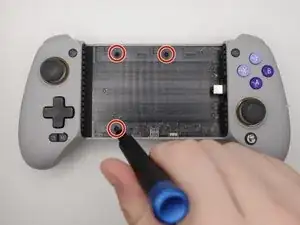
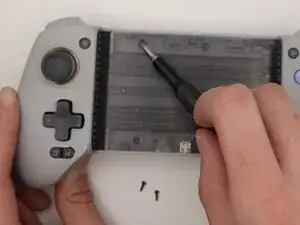
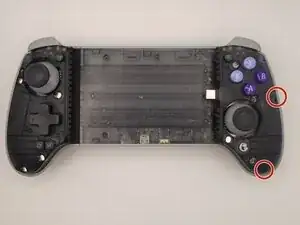
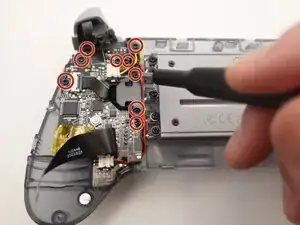
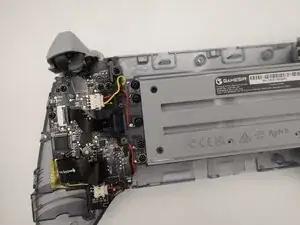
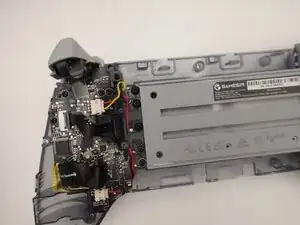
    • Remove nine screws from the motherboard using a Phillips #0 screwdriver.

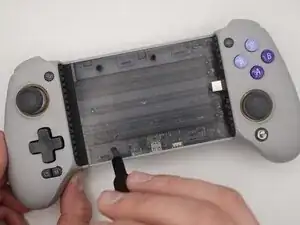
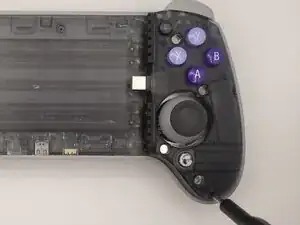
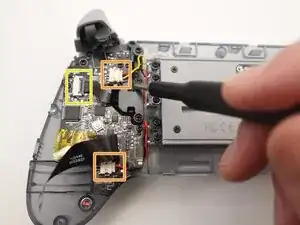
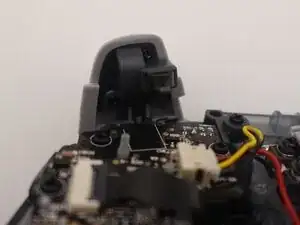
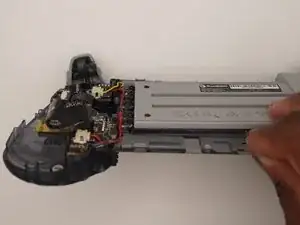
    • Squeeze the edges of the connector and pull it gently from its socket on the board.

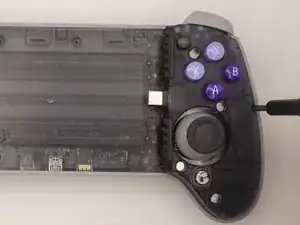
    • Use a spudger or a clean fingernail to flip up the black locking flap—this is the unlocked position.

    • Use the widest tool possible to avoid damaging the delicate hinge pins.

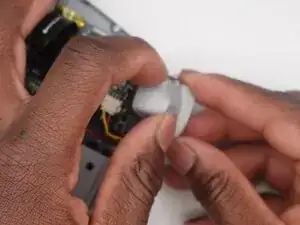
    • Use tweezers or your fingers to gently pull the cable from its socket.

  8. Rr5hsEDYXONtCl4H
    Rr5hsEDYXONtCl4H
    pY6ROFXPbPlqgl4M
    • Remove the motherboard.

  9. G2VsvHMgIVtor3Qd
    G2VsvHMgIVtor3Qd
    dJZdAalOPOrpGqJe
    • Use your hands to remove the trigger from the controller.

  10. UfhcnvutZLBFSlVg
    UfhcnvutZLBFSlVg
    nqSe6GuEEISWLbtZ
    WfgJ4yewlUilargS
    • Remove screws from the motherboard.

Conclusão

To reassemble your device, follow these instructions in reverse order. Take your e-waste to an R2 or e-Stewards certified recycler.

Fidele Jr

Membro desde: 17/10/25

85 Reputação

0 comentários