Introdução
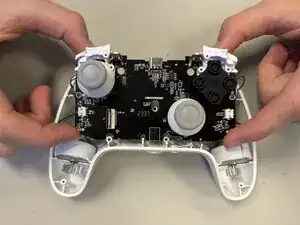
These instructions will show you how to remove the motherboard. You may have to take out the motherboard to replace certain components, like the control stick component.
-
-
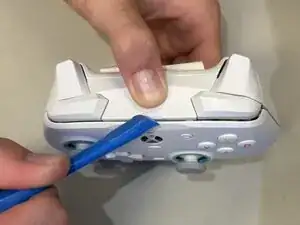
Wedge the opening tool in-between the faceplate dent located at the top of the controller.
-
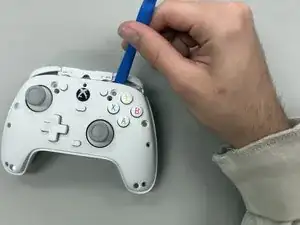
Lift the faceplate off the controller.
-
-
-
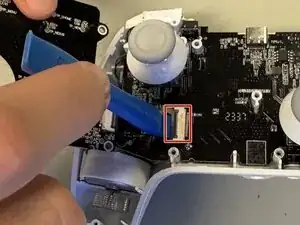
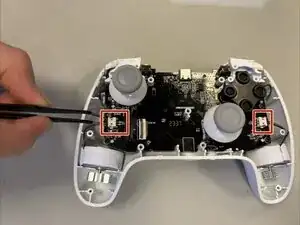
Disconnect the rumble motors from the motherboard on the left and right side of the controller using tweezers.
-
-
-
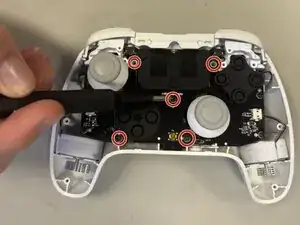
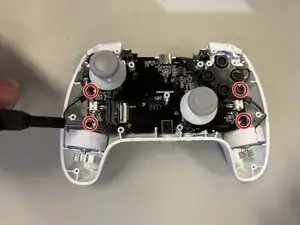
Unscrew the four 4 mm-long Phillips screws securing the motherboard.
-
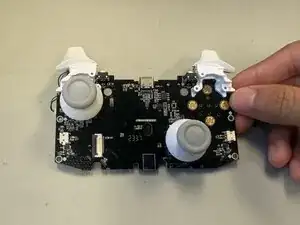
Lift the motherboard out of the controller base.
-


Conclusão
To reassemble your device, follow the above steps in reverse order.
Take your e-waste to an R2 or e-Stewards certified recycler.
Repair didn’t go as planned? Try some basic troubleshooting or ask our Answers community for help.