Introdução

Follow this guide for help replacing the rumble motors in your GameSir Cyclone 2 controller.

  1. ThaKjTxgJTDrniuG
    ThaKjTxgJTDrniuG
    llgJCn3A61hDtpSq
    OjSn2oUcERRKJcJk
    • Use a T6 Torx to remove seven screws from the bottom of the controller.

    • The last screw is under the sticker. Lift the sticker with tweezers, then then remove the final screw.

  2. 6jkhrKTUpXsXaQ6Z
    • The two larger screws belong on the top two sockets of the controller

  3. WDQCwrdoDBjDx1uW
    • The remaining five sockets in these locations

  4. euvnAXorXLUp5tDN
    euvnAXorXLUp5tDN
    cAKKtlDlSFJE6PdF
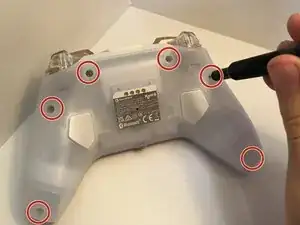
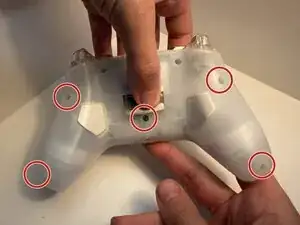
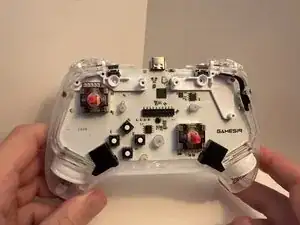
    • The front plate should pop with minimal force with the D-Pad and action buttons becoming loose as well.

  5. HwLpXQKjutETLtoF
    HwLpXQKjutETLtoF
    CJuWMwmjtSKoJoJv
    drH2eIevsY61oXUr
    • Pull both joystick covers straight up to remove them from the controller.

  6. oluHVwT5MOprclEi
    • once the face plate is off locate the top bumpers

  7. FJBNnGgWYBvFNaHa
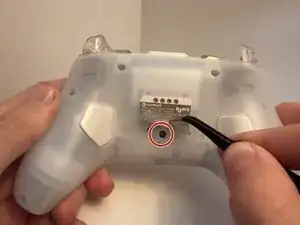
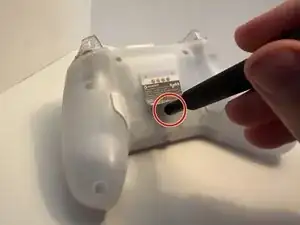
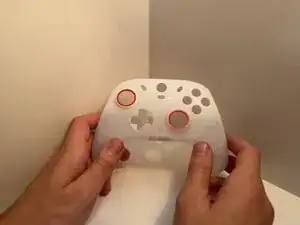
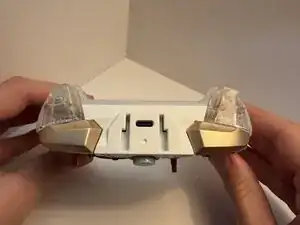
    • The top bumpers are connected to the power button which you can just pull apart after removing two screws with the "00" Phillips bit

  8. GSfgH5OPY6DXdmrT
    • remove the bumpers and replace with the new set you have aquired

  9. jGMikDX22hZFjrsX
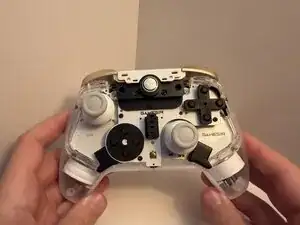
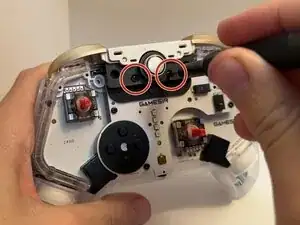
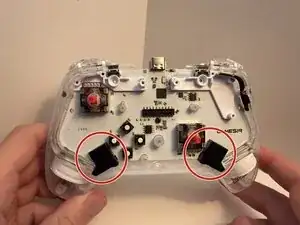
    • Now locate the 2 black boxes twards the bottom of the contoller

    • you need to remove the 2 boxes they should snap right off with a upward motion

  10. L4GPYuLxPQqJTsMW
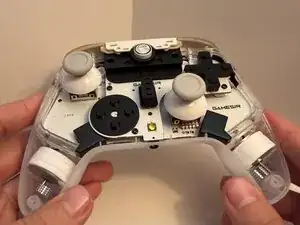
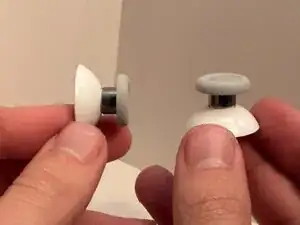
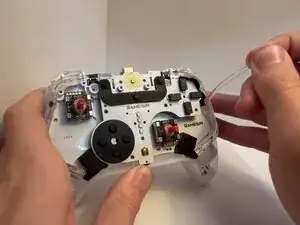
    • Once the boxes are off of the controller there are 2 clear cylinder shaped objects that spread the led light through the controller

    • remove thoes strips and replace with new ones

  11. tAHkKaODwkSBKZNZ
    • Under each LED track are two screws that need to be removed to remove the board.

  12. jaaAISTLnHj3XJW4
    • Remove center screw to remove motherboard

  13. H5IefTsEmvUVCkys
    H5IefTsEmvUVCkys
    HtQlgDWPnHPEfYRY
    • Disconnect the battery connector from the socket on the motherboard.

    • Remove the battery.

  14. FJSJILjUtDfKLPM5
    FJSJILjUtDfKLPM5
    SmRGhGvvXVWpEsHk
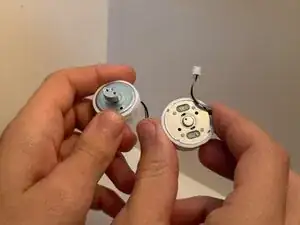
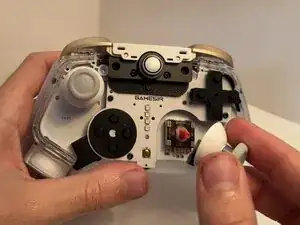
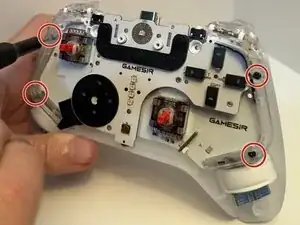
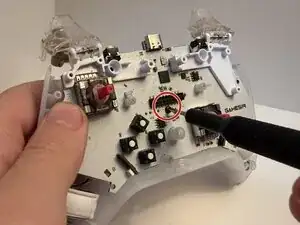
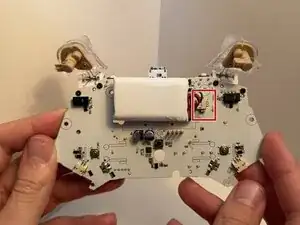
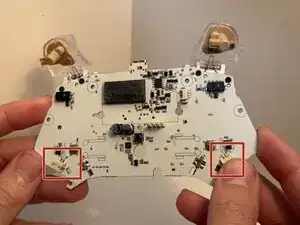
    • The motors are connected to the mother board on the bottom left and right.

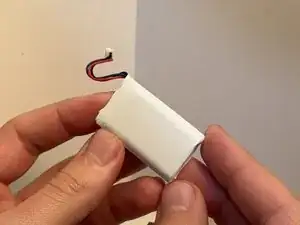
    • They have a simple plug in and out system, just pull with little force trying to stay stright to not damage outlet

  15. UlpvrE5QoKrbjpyC
    UlpvrE5QoKrbjpyC
    IxLuZVTRroNTXiYW
    • Once dissconnected just switch out with new ones

    • Notice the size difference between the two motors the larger on will be for the left side of the contoller to keep the contoller balanced

Conclusão

To reassemble your device, follow these instructions in reverse order. Take your e-waste to an R2 or e-Stewards certified recycler.

JasmineM

Membro desde: 15/10/25

373 Reputação

0 comentários