Introdução
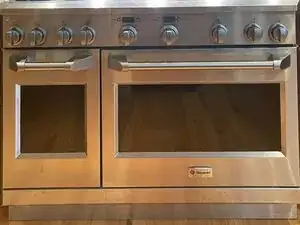
The large oven on our GE Monogram range, manufactured in September 2009, eventually began taking an hour to heat to 450F. I replaced the hidden bake element, which is beneath the oven's floor. This fixed the problem, with the oven now heating to 450F in about 20 minutes, like it did when new. All the help videos I found on the internet were not for this oven, so I recorded my work to help others. This is an easy job. I got my replacement baking element on AppliancePartsPros.com.
Peças
-
-
The oven has 240 volts of power supplied, which would kill you if there's a short circuit. So at your breaker panel, flip the breaker for the oven to off. Once you do this, test by setting an oven dial to Bake and a temperature. It should not come on.
-
-
-
Even though you are only working on one oven, you need to remove both doors to that you can remove the panel beneath the doors to get access to the hidden bake element.
-
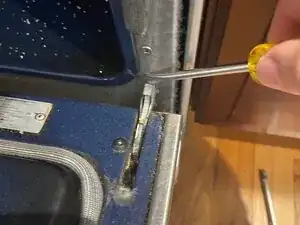
Open one of the oven doors. It has a hinge at the left and the right sides, each with a lock. With a flat head screw driver, flip the lock on each hinge towards the face of the door. Then close the door half way and left it so that the hinges slide out of their slots in the oven. Slight persons will need an assistant to lift the large door.
-
Repeat for the other door.
-
So that you do not scratch your doors, I recommend placing them on a moving blanket or other soft surface
-
-
-
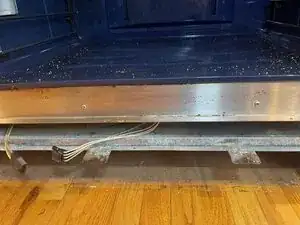
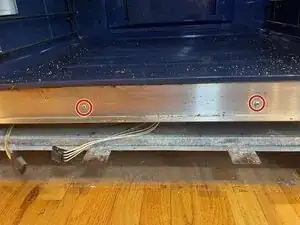
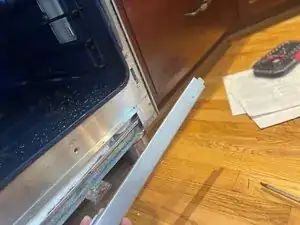
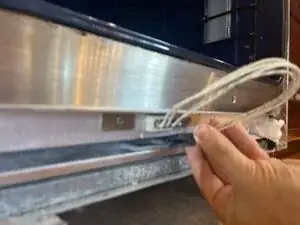
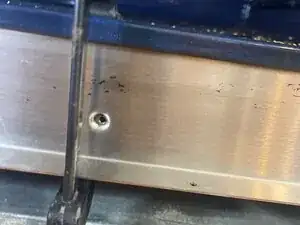
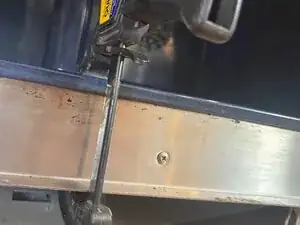
With the doors removed you can access the screws that hold the lower access panel. It has 3 Phillips screws in the top and 3 in the bottom. To get to those in the bottom, you will need a very short-handled screw driver.
-
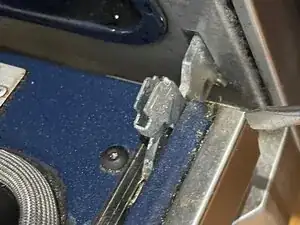
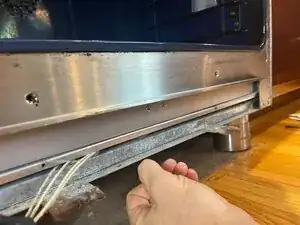
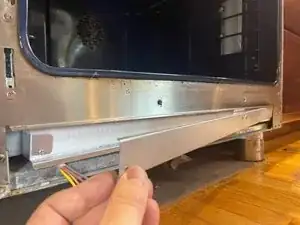
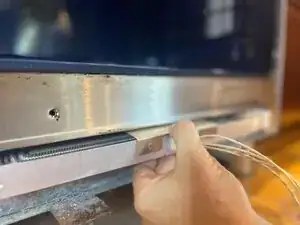
You will need to lie on the floor to see the screws in the bottom. These screws hold the access panel to three tabs that stick out from the oven. The third photo shows one of these tabs, once the panel has been removed
-
With the screws removed, you can pull the access panel away from the oven face.
-
-
-
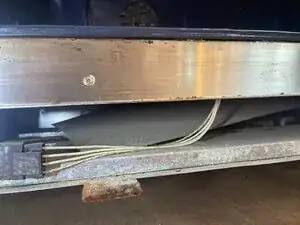
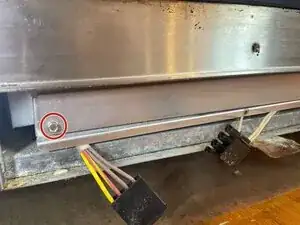
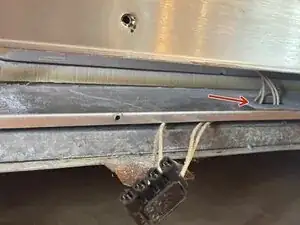
The baking element has a black wiring harness connection to the oven's electronics. Lift the tab on the harness so you can slide the connection apart
-
-
-
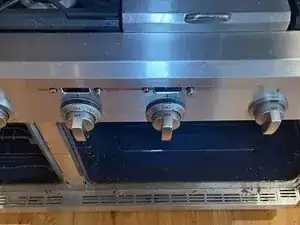
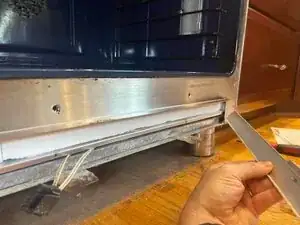
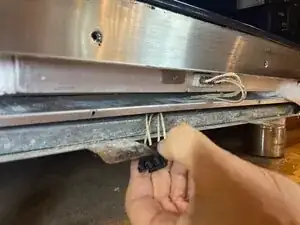
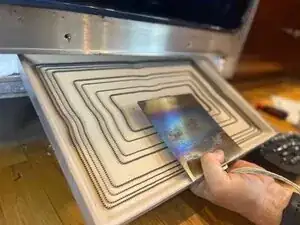
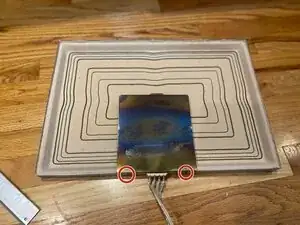
The baking element rests inside an aluminum holder whose cover is screwed to the face of the oven. There are two Phillips screws that hold the hidden baking element in place against the bottom of the oven. Remove these screws.
-
The front of the baking element will drop down so you can access its cover.
-
-
-
The baking element is behind an aluminum cover that has one 1/4" screw on the left side. You will need a socket wrench to remove it.
-
Pull the left side of the cover away from the oven. The right side has a tongue that sits in a slot in the oven wall.
-
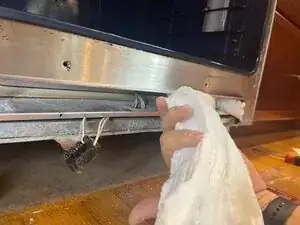
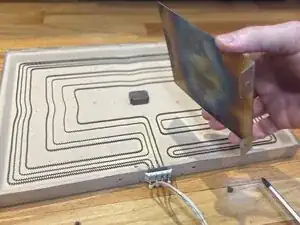
With the cover removed, you can see the white fluffy insulation behind which is the baking element.
-
-
-
Starting from the left side, reach your finger in to gently separate the front insulation and pull it out. Set aside to reinstall later
-
-
-
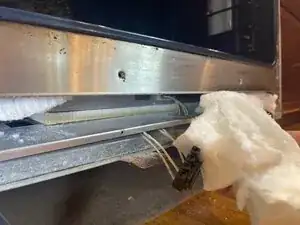
The wiring harness of the baking element you are removing needs to be pulled through the grommet in the bottom of the baking element holder.
-
-
-
Remove two Phillips screws that hold the heat shield onto the old baking element.
-
Use these screws to put the heat shield on your replacement baking element. You will find there are not predrilled screws but you don't need them: screw them into the ceramic material of the new element by hand.
-
Reverse all steps to install your replacement baking element.
-
-
-
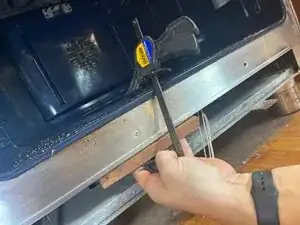
I had some trouble lifting the baking element, with its cover reattached, back into place high enough so that the screw holes in the cover aligned with those in the oven's face.
-
So I used a 3/4" block of wood and a quick grip clamp to press the baking element holder up to the bottom of the oven until the screw holes aligned
-
Then remove the clamp and wood and proceed with the reassembly
-

To reassemble your device, follow these instructions in reverse order.