Introdução

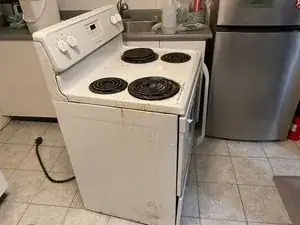
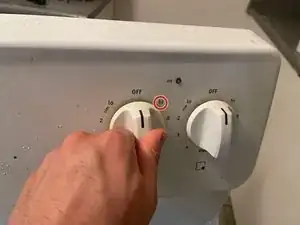
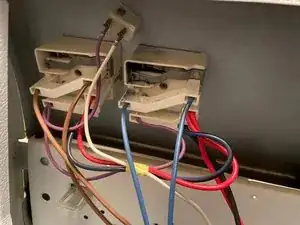
If your Frigidaire Electric Stove CFEF3012PWC has a burner that is not functioning properly, then this guide will show you how to repair the heat switch. The heat switch controls distribute power to each burner, and when this part is not functioning properly, the burner may stop working or heat unevenly. Before starting, double-check the control switch and the terminals to make sure the issue is not caused by a loose connection. If those seem to be fine, but the burner is still not working properly, then replacing the heat switch will likely fix the problem.

Important Tips:

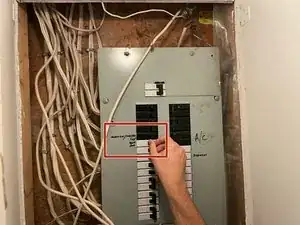
  • Turn off the power and unplug the stove before beginning to avoid electric shock.
  • Make sure the stove and all burners have cooled completely before touching any parts.
  • Keep the user manual nearby in order to identify wiring and part locations.
  1. VYCPAeJPoXqcyPSM
    • To be safe, disconnect the power at the breaker. This avoids electrical injury when working with the oven.

  2. MIahnQ4h1tYwxvJJ
    MIahnQ4h1tYwxvJJ
    XwHRCoEJQSNtoQRb
    • Unplug the oven from the receptacle to be safe.

    • Move it to an open area so there is enough space to work with.

  3. gWw3K4MP5Ri4wvss
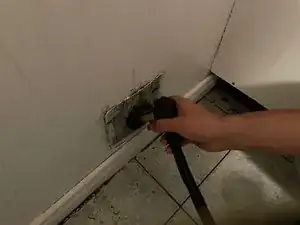
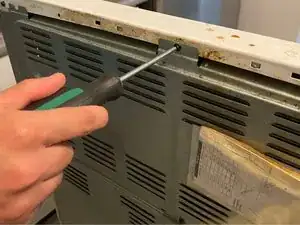
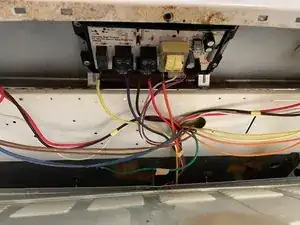
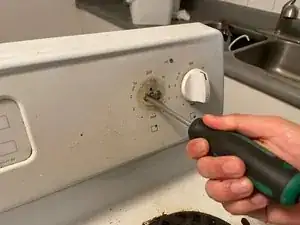
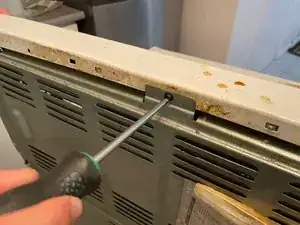
    • Unscrew the back panel of the stove. Depending on your model, the cover may be located on the top or bottom.

    • Use a square head screwdriver.

    • If the screws are tight, use pliers to remove them.

  4. bOeF6J6fBdiCkaK6
    • Set the multimeter to ohms. Otherwise, you may generate a short circuit if you do not have the correct setting.

  5. XWHJqYcTHh2Ltf2N
    XWHJqYcTHh2Ltf2N
    OWYGyKTnKGNw3hll
    • You must disconnect the wires to prevent electrical issues from occurring.

    • Remember where the original wires were placed. It's good to take a photo before doing so.

  6. t6YcBtsYNUhyNGa4
    t6YcBtsYNUhyNGa4
    OjQkUhpZeyvGVAuc
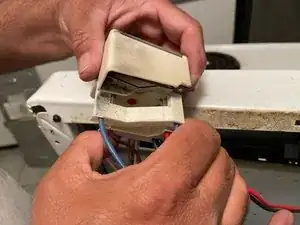
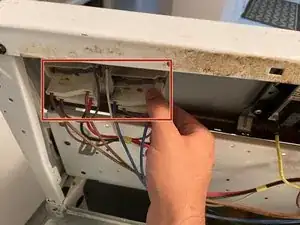
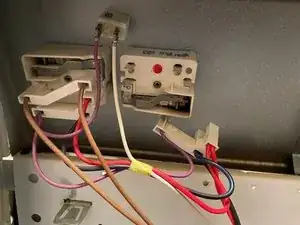
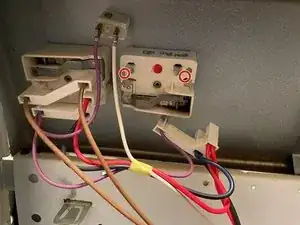
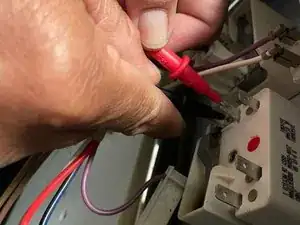
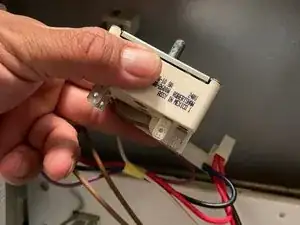
    • Find the terminals on the switch. These can look different depending on whether your burner is a standard or a dual burner. Each terminal should be labeled.

    • In this case, the L1 to H1 and L2 to H2 terminals will be checked. (L=line, H=heat). Black goes on L and Red goes on H. The position may differ depending on your switch. Read the label on your switch.

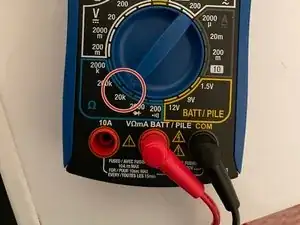
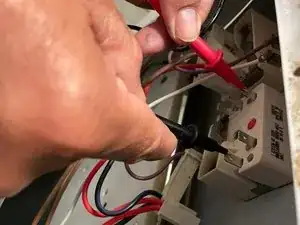
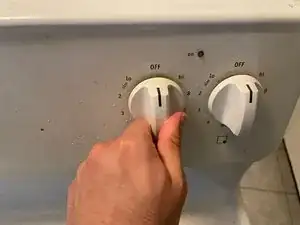
    • After finding the terminals, turn the heat dial to “HI”.

  7. YRJAHSYi5dPuViWj
    YRJAHSYi5dPuViWj
    HJIB5g1ZNSWnYcTe
    • Check the switch for the L1 to H1 terminals

  8. ZZEahUdXMuMiyxBQ
    ZZEahUdXMuMiyxBQ
    PGSAivSgDxCR4bZK
    • Check the switch for the L2 to H2 terminals.

  9. mi33uDXfe6AZWdFv
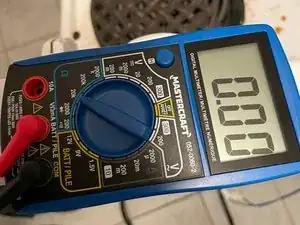
    • If the multimeter does not read between 0 and 1, the switch has no durability and must be replaced.

  10. 1o6U4KpO3eoWbFnP
    • If you have a dual burner, test both sets of terminals for durability.

    • You may have other power models, but the process remains the same. If there is no connectivity, it has to be replaced.

  11. J62cuYcUIRGlGQC3
    J62cuYcUIRGlGQC3
    FmyaXYfNDxa6t5Mc
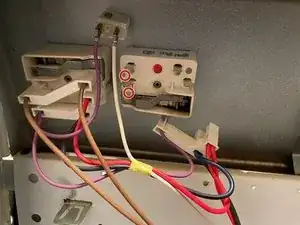
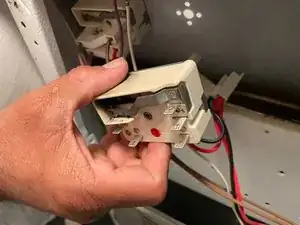
    • Once the switch is confirmed to be faulty, pull the heat dial out and remove the screws that are holding the switch in place.

  12. uKQUhPTGarmRgFWV
    uKQUhPTGarmRgFWV
    GPLiWXIkpHYQrHVT
    pVnFdG6ZpnxWHFbr
    • Once the heat dial is removed, remove the old switch and replace with the new switch.

    • After the switch, connect the new switch to the heat dial.

  13. F5iIvfBuExfNQTWW
    F5iIvfBuExfNQTWW
    WlsAmwkVwgNJ4b1J
    YtnJuxS5U6TZWfCA
    • Reconnect any remaining parts that were removed earlier.

Conclusão

To reassemble your device, follow these instructions in reverse order.

Saad

Membro desde: 10/09/23

217 Reputação

0 comentários