
Introdução
-
-
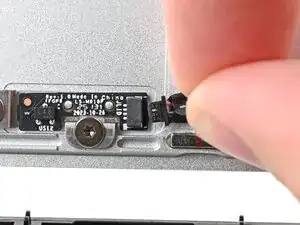
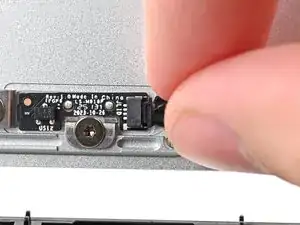
Grip the Hall Effect cable connector by its black pull tab and slide it straight into its socket.
-
-
-
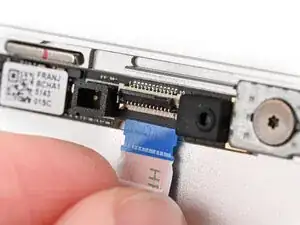
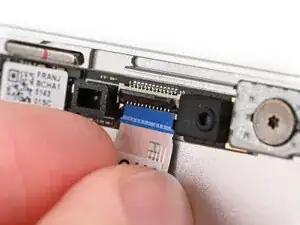
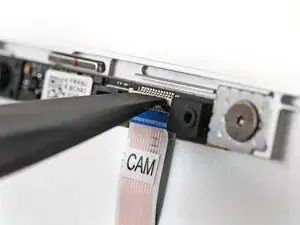
Use the flat end of your Framework Screwdriver, or a clean fingernail, to press down the locking tab on the webcam ZIF connector.
-
-
-
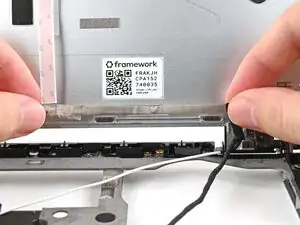
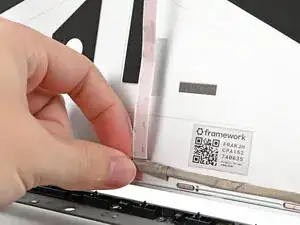
Align the thick portion of the webcam cable with the adhesive near the bottom edge of the Top Cover.
-
Press the cable to the Top Cover to re‑adhere it.
-
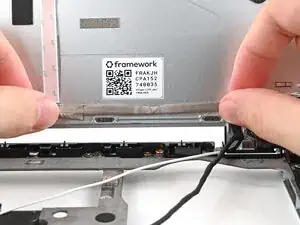
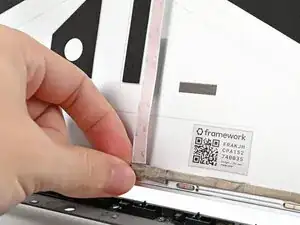
Press the bend in the webcam cable to the Top Cover to re‑adhere it, making sure it sits against its vertical protrusion.
-
-
-
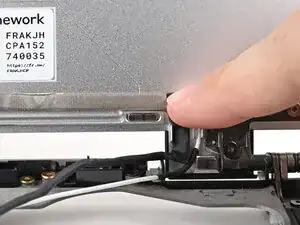
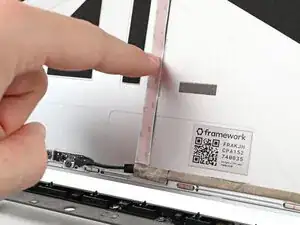
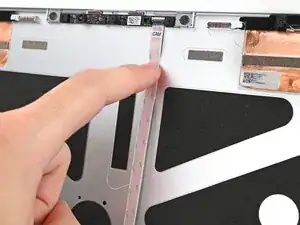
Grip the thin portion of the webcam cable and pull it downward so it sits flat against the Top Cover.
-
Press the cable to the adhesive near the center of the Top Cover to re‑adhere it.
-
-
-
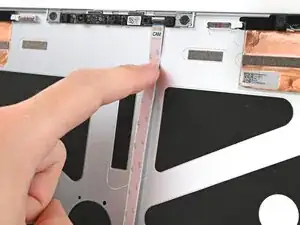
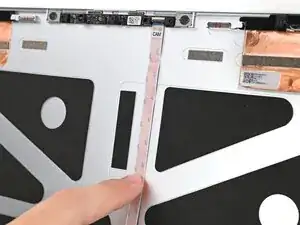
Press the cable to the adhesive near the top edge of the Top Cover to re‑adhere it.
-
Slide your finger down the cable to smooth out any creases.
-

To reassemble your device, follow these instructions in reverse order.
