Introdução
-
-
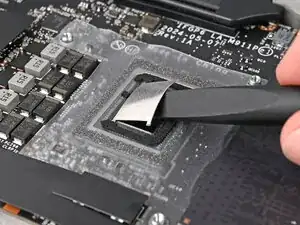
Use the flat end of your Framework Screwdriver to scrape off the hardened sections of liquid metal on the CPU.
-
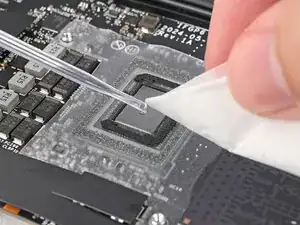
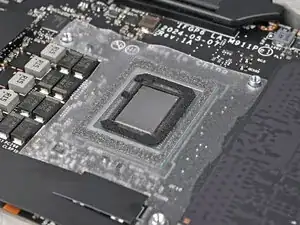
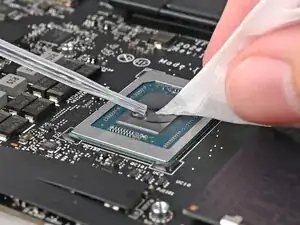
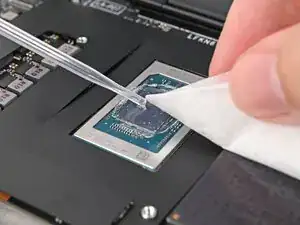
Use a few drops of high concentration (>90%) isopropyl alcohol and a lint-free cloth to wipe away the remaining residue.
-
-
-
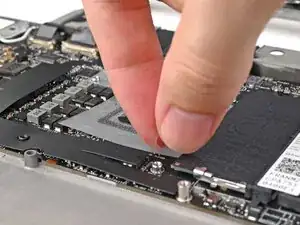
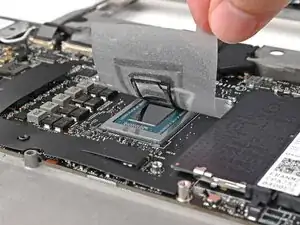
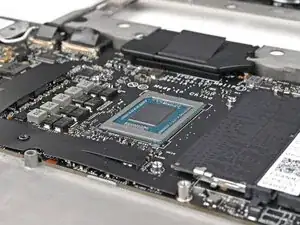
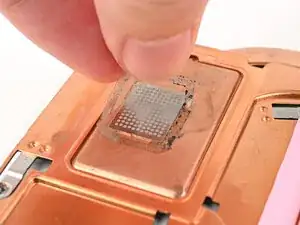
Use your fingers to peel off the plastic shield surrounding the CPU.
-
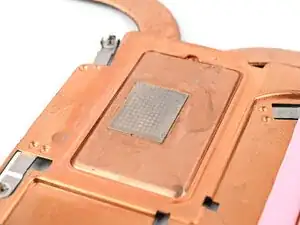
If the foam pad on the CPU doesn't come off with the tape, use the flat end of your Framework Screwdriver to pry it off.
-
-
-
Use a few drops of high concentration (>90%) isopropyl alcohol and a lint-free cloth to wipe away the remaining residue from the foam pad and the liquid metal.
-
Skip the next step.
-
-
-
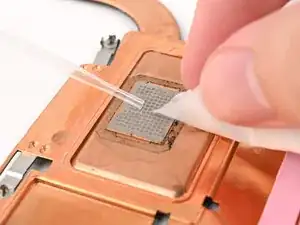
Use a few drops of high concentration (>90%) isopropyl alcohol and a lint-free cloth to wipe away the foam pad residue on the bottom of the heatsink.
-
Peel off the foam pad tape and remove it.
-
-
-
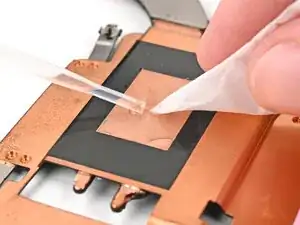
Use a few drops of high concentration (>90%) isopropyl alcohol and a lint-free cloth to wipe away the thermal pad residue.
-
-
-
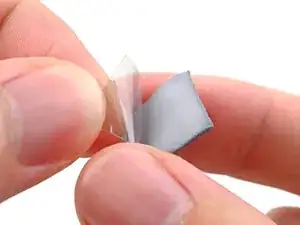
Peel off the clear liner from the thermal pad to expose one side of it
-
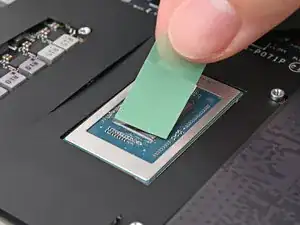
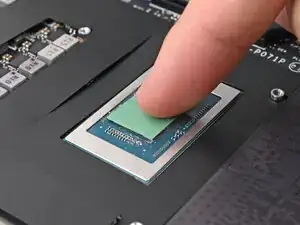
Place the exposed side of the thermal pad over the CPU and press it into place.
-
-
-
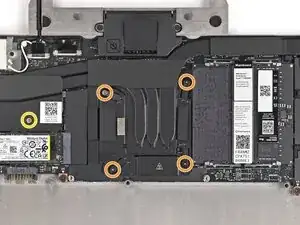
Use your Framework Screwdriver to install or tighten the T5 Torx screws securing the CPU Heatsink.
-
Tighten the captive screws directly over the CPU in reverse order from 4–1.
-
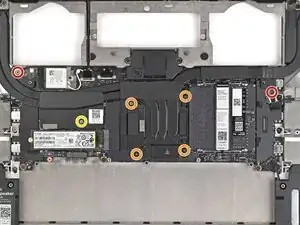
Tighten the captive screw above the primary SSD.
-
Install the two 2.0 mm‑long screws along the top corners of the Mainboard.
-


To reassemble your device, follow these instructions in reverse order.
