Introdução
-
-
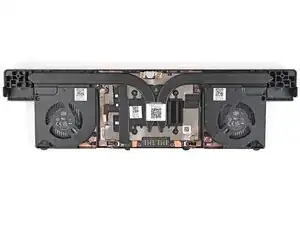
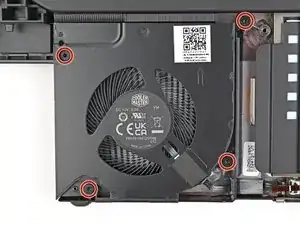
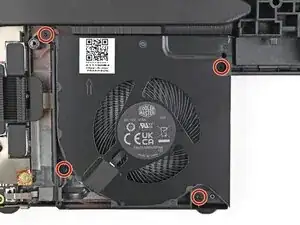
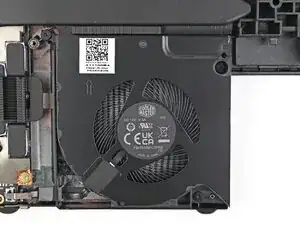
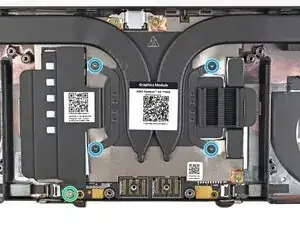
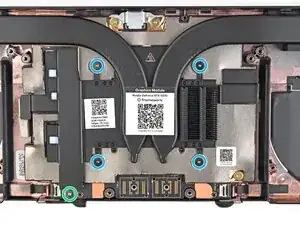
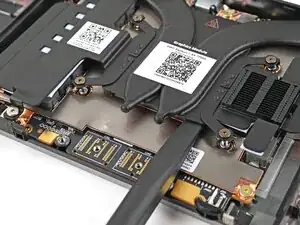
Use your Framework Screwdriver to remove the four 3.6 mm‑long T5 Torx screws securing the Graphics Module cover:
-
Two screws on the flat surface of the module, next to the fans.
-
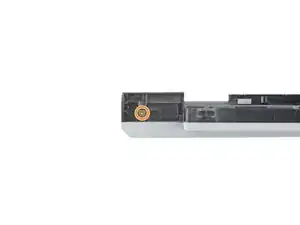
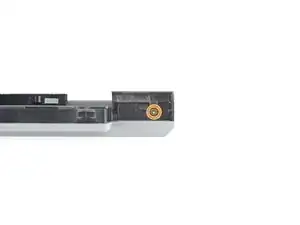
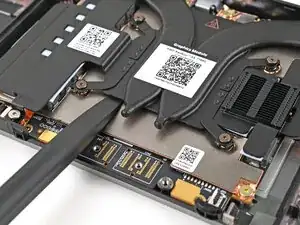
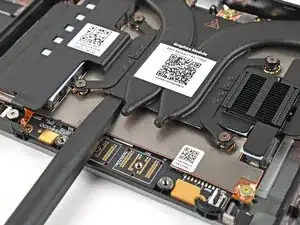
Two screws on the thin edge of the module, near the ends. You'll need to flip the module on its back edge to access them.
-
-
-
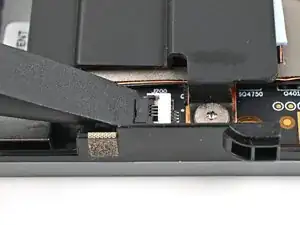
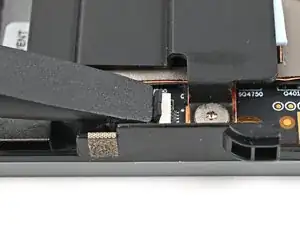
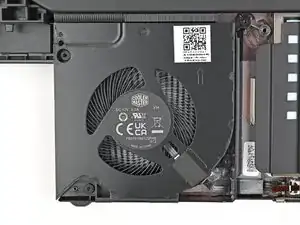
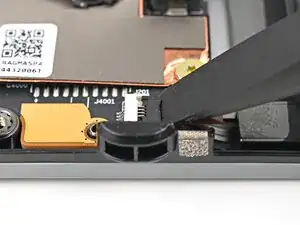
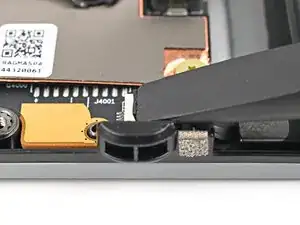
Use the flat end of a spudger, or a clean fingernail, to lift up and release the locking tab on the left fan ZIF connector.
-
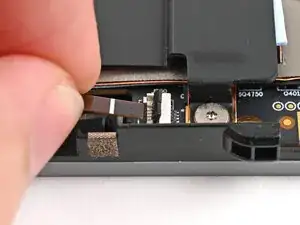
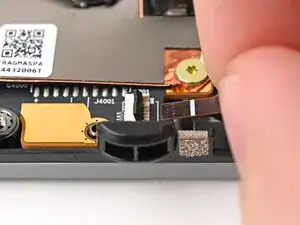
Use your fingers to grip the brown pull tab and slide the fan cable straight out of its socket.
-
-
-
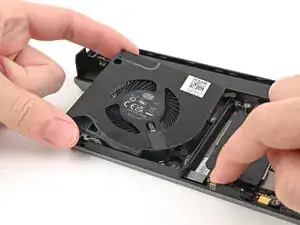
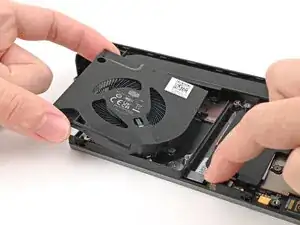
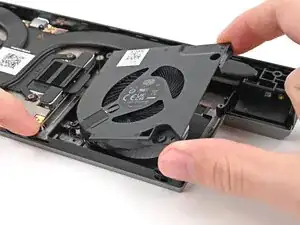
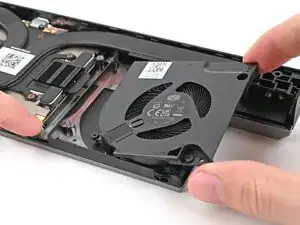
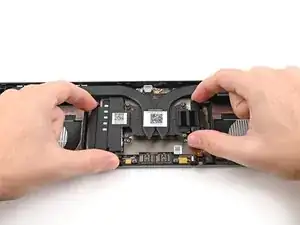
Use one hand to press the fan cable flat to the module.
-
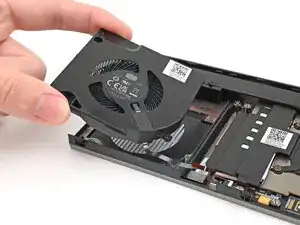
Use your other hand to pull the fan out of its housing, making sure to thread the cable though its slot.
-
Remove the fan.
-
-
-
Use the flat end of a spudger, or a clean fingernail, to lift up and release the locking tab on the right fan ZIF connector.
-
Use your fingers to grip the brown pull tab and slide the fan cable straight out of its socket.
-
-
-
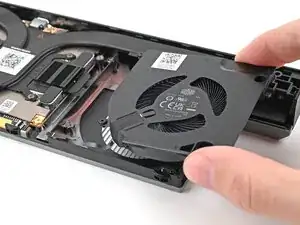
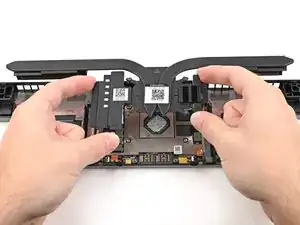
Use one hand to press the fan cable flat to the module.
-
Use your other hand to pull the fan out of its housing, making sure to thread the cable though its slot.
-
Remove the fan.
-
-
-
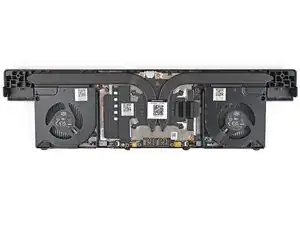
Use your Framework Screwdriver to loosen the captive T5 Torx screws securing the Graphics Module Heatsink:
-
Loosen the captive screw at the bottom left corner of the heatsink.
-
Loosen the captive screws directly over the GPU in order from 1–4 (the numbers are engraved on the metal near the screw).
-
-
-
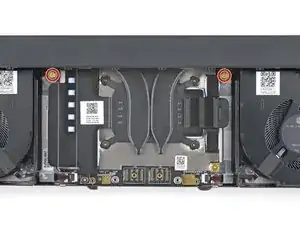
Use the flat end of the Framework Screwdriver to pry up the flat metal plate under the heat pipes until you feel the thermal pads separate.
-
-
-
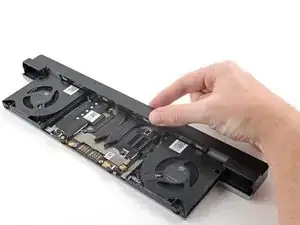
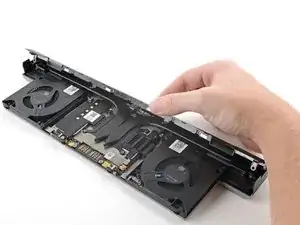
Grip the edges of the heatsink, near its curved pipes, and lift it straight up to remove it.
-
To reassemble your device, follow these instructions in reverse order.
