
Introdução
-
-
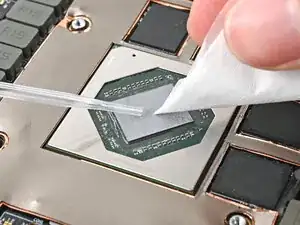
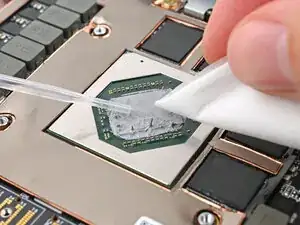
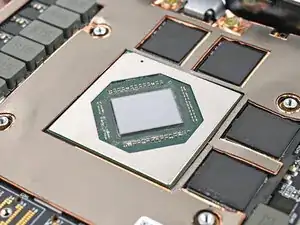
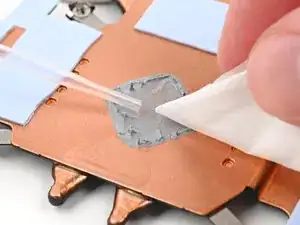
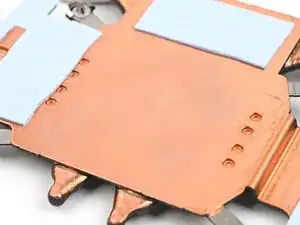
Use a few drops of high concentration (>90%) isopropyl alcohol and a lint-free cloth to wipe away the thermal compound residue.
-
-
-
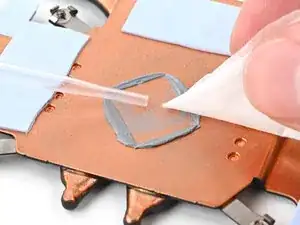
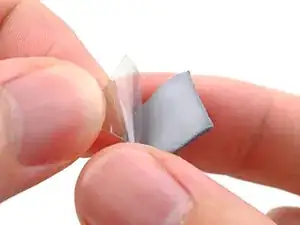
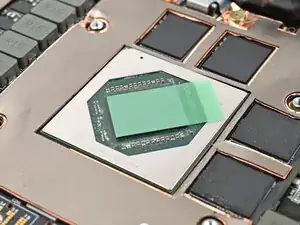
Peel off the clear liner from the thermal pad to expose one side of it.
-
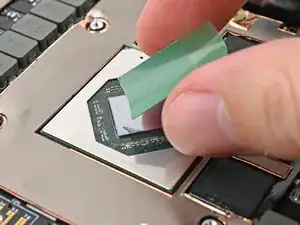
Place the exposed side of the thermal pad over the CPU.
-
-
-
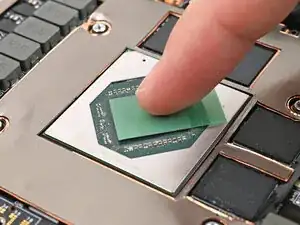
Use your finger to lightly press the thermal pad to the GPU and bond it.
-
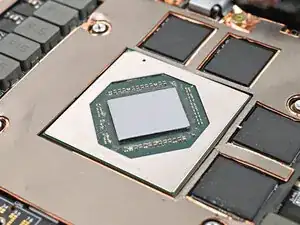
Remove the green liner from the thermal pad to expose its top side.
-
-
-
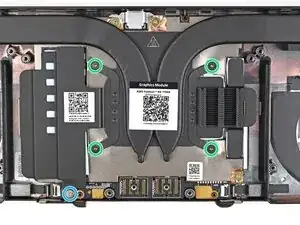
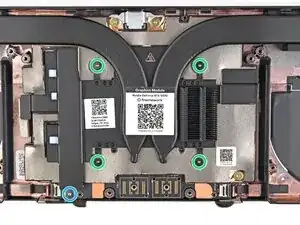
Use your Framework Screwdriver to tighten the captive T5 Torx screws securing the Graphics Module Heatsink:
-
Tighten the captive screws directly over the GPU in order from 4–1.
-
Tighten the captive screw at the bottom left corner of the heatsink.
-
-
-
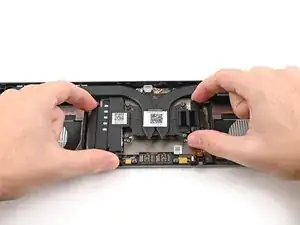
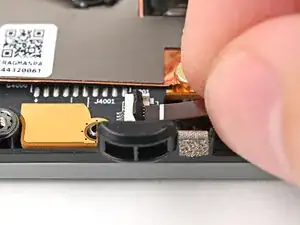
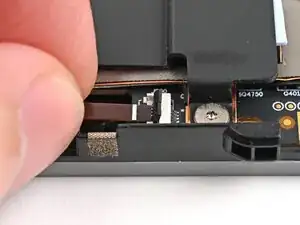
Use your fingers to grip the brown pull tab and slide the right fan cable straight into its socket.
-
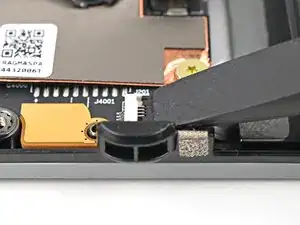
Use the flat end of your Framework Screwdriver, or a clean fingernail, to press down the locking tab on the fan ZIF connector.
-
-
-
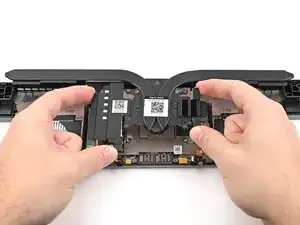
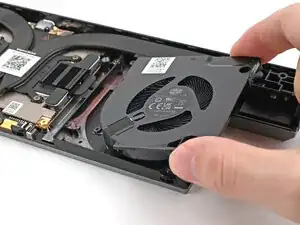
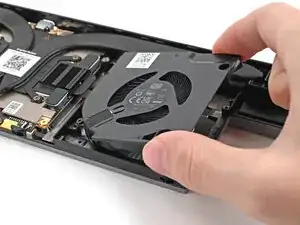
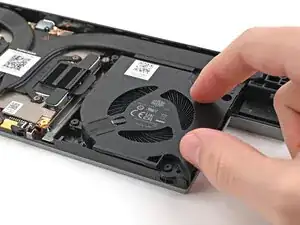
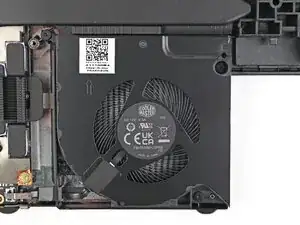
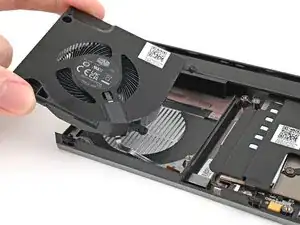
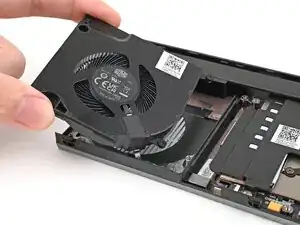
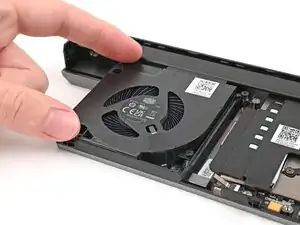
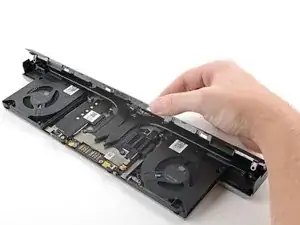
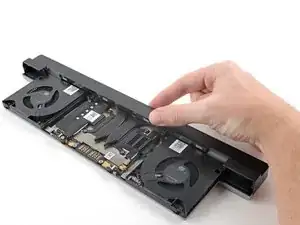
Place the left fan onto the Expansion Bay Shell, making sure to thread the cable through its slot.
-
-
-
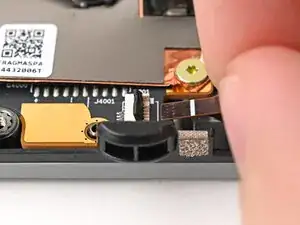
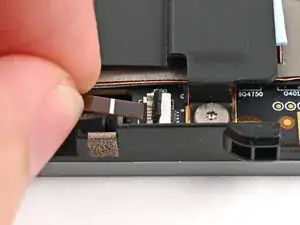
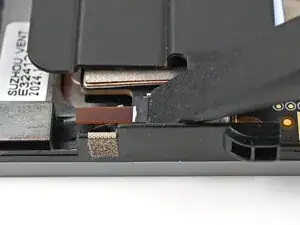
Use your fingers to grip the brown pull tab and slide the left fan cable straight into its socket.
-
Use the flat end of your Framework Screwdriver, or a clean fingernail, to press down the locking tab on the fan ZIF connector.
-
-
-
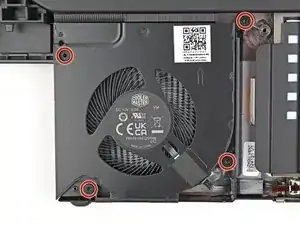
Use your Framework Screwdriver to install the four 3.6 mm‑long T5 Torx screws securing the Graphics Module cover:
-
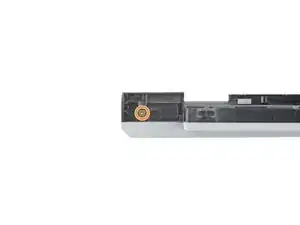
Two screws on the flat surface of the module, next to the fans.
-
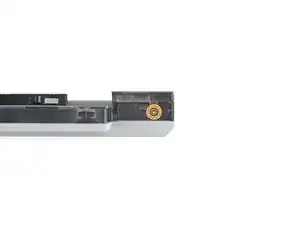
Two screws on the thin edge of the module, near the ends. You'll need to flip the module on its back edge to access them.
-


To reassemble your device, follow these instructions in reverse order.
