
Introdução
-
-
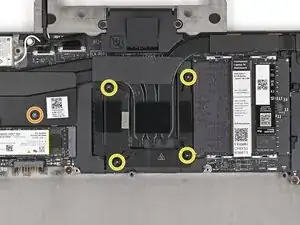
Use your Framework Screwdriver to remove or loosen the T5 Torx screws securing the CPU Heatsink:
-
Remove the two 2.0 mm‑long screws along the top corners of the Mainboard.
-
Loosen the captive screw above the primary SSD.
-
Loosen the captive screws directly over the CPU in order from 1–4.
-
-
-
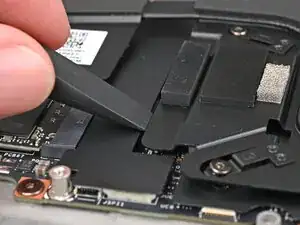
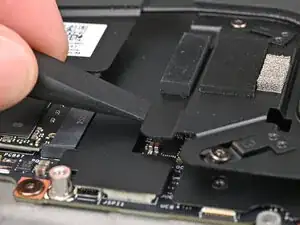
Use the flat end of the Framework Screwdriver to pry up the edges of the heatsink near the CPU until you feel the thermal pads separate.
-
-
-
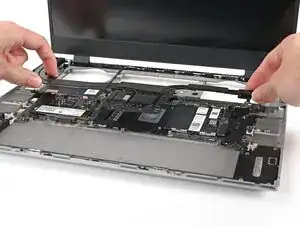
Grip the edges of the heatsink, near its curved pipes, and lift it straight up to remove it.
-

Conclusão
To reassemble your device, follow these instructions in reverse order.
