Introdução
-
-
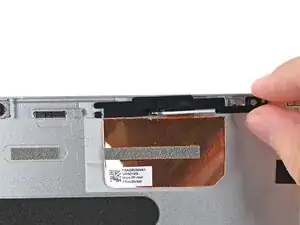
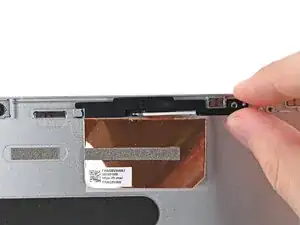
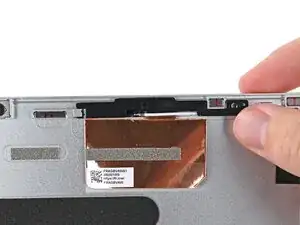
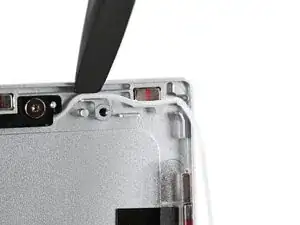
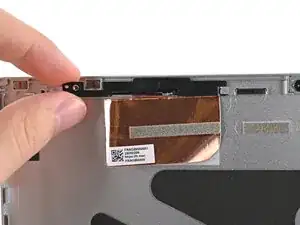
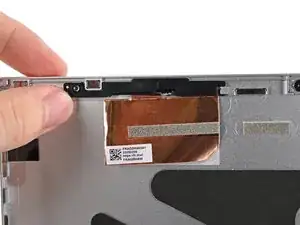
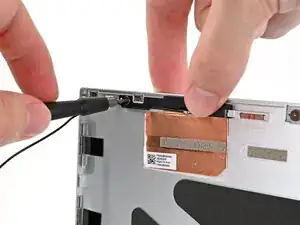
Use your fingers to slide the right antenna into its slot on the Top Cover and press it into its alignment peg.
-
-
-
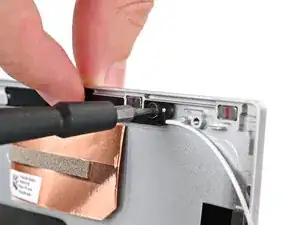
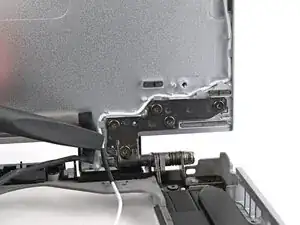
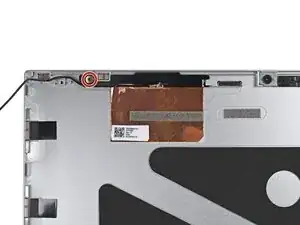
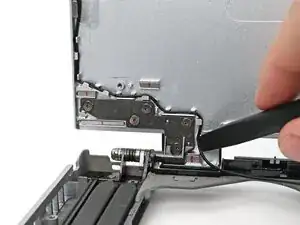
While keeping the antenna pressed into place, use your Framework Screwdriver to install the 2.4 mm‑long T5 Torx screw securing the right antenna.
-
-
-
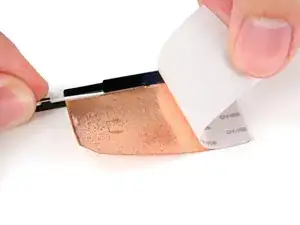
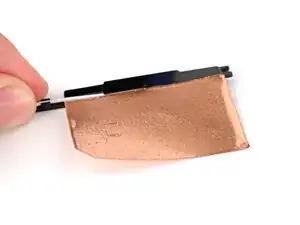
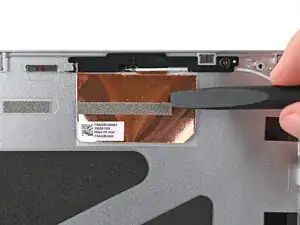
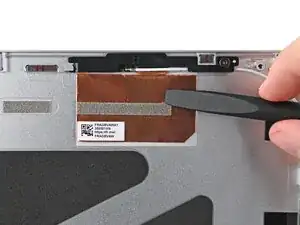
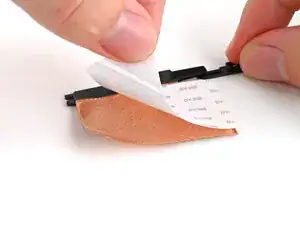
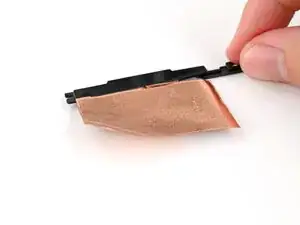
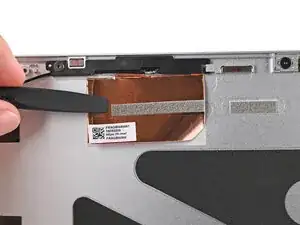
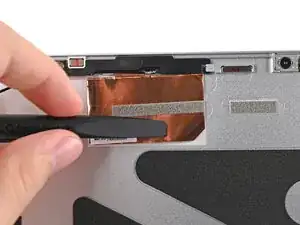
Use the flat end of your Framework Screwdriver to press the copper film onto the Top Cover and adhere it.
-
-
-
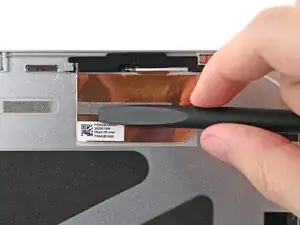
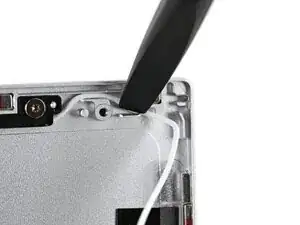
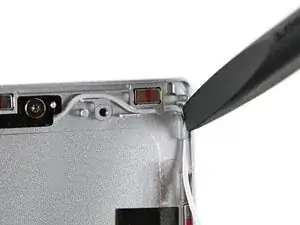
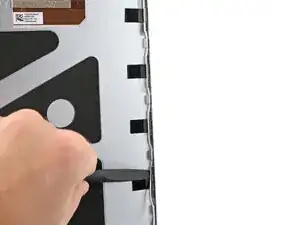
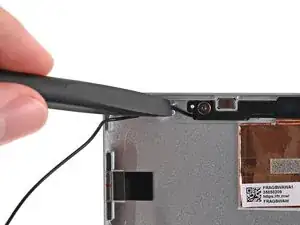
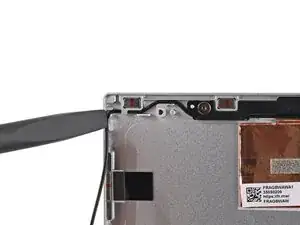
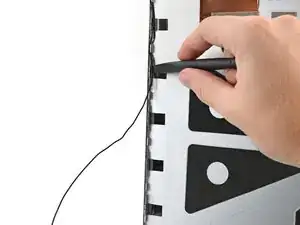
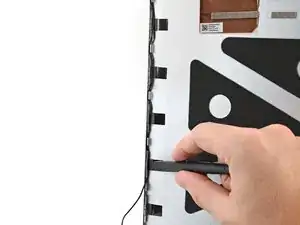
Use the flat end of your Framework Screwdriver, or your fingers, to press the white antenna cable into its clips at the top right corner of the Top Cover.
-
-
-
Use your fingers to slide the left antenna into its slot on the Top Cover and press it into its alignment peg.
-
-
-
While keeping the antenna pressed into place, use your Framework Screwdriver to install the 2.4 mm‑long T5 Torx screw securing the left antenna.
-
-
-
Use the flat end of your Framework Screwdriver to press the copper film onto the Top Cover and adhere it.
-
-
-
Use the flat end of your Framework Screwdriver, or your fingers, to press the black antenna cable into its clips at the top left corner of the Top Cover.
-


To reassemble your device, follow these instructions in reverse order.
