Introdução

  1. 6NbvZM3FPmGvIpyl
    6NbvZM3FPmGvIpyl
    dPFGYPXtIdLILNJo
    D2Gs1ivUKZxw2Jme
    • Hold the SSD by its edges. Don't touch the gold contacts with your fingers. If you do, wipe the contacts with a clean, lint-free cloth to remove any finger oils.

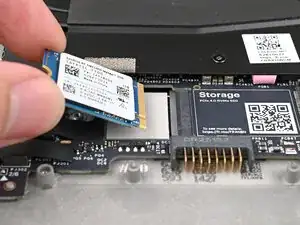
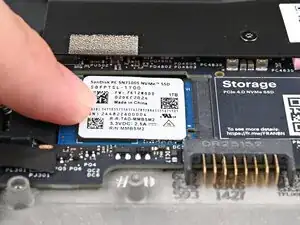
    • Align the SSD's gold contacts with its socket.

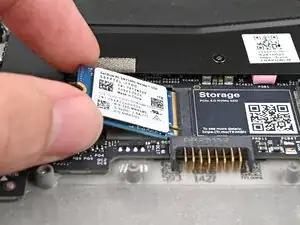
    • Insert the SSD partially into the socket at a shallow angle. You should still be able to see most of the gold contacts.

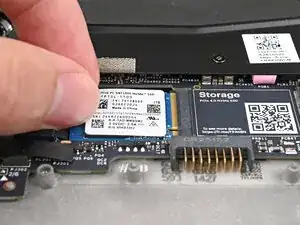
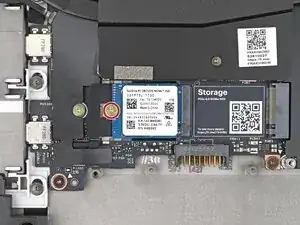
    • Press the SSD flat to the Mainboard.

  2. 5EsXALPSrPkdTeJy
    5EsXALPSrPkdTeJy
    kcylhWOahBSZRMTt
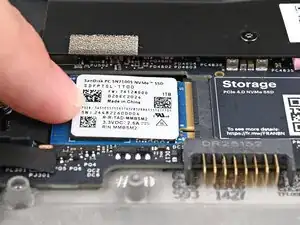
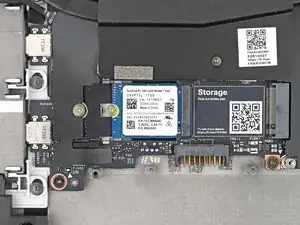
    • While keeping the SSD flat to the Mainboard, push it into its socket until its golden contacts are completely covered.

  3. QUypHpydThfjWERJ
    QUypHpydThfjWERJ
    vodkrnHmaS3Icm6r
    • Use your Framework Screwdriver to install the 2 mm‑long T5 Torx screw securing the SSD.

Conclusão

To reassemble your device, follow these instructions in reverse order.

Alex Diaz-Kokaisl

Membro desde: 16/01/22

227430 Reputação

0 comentários