Introdução

  1. iIGHoTNwTjk6CsYT
    iIGHoTNwTjk6CsYT
    2bSMInO1IvGGlGdY
    V2XKH5ItaYfTBjxB
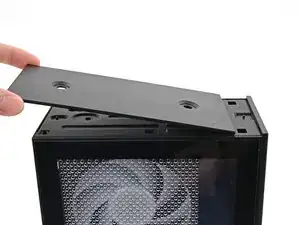
    • Orient the Top Panel so its arrow is pointing towards the rear of the computer.

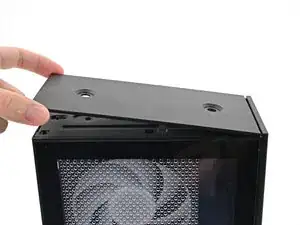
    • While holding the Top Panel at a slight downward angle, slide it across the top of the chassis (from rear to front) until you feel its clips catch.

    • There should be a small gap between the Top Panel and the front of the Desktop.

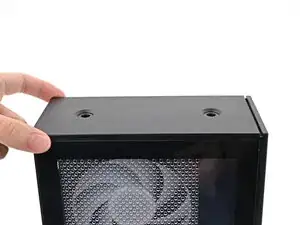
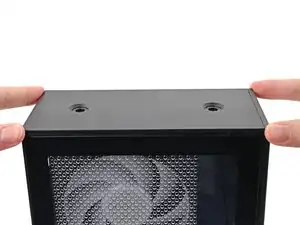
    • Lay the Top Panel flat on the chassis to align the remaining clips.

  2. 5jqYIJjCMYTIluBK
    5jqYIJjCMYTIluBK
    1HnNsOxjfWH3CW2A
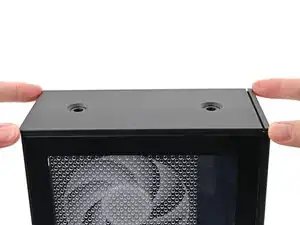
    • While securing the computer with one hand, use the other hand to slide the Top Panel towards the front of the computer to close the gap and engage the clips.

  3. wMSbHEseVBHs4sQl
    wMSbHEseVBHs4sQl
    RUiXT1LIuwYW1mgA
    • If you're installing the Handle on your Desktop, follow this step. Otherwise, skip it.

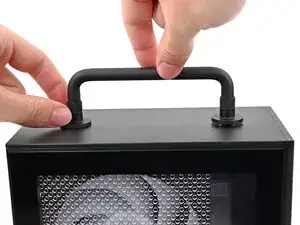
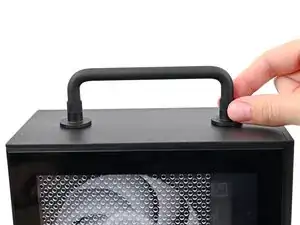
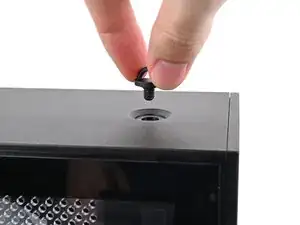
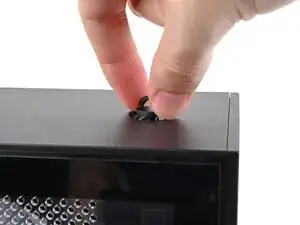
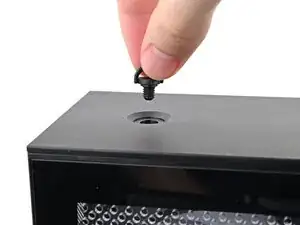
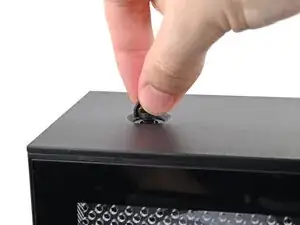
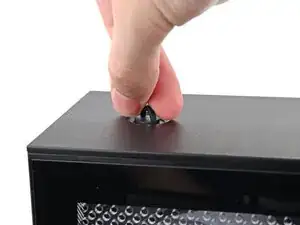
    • Place the Handle over the Top Panel screw holes.

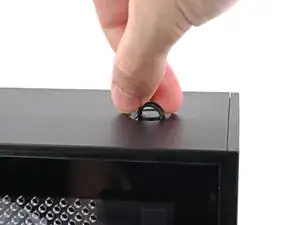
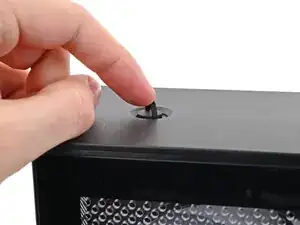
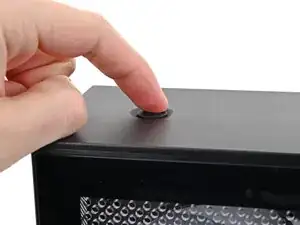
    • While holding the Handle in place, twist the screw threads on both sides clockwise until they're snug on the Top Panel.

  4. QvoH6OkAy6SluuRN
    QvoH6OkAy6SluuRN
    E5MbWITINqhggrhU
    sJHXRSaGVTAJTLGA
    • Insert the top panel screw into its hole and twist clockwise until it feels snug.

  5. omEEwgWEsLJVJGtZ
    omEEwgWEsLJVJGtZ
    yT2GekLdu6iCeSiv
    sehBCxDWubPcnoTn
    • Repeat the same procedure for the other top panel screw.

  6. 6dIq2aLI3wcuuFRc
    6dIq2aLI3wcuuFRc
    QFF5xZUlxcXQmRow
    svPrkAZgMdvGMFrS
    • Use your finger to close the two D-rings on the top panel screws.

Conclusão

To reassemble your device, follow these instructions in reverse order.

Alex Diaz-Kokaisl

Membro desde: 16/01/22

227430 Reputação

0 comentários