Introdução

  1. luYBN2yWGXl5wQwa
    luYBN2yWGXl5wQwa
    nYDrOU5W6NJZS5DT
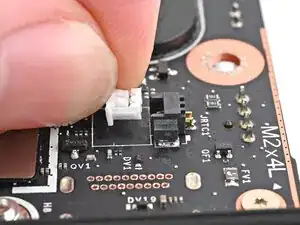
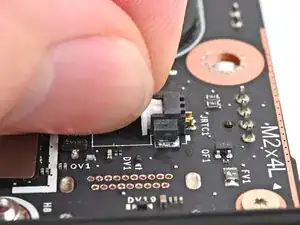
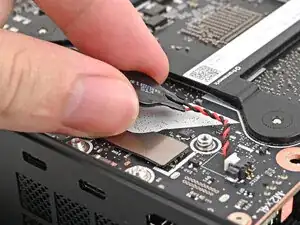
    • Insert the RTC battery connector into its socket and push on the edges until it's fully seated.

  2. QJYEGUNwjXEepuqb
    QJYEGUNwjXEepuqb
    21WNs3fKwcPckmUN
    C5Aq613YCN1WbwiL
    • Peel the white liner off the back of the RTC battery to expose the adhesive.

  3. MLmWuWfDKmNiPD4q
    MLmWuWfDKmNiPD4q
    evaasH4H2LQop5oI
    rIZyyapTukO6N2e3
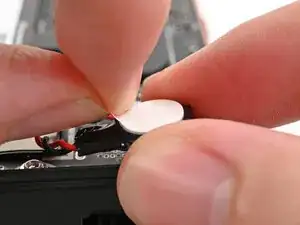
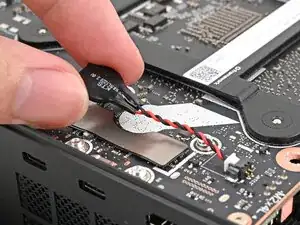
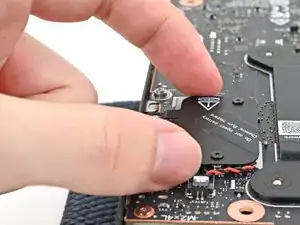
    • Orient the RTC battery so it's aligned with the white circular marking on the Mainboard.

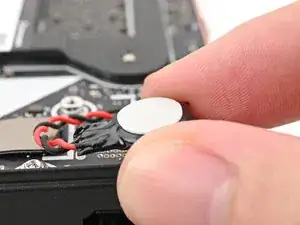
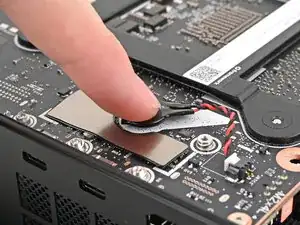
    • Press the RTC battery onto the Mainboard to secure the adhesive.

  4. 4Gjl5mUviuIIxctg
    4Gjl5mUviuIIxctg
    CZoQBjaytvxAHkMY
    • Place the cover over the RTC battery and align its screws.

  5. NLxNGgr1qIRJj1VA
    NLxNGgr1qIRJj1VA
    PyWfDEhNhILXD3Gx
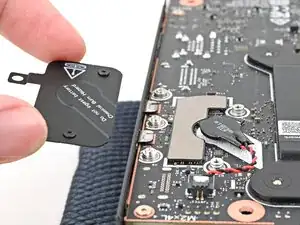
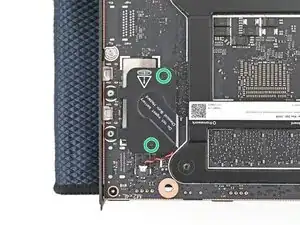
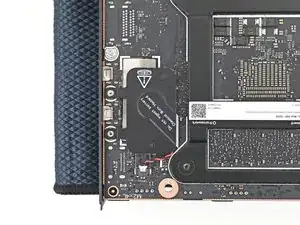
    • Use your Framework Desktop Screwdriver to install the two captive T5 Torx screws securing the RTC battery cover.

Conclusão

To reassemble your device, follow these instructions in reverse order.

Alex Diaz-Kokaisl

Membro desde: 16/01/22

227430 Reputação

0 comentários