Introdução

  1. fOCywU5MySFRbHQt
    fOCywU5MySFRbHQt
    TA1VqfxggqBfLBoI
    w3k1VBAAtLFSsp2D
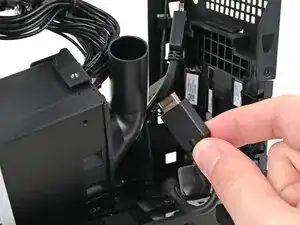
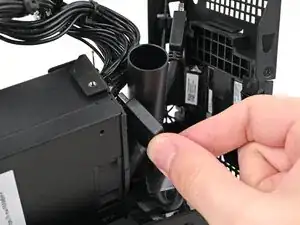
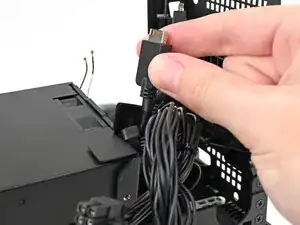
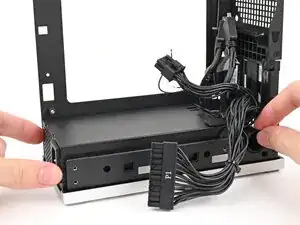
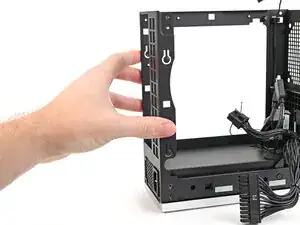
    • Thread the right Expansion card cable through the gap between the power supply and its duct.

  2. owwMaijUch3j5shg
    owwMaijUch3j5shg
    YwFvtLRx4YKJBwGZ
    • Place the power supply into its slot in the bottom of the Desktop.

  3. KpTGyD6HFL1Yk2nv
    KpTGyD6HFL1Yk2nv
    aYgMxQyf5Ku4PKAm
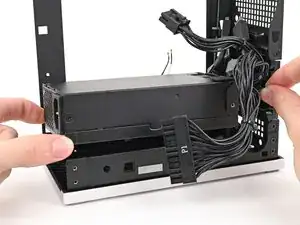
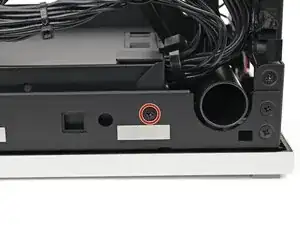
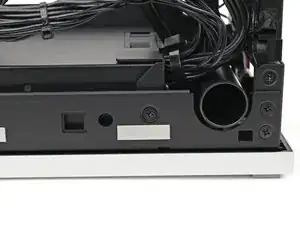
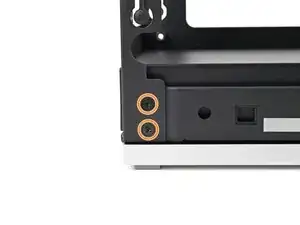
    • Use your Framework Desktop Screwdriver to install the 4.0 mm‑long Phillips screw securing the power supply.

  4. BlJDKubecUBvgMBB
    BlJDKubecUBvgMBB
    YGo2GGeCJGxmdSoI
    • If you didn't remove the rear plate, skip this step.

    • Place the rear plate onto the back of the Desktop.

  5. UHUgr2F6sIQk216F
    UHUgr2F6sIQk216F
    dImFSS3Rd2NfHFDK
    BQMCwQvIcSklBLB6
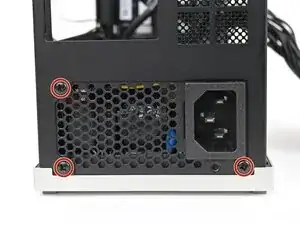
    • Use your Framework Desktop Screwdriver to install the three 5.9 mm‑long Phillips screws securing the power supply.

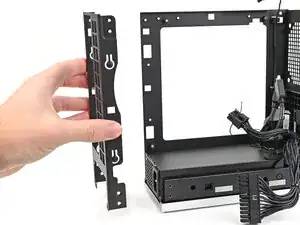
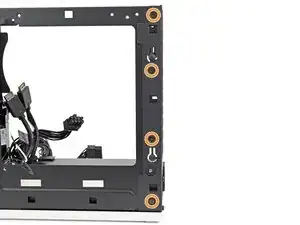
    • If you removed the rear plate, use your Framework Desktop Screwdriver to install the six 4.0 mm‑long screws securing the rear plate.

Conclusão

To reassemble your device, follow these instructions in reverse order.

Alex Diaz-Kokaisl

Membro desde: 16/01/22

227430 Reputação

0 comentários