Introdução

  1. IkKGZsIUwkmGw1fq
    IkKGZsIUwkmGw1fq
    RiY1w5f4QutkQZmS
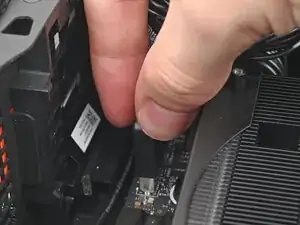
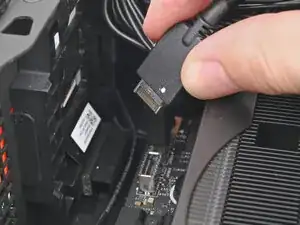
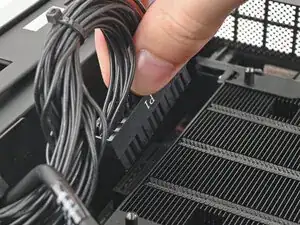
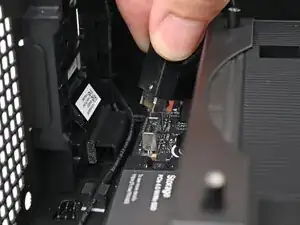
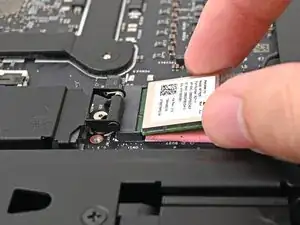
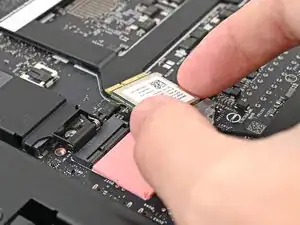
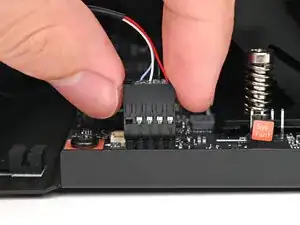
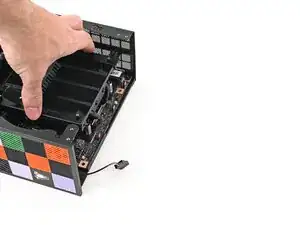
    • Pull the top Expansion Card connector straight out of its socket in the Mainboard to disconnect it.

  2. jDKtVhSVxSQIqPlA
    jDKtVhSVxSQIqPlA
    1GptQTd2QPkJOFCb
    • While squeezing the clip on the main power cable, pull it straight up and out of its socket to disconnect it.

  3. CPB6NlTZsjwca5RJ
    CPB6NlTZsjwca5RJ
    v1M2UQmutjdnMCDN
    • While squeezing the clip on the CPU power cable, pull it straight up and out of its socket to disconnect it.

  4. oMaoSoU5mLJYGOIG
    oMaoSoU5mLJYGOIG
    IsHaFZgRwDWInefi
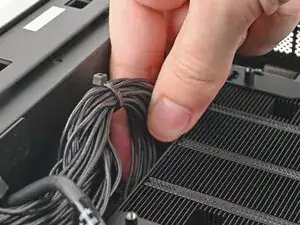
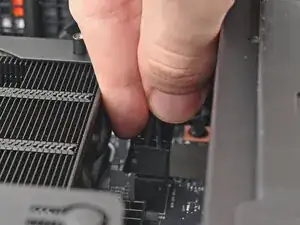
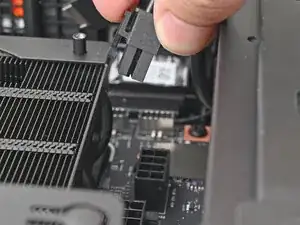
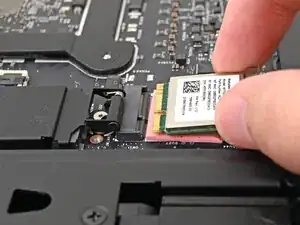
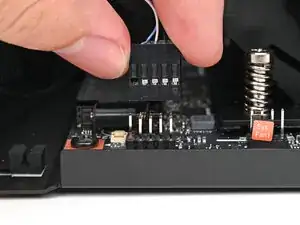
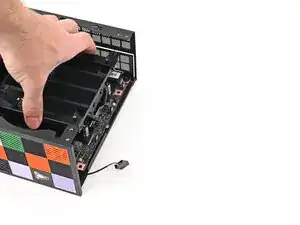
    • Pull the bottom Expansion Card connector straight out of its socket in the Mainboard to disconnect it.

  5. JyuRpCIYt5n21SEU
    JyuRpCIYt5n21SEU
    WNx4Y4v22eItDSaF
    • Lift the Desktop so it stands upright on your work surface.

  6. pWOAB2YbnIJVqwcb
    pWOAB2YbnIJVqwcb
    wbgDEFUWog6rZbRg
    36ksgPABSkJdVaFh
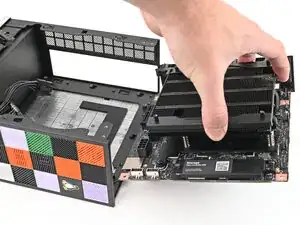
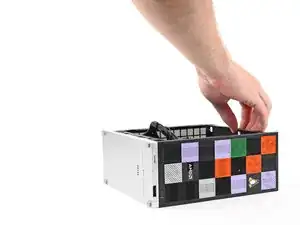
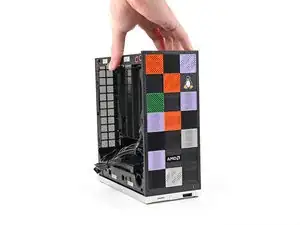
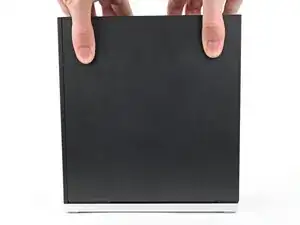
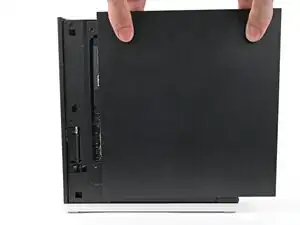
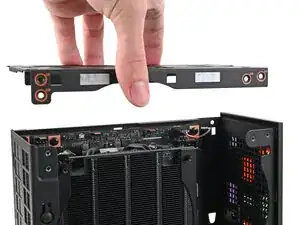
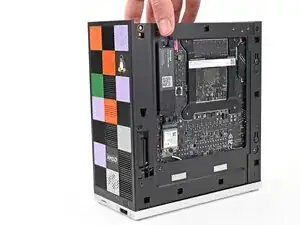
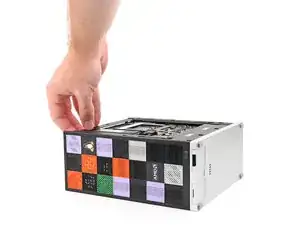
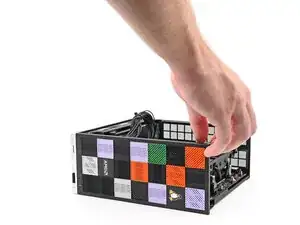
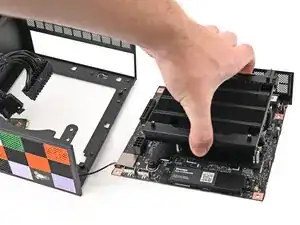
    • Use your fingers to grip the top of the Right Panel and slide it upward to release its clips.

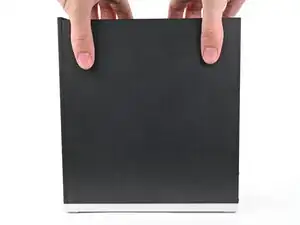
    • Remove the Right Panel.

  7. PrMSMvP1u6Mldhvp
    PrMSMvP1u6Mldhvp
    FQo4GHGDCcDEYg6g
    OPHvQkt5DjEFKrDI
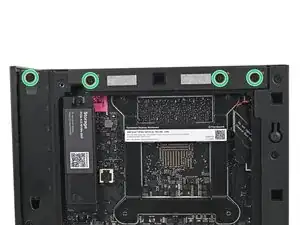
    • While holding the Desktop steady, use your Framework Desktop Screwdriver to remove the eight 4.0 mm‑long Phillips screws securing the top plate.

  8. k4DvEjHP23jFmvFa
    k4DvEjHP23jFmvFa
    OwJIJIPVTLfoOPGT
    • Lift the top plate off the Desktop and remove it.

  9. PeLKWCCQSDSRJAlW
    PeLKWCCQSDSRJAlW
    GbQesSQgRrMNghEW
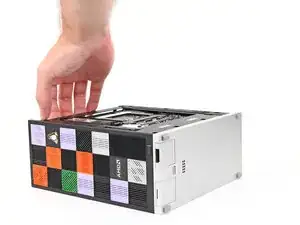
    • Lay the left side of the Desktop on your work surface so the underside of the Mainboard is facing upward.

  10. EgGBrYNZ2Ht3bq1q
    EgGBrYNZ2Ht3bq1q
    6fUqfEsGrVue1TaZ
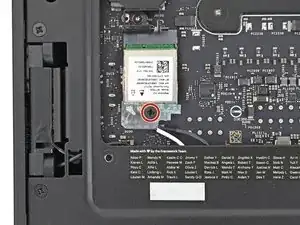
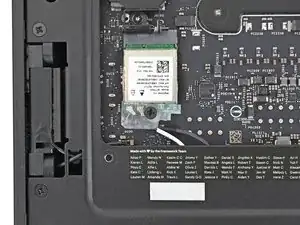
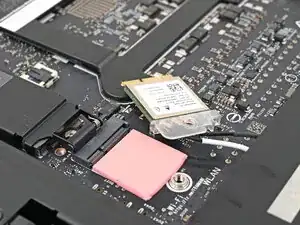
    • Use your Framework Desktop Screwdriver to remove the 7.0 mm‑long Phillips screw securing the Wi-Fi module.

  11. 3S3eX6H5cgJc53w2
    3S3eX6H5cgJc53w2
    iEDLgZE31y3ZKsyC
    • Grip the Wi-Fi module by its edges and pull it straight out of its socket.

  12. etHfCcp1JCQjAZCE
    etHfCcp1JCQjAZCE
    12mqHvdhCEYYb1NL
    cFPdSAuMKV4cGKEO
    • Move the Wi-Fi module towards the center of the Mainboard to keep it out of the way.

  13. B1NGpTRaMXXTiRoU
    B1NGpTRaMXXTiRoU
    OVc4De6EqBVrKSfj
    HLAodONJjvHWfybE
    • Rotate the Desktop onto its right side so the Mainboard is facing upward.

  14. KZ4cTVvtehE3GZsw
    KZ4cTVvtehE3GZsw
    fGHcmJYgb2YVvcha
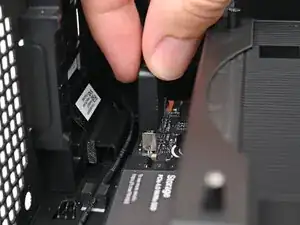
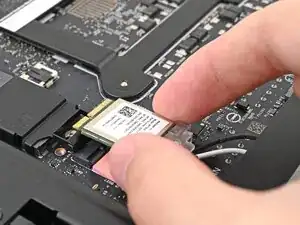
    • Use your fingers to lift the power button cable connector off its nine‑pronged socket on the Mainboard.

  15. xYETUKIPEOXWaIuF
    xYETUKIPEOXWaIuF
    mfaUgpwjtBWIdBFy
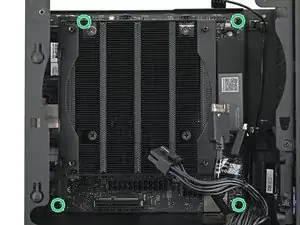
    • Use your Framework Desktop Screwdriver to remove the four 8.2 mm‑long Phillips screws securing the Mainboard.

  16. HWwoGkGkiLN5JeTB
    HWwoGkGkiLN5JeTB
    vLMlOYMIm1h4BRiP
    cjDjJkyfsRqUfhNM
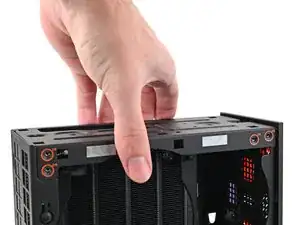
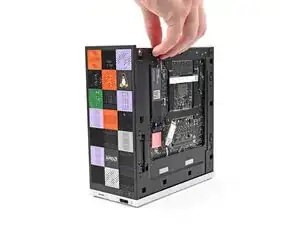
    • Grab the Mainboard by its heatsink and pull it towards the front of the Desktop to slide it out of the rear port cutout.

    • Slide the Mainboard towards the top of the Desktop to remove it from the chassis.

Conclusão

To reassemble your device, follow these instructions in reverse order.

Alex Diaz-Kokaisl

Membro desde: 16/01/22

227430 Reputação

0 comentários