Introdução

  1. ZHrFVeqRPOnJE6u4
    ZHrFVeqRPOnJE6u4
    oo5N5OPHpJCIAtUd
    • Lay down the Desktop on its side so the fan is facing upward.

  2. DsZB13WRF1jbbQMG
    DsZB13WRF1jbbQMG
    gK2SgLUMEhLPyDcS
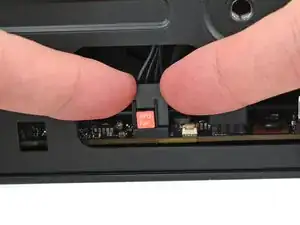
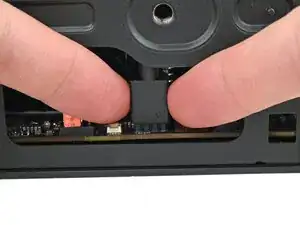
    • Use your fingers to lift the APU fan cable connector off its four‑pronged socket on the Mainboard.

  3. MtMUNuamBHYgkNWA
    MtMUNuamBHYgkNWA
    YhCfHtk6QNGEEKmY
    • If you aren't using an RGB fan, then skip this step.

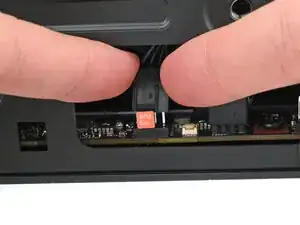
    • Use your fingers to lift the fan RGB cable connector off its three‑pronged socket on the Mainboard.

  4. wYCTGPWMAcOeR4XS
    wYCTGPWMAcOeR4XS
    SdYJJGSHmltiwLSx
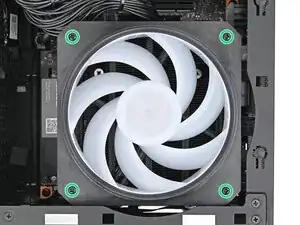
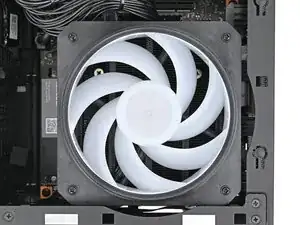
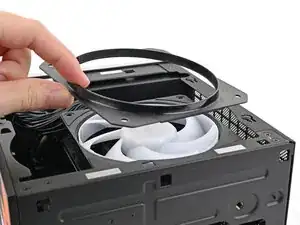
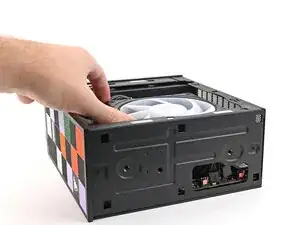
    • Use your Framework Desktop Screwdriver to remove the four 27.3 mm‑long Phillips screws securing the CPU fan and fan duct.

  5. a6lNGtOgVT5bSj4g
    a6lNGtOgVT5bSj4g
    ZLCCVV2aywoiGZSM
    • Lift the fan duct off the fan and remove it.

  6. CHxalKIsFQMXkPTS
    CHxalKIsFQMXkPTS
    ckmIUBoAtibQFaQj
    ZZ6j42hbHTrSJI1Y
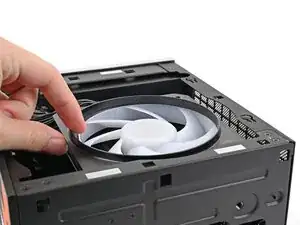
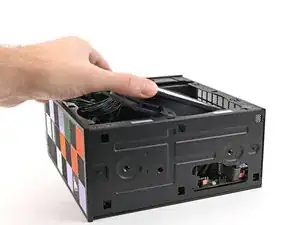
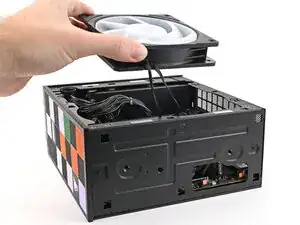
    • Lift the fan out of the chassis, making sure the cables thread through the side of the heatsink.

Conclusão

To reassemble your device, follow these instructions in reverse order.

Alex Diaz-Kokaisl

Membro desde: 16/01/22

227430 Reputação

0 comentários