Introdução
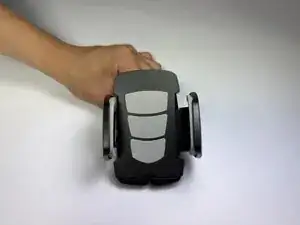
If your car phone holder is no longer gripping your phone securely—due to loose, jammed, or uneven closing wings—use this guide to diagnose and repair the internal spring and wing mechanism.
Car phone holders (also called car mounts, dashboard phone mounts, or air-vent phone holders) secure your smartphone in place while driving, allowing for hands-free navigation, calls, and media use. They rely on a spring-loaded plastic wing system to clamp onto devices. When the internal spring shifts out of place or the internal gears become misaligned, one or both arms may fail to close properly, causing the phone to slip or fall during driving.
Common symptoms of this issue include:
- One arm closing fully while the other remains stuck open
- Weak grip on the phone
- Clicking sounds without movement
- The mount failing to return to its closed position
These symptoms are typically caused by a dislodged suspension spring or misaligned internal gears, which this guide will help you fix.
Before starting this repair, remove the phone holder from your vehicle. This guide involves disassembling small mechanical parts and realigning a spring. Basic mechanical patience and steady hands are recommended.
Ferramentas
-
-
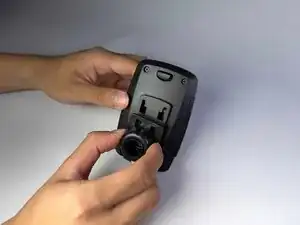
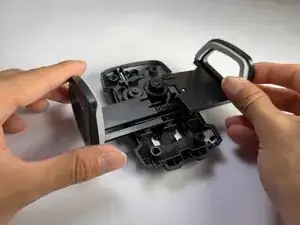
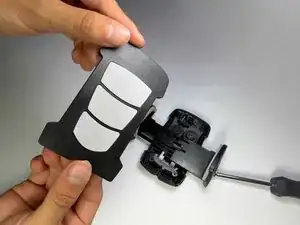
Take your broken phone holder and flip it over.
-
Remove the back attachment by gently tugging downwards.
-
-
-
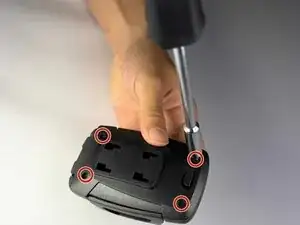
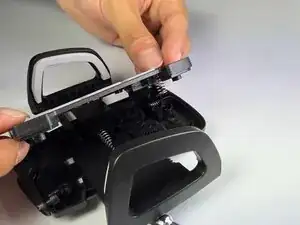
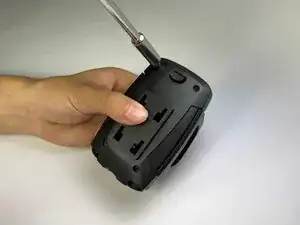
Use a Phillips #00 screwdriver to carefully remove the four screws from the back panel.
-
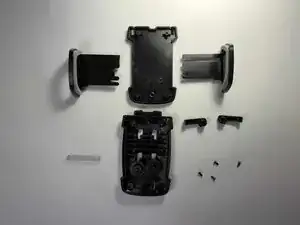
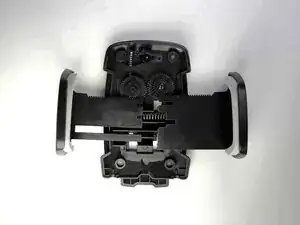
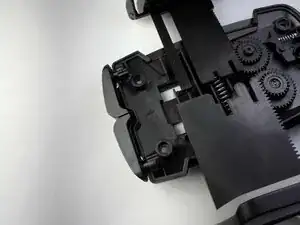
Disassemble and lay out all the parts for easy access. You should have:
-
Front panel
-
Back panel
-
Two wings
-
Spring
-
Two legs
-
Four screws
-
-
-
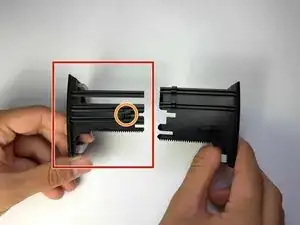
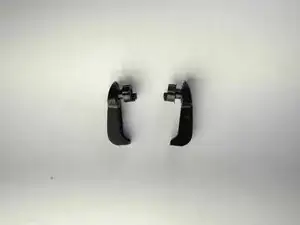
Identify the correct wing.
-
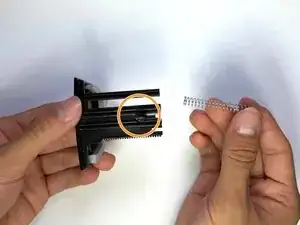
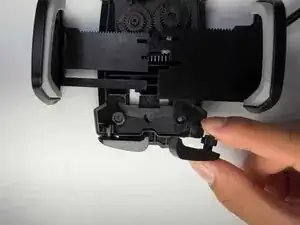
Using your fingers, place the spring on the small projection on the wing.
-
-
-
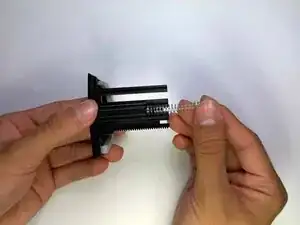
Replace the first wing by lining up the spring in the correct slot.
-
Replace the second wing, by lining up the underside with the correct slots.
-
-
-
Using a Phillips #00 screwdriver, screw the four screws back in place.
-
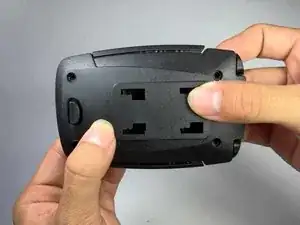
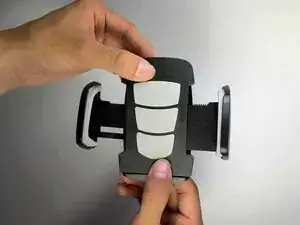
Reattach the back attachment.
-