
Introdução
The Fender bridge is one of the easier bridges to remove. Other guitars have their bridge embedded into the body, making it more difficult to replace, but this bridge simply sits on top of the body. You might want to replace your bridge for cosmetic purposes or due to wear and tear. Adjusting your bridge can address bad fret-buzz (when your strings buzz against your frets even with proper fingering) or adjust your action (distance between strings and guitar body/fretboard). In this guide, I will instruct you on the process of changing and adjusting the bridge on your Fender bass. To complete this guide, you will need a Phillips head screwdriver and a guitar tuner to retune your instrument.
Ferramentas
Peças
-
-
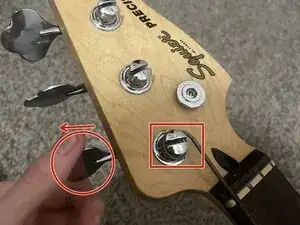
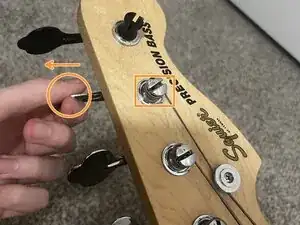
Start removing the strings from your instrument by loosening the tuning pegs until there is no tension.
-
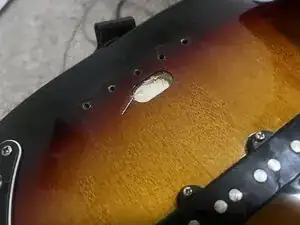
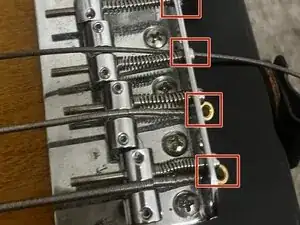
Pull the strings out from the bridge and set them aside unless you are also replacing your strings.
-
-
-
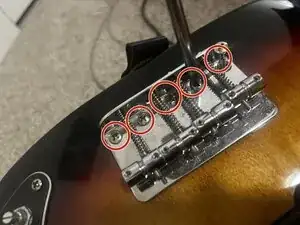
Use your Phillips #1 screwdriver to unscrew the five screws on the bridge and remove them one by one. For this step, the order in which you remove them is irrelevant.
-
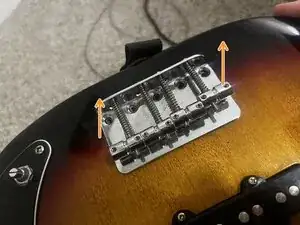
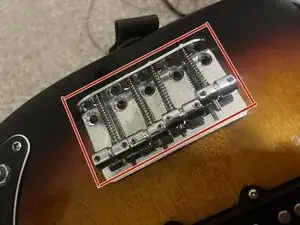
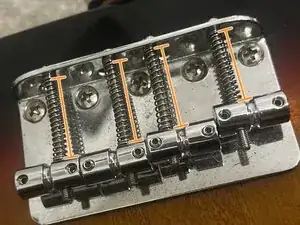
Pick up the bridge once you have removed all the screws.
-
-
-
Line up the new bridge with the existing screw holes as best as possible. If the new bridge does not line up the exact same as the old one, it will still line up properly as long as it is a four-string bridge.
-
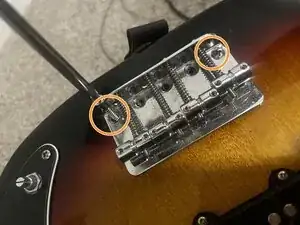
Start with the outer two holes and use your Phillips #1 screwdriver to screw the new bridge in.
-
Screw in the rest of the screws to secure the new bridge.
-
-
-
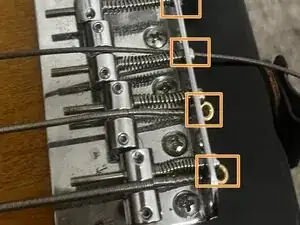
Feed the strings through the hole in the bridge so that they sit in place, shown in Step 1. Ensure the strings are in the correct order.
-
Tighten the strings and tune them. Tuned strings are necessary for "live feedback" adjustment to work.
-
-
-
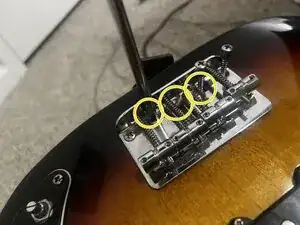
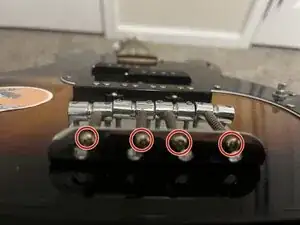
Locate the screws on the outside of the string to begin adjusting the cylinders on the bridge (called bridge saddles).
-
Adjust the bridge saddles' proximity to the pickups by tightening or loosening the screws with your Phillips #1 screwdriver. Think of adjusting the bridge saddles as adjusting the action on the other end of the guitar.
-
Assuming it is still usable, you might want to hold onto your old bridge in case there are any complications with your new bridge or you need a spare. Thank you for reading my guide, I hope it helped you.