Introdução
The on-off switch on my Escali P115C kitchen scale started to get twitchy. Sometimes it would not turn on at all. Other times it would turn on but the tare function would not work. Time to replace the switch!
Peças
-
-
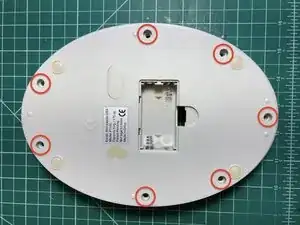
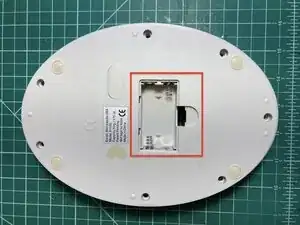
Flip the scale over and remove the battery cover and batteries.
-
Use a Phillips #2 screwdriver to remove the seven screws holding the base to the upper body. A JIS #2 screwdriver works even better, if you have one.
-
-
-
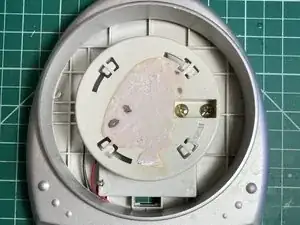
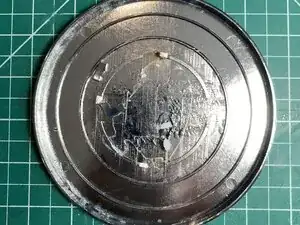
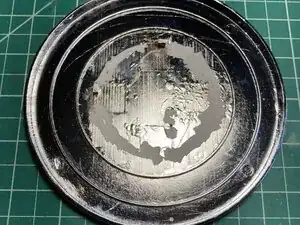
Though it looks like metal, the platen is chrome plated plastic. It has four hooks on the bottom that attach it to the piece underneath along with a good layer of glue (pink in the photo).
-
Grasp the platen firmly and rotate it counterclockwise about five degrees to free the hooks.
-
A putty knife or flat bladed screwdriver slid between the platen and the top of the scale body can help separate the adhesive. The platen does not come off easily and you may end up breaking the hooks, as I did.
-
-
-
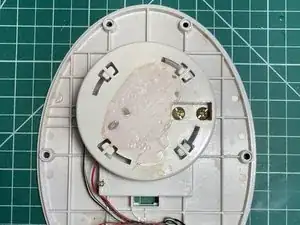
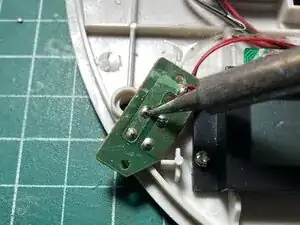
Us a #2 Phillips or #2 JIS screwdriver to remove the screw indicated by the arrow. Lift the circuit board free and flip it over.
-
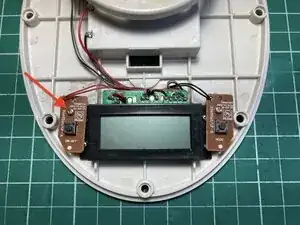
Heat the four solder blobs sequentially and desolder the switch using a solder sucker or desoldering braid
-
-
-
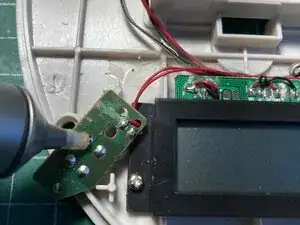
Remove the desoldered microswitch and reinsert a new microswitch of the same size (6 x 6mm x 4.3mm) through the holes in the circuit board where the old switch went. Confirm orientation and resolder the switch leads.
-
Flip the circuit board over, place back into position and replace screw.
-
-
-
Place top of case back into position, hold the top and bottom together, flip over and re-insert the seven (7) screws. Don't over tighten. Flip scale back upright.
-
-
-
If you broke one or more of the hooks on the bottom of the platen, use a Dremel or similar tool to grind the hooks flush with the bottom of the platen.
-
-
-
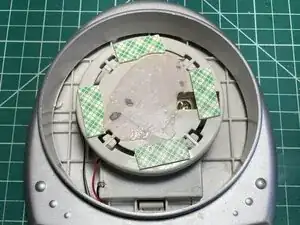
Cut four pieces of double-sided adhesive mounting tape such as 3M VHB 5925, 9448B or similar and place around the edge of the platform as shown the picture. Due to the relatively uneven surfaces involved the mounting tape should have enough thickness to conform to any irregularities.
-
Carefully align the platen on the center of the opening and gently set into position. Tweak position as necessary and then firmly press the platen against the mounting tape. It should hold its position but the bond will increase in strength over the next 24 hours.
-
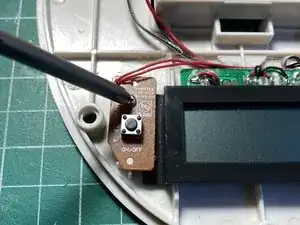
Push the power button to confirm the unit now turns on.
-
Reward yourself with a gummi bear!
-