Introdução

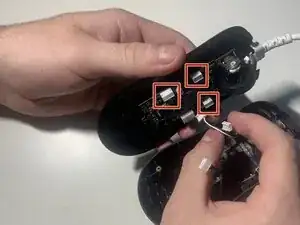
This guide will show you how to replace a faulty/broken JST cable for the OP18K by EndGameGear. This guide will need you to unplug 3 different wire connections including the power connector. The cable replacment should restore your mouse to full functionality including stable 8k polling.

This guide only goes over how to replace the offiical JST cable sold by EndGameGear which will need to be bought separately.This is also meant for the V1 model and not the V2 although they are very similar.

  1. toEsjHVq3SnkEamQ
    toEsjHVq3SnkEamQ
    MPFZmJvyuejqGMJC
    • Unplug the mouse before beginning.

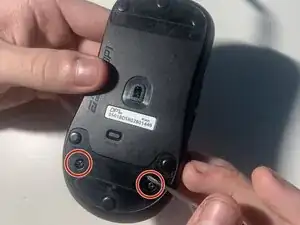
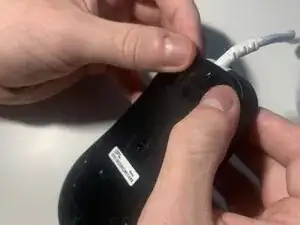
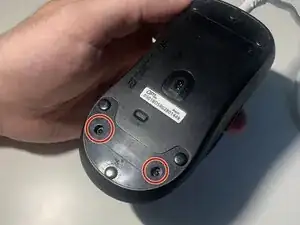
    • Using a Phillips #00 screwdriver remove the two screws from the bottom of the mouse towards the rear.

  2. oLvMQamQmJRleEfs
    oLvMQamQmJRleEfs
    LZf1buunSKU1xX6e
    FRO1L2aCAbUdJWuW
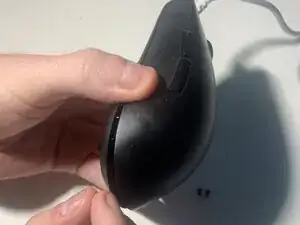
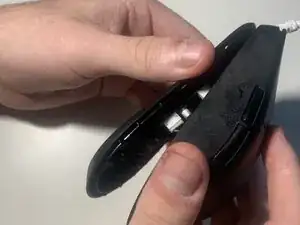
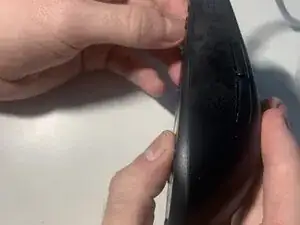
    • Pinch the back sides of the mouse and pry the small opening up.

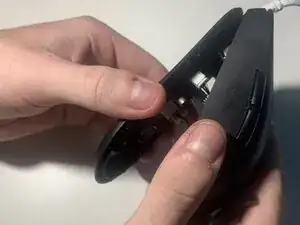
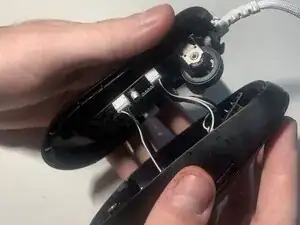
    • Use the created opening to pull the rear of the mouse up.

    • Slightly push the top shell forward until the front of the mouse detaches from the base.

    • Be careful to not pull on the connected wires when detaching the top shell.

  3. PVt5x4x1KSSAbrfc
    PVt5x4x1KSSAbrfc
    O5HxS6OiKtULYGhq
    aPsUeuB53LDRSulH
    • Using your fingernails or a pair of tweezers wiggle out the three connectors.

    • Careful when disconnecting the wires; you may need to use a little force.

  4. 1OmpAPFAnhf2BFoN
    1OmpAPFAnhf2BFoN
    PPNetS3VLpxnfJpq
    gx2QkXpEWP1FajRJ
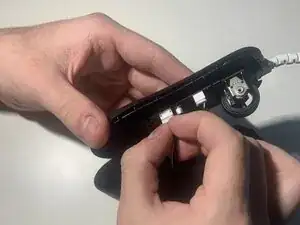
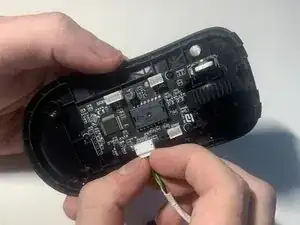
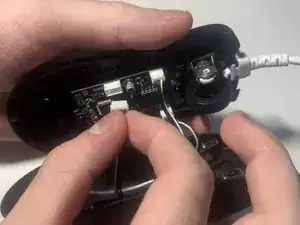
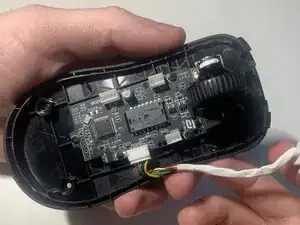
    • Push the JST cable out of the stress relief by pushing it upwards.

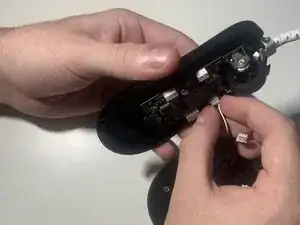
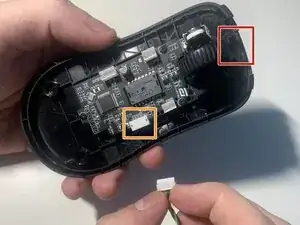
    • Wiggle out the final large power connector at the back right of the circuit board.

    • Careful when disconnecting the power connector.

  5. ACUPajYP4BtGvYHP
    ACUPajYP4BtGvYHP
    ujcTMXpI1QaWF3Wm
    OyyL6gBbiNCoGAPk
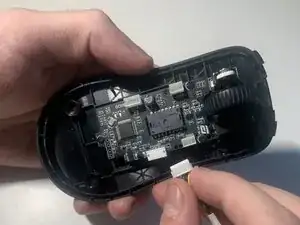
    • Align the new cable connector and slot it into the power connection.

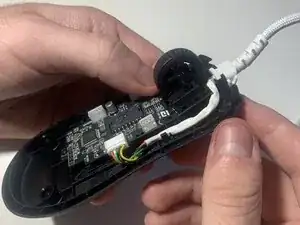
    • Set the stress relief of the cable into its spot in front of the scrollwheel.

    • Be sure the cable doesnt rest outside the shell and that the cable bends upward at the front.

  6. qcoLHH4HTrevBkN2
    qcoLHH4HTrevBkN2
    OX1UrQNhH2lIjZMc
    fHuoMdb2M3C5sFO1
    • Align the three connectors and slot them into their places.

    • Be sure the wires are fully seated in and that the left and right front wires are connected in their proper spot.

  7. ieXQFbtL6dP5O3Uu
    ieXQFbtL6dP5O3Uu
    pKvCdQdOJqfjIZbK
    WcUfLBEYOVmGiCQQ
    • Push the top shell down and using a little pressure push the front bottom of the mouse to attach to the hooks.

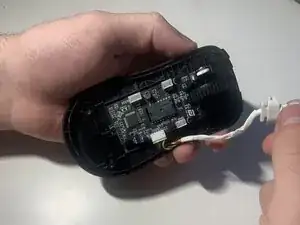
    • Push on the bottom back of the mouse to close.

    • Be sure the wires dont block the mouse edges from closing

  8. FL1dYgKdlJiASJKF
    FL1dYgKdlJiASJKF
    MYVkNjGYcjHN1nyc
    • Put the bottom two screws back into their place using the Phillips #00 screwdriver.

Isaac Sandoval

Membro desde: 30/09/25

157 Reputação

0 comentários