
Introdução
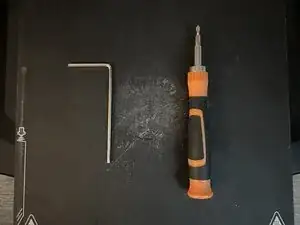
Ferramentas
Peças
-
-
Make sure to disconnect the printer from power
-
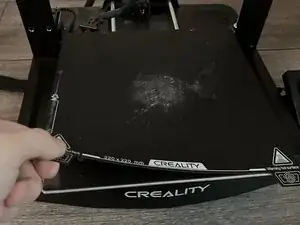
Move the tool head up to make space over the hot bed (Push up on the gantry, not the tool head itself
-
-
-
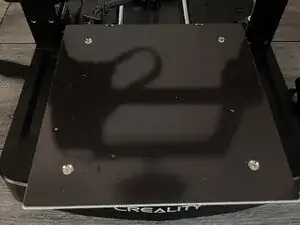
Remove the magnetic build plate from the heated bed, exposing four screws hidden underneath
-
Use a 2.5mm Allen Wrench to undo the four silver screws shown
-
-
-
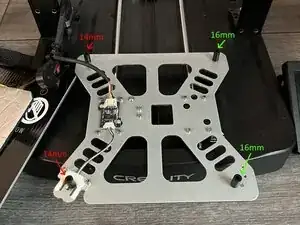
Remove the four black plastic standoffs shown
-
The left standoffs are 14mm, The right standoffs are 16mm. Keep this in mind when you reassemble the bed later.
-
-
-
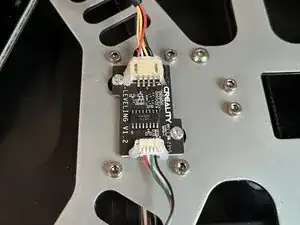
Unscrew the two Philips head screws holding the control board
-
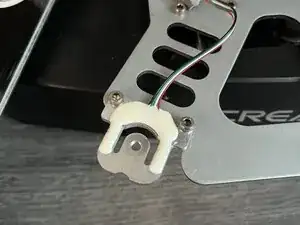
Unscrew the two Hex screws holding the Z offset calibration module
-
-
-
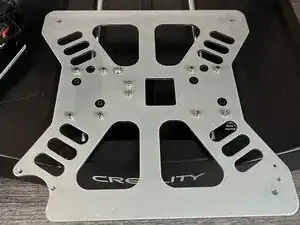
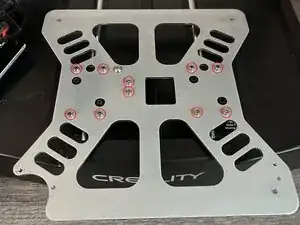
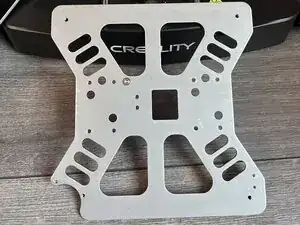
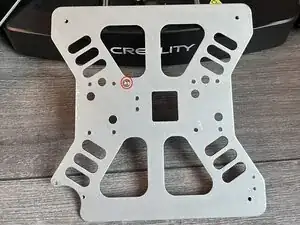
Remove the 10 silver screws shown to remove the metal bracket
-
Lift the bracket off the bearings
-

Conclusão
To reassemble your device, follow these instructions in reverse order.
