Introdução

  1. BFqhfanwsSUSMu2C
    BFqhfanwsSUSMu2C
    fm4ZA1PQ61Uak2jy
    • Use a spudger to open your device's case, revealing the inside.

  2. gMnvNw1BaoC3MyKT
    gMnvNw1BaoC3MyKT
    Uaxv1PkINgcyUsvy
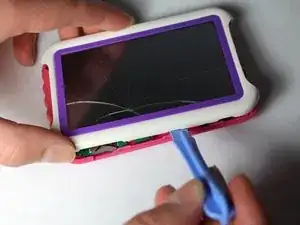
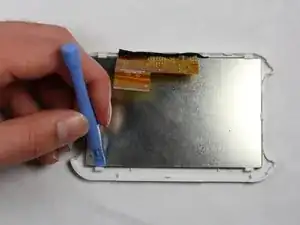
    • Disconnect the LCD cable from the motherboard by pressing the two sides of the clamp together.

  3. gpBF43SQhV5ApCnD
    • Use the spudger to pry the LCD from the clamps that hold it in the case.

  4. QSjiybRP2eBNgcRS
    QSjiybRP2eBNgcRS
    kRrcu5T45CDKTyGg
    • If you need to remove the back part of the casing:

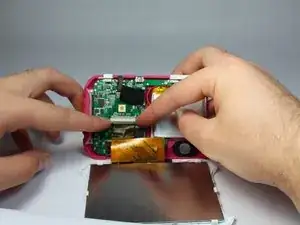
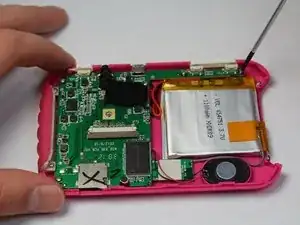
    • After disconnecting the LCD from the motherboard, remove the screws that hold down the motherboard.

    • Remove the plastic power and volume buttons.

    • Remove the two side grips of the device.

  5. 6BvEFymDTrkRP1HS
    6BvEFymDTrkRP1HS
    OThSBsB4b12s33wg
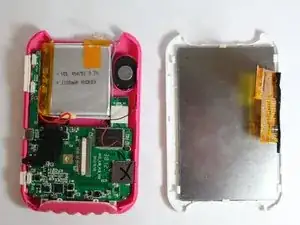
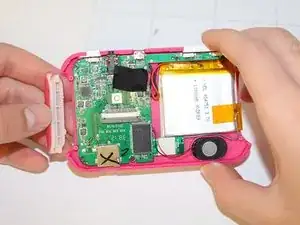
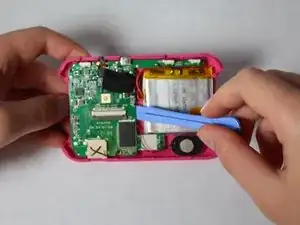
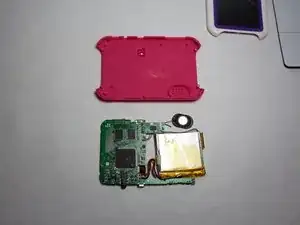
    • Remove the motherboard, the speaker, and the battery, leaving just the back casing of the device.

Conclusão

To reassemble your device, follow these instructions in reverse order.

Timothy

Membro desde: 21/01/15

505 Reputação

0 comentários