Introdução

  1. wUmdmmB3ZM6aZnC3
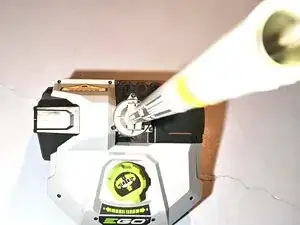
    • Remove the battery and remove the tool from the Power Head. This keeps it safe and makes it much easier to handle.

  2. GkqXviScEfPvtBJX
    GkqXviScEfPvtBJX
    5MRMokE61PtGDuiq
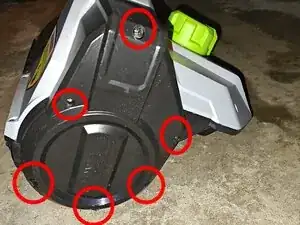
    • Using the T20 Screwdriver remove the 6 screws holding the Right Cover in place and remove it.

    • Note: some of the screws are recessed deep in the plastic and require a thin and long Screwdriver to reach. All screws are the same length.

  3. 5S3RDkoEaNmlo2TD
    5S3RDkoEaNmlo2TD
    FogABCuDFyWHKPaq
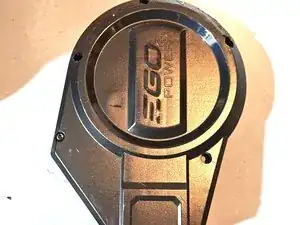
    • Remove the 6 screws holding the Left Rear Cover on and remove the piece by sliding it away from the center shaft.

  4. TBoZ1lI4CvAd3i3c
    • The label comes off cleanly and can easily be re-applied afterwards.

  5. ACUUSXkiVSrStra3
    ACUUSXkiVSrStra3
    PsTS4GNaCLlFbFlH
    • Use the directional knob to align the Louver/Guide Blade's straight for easy of reassembly.

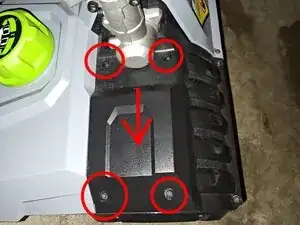
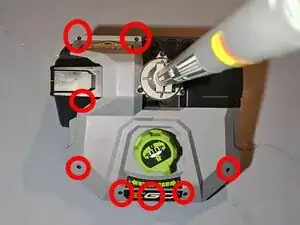
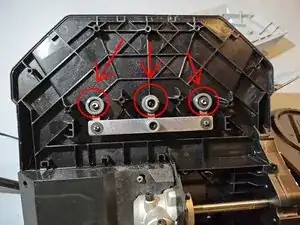
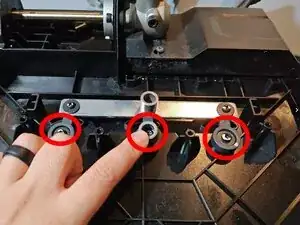
    • Remove the 8 screws holding on the Rear Cover Assembly

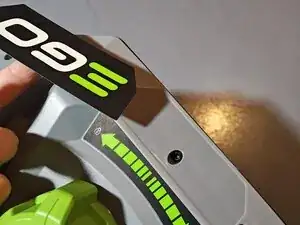
    • This includes the 1 screw hidden under the EGO center label, and the 1 screw which is under the Right Cover shown in picture 2.

  6. CXxeVVTna3txyIaA
    • These 3 screws thread into the 3 Louvre/Guide Blades. Remove the screw for your corresponding broken piece. All 3 Louver/Guide Blades are identical.

  7. bJ3UI4eYQvnBfTxJ
    bJ3UI4eYQvnBfTxJ
    ZH3mSi3y26qqTmXR
    • When tipping the tool backwards to install the new Louvre/Guide Blade the loose Bushing (Center) or Washer (Left/Right) may fall away, hold this in place with a finger to avoid losing it while tipping backwards.

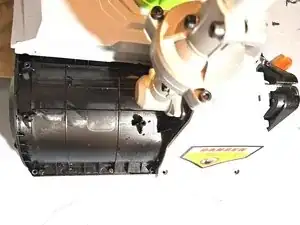
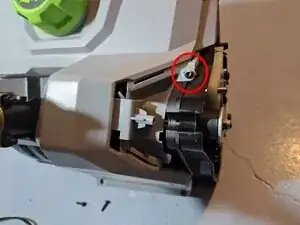
    • Place the new Louver/Guide Blade Replacement into the location of the broken one and reattach with the screw.

    • Ensure the replacement Louver/Guide Blade is in the same orientation as the others when it is attached.

Conclusão

To reassemble your device, follow these instructions in reverse order.

Cody Rico

Membro desde: 17/11/19

145 Reputação

0 comentários