Introdução
This guide will take you through the process of changing the motor in your Dyson fan. This guide uses a Dyson Pure Hot + Cool Link (HP02) but will work for older Dyson models of this generation.
This guide should be applicable to Dyson Models: AM01, AM02, AM03, AM06, AM07, AM08 Cool Fans. AM04, AM05, AM09 Fan Heaters, TP00, TP02, DP02, HP00, HP02 Purifiers.
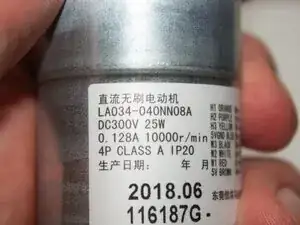
For 230V countries you'll need motor model no. LA034-040NN08A
For 120V countries you'll need motor model no. LA034-040NN07A
Make sure to get the correct voltage motor for your country / region to avoid damage to your machine.
Replacement motors can be found on sites like AliExpress.
Be aware the process for accessing the motor might be different on the style of fan you're repairing. HP fan heaters (shorter loop), AM/TP fans (longer tower style loop), DP fans (rounded loop)
-
-
Press the filter buttons in on both sides
-
Then slide the filer shroud upwards and over the machine to expose the screws on either side
-
Unscrew the screws on either side and place aside
-
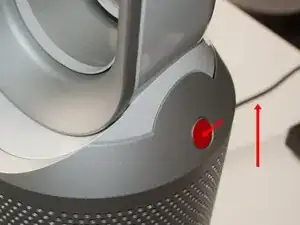
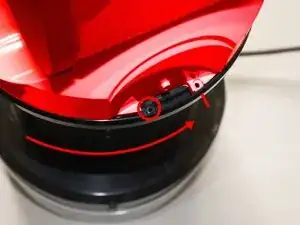
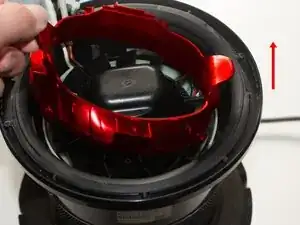
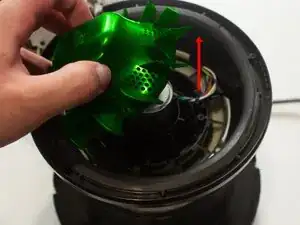
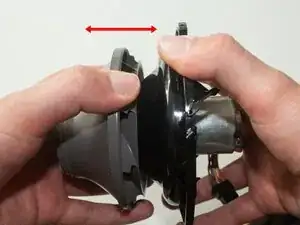
Hold the base of the machine and twist the loop counter clockwise until it comes to a stop
-
-
-
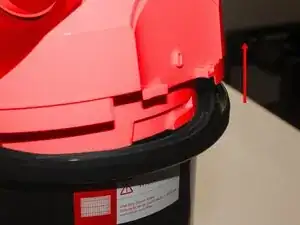
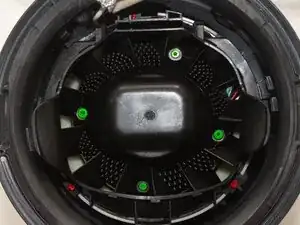
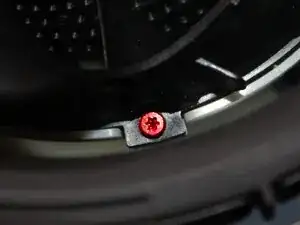
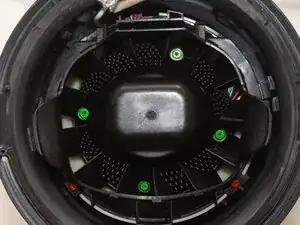
Remove the 3 screws on the outside of the assembly and place aside
-
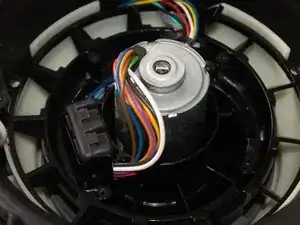
You can then lift up the bracket
-
-
-
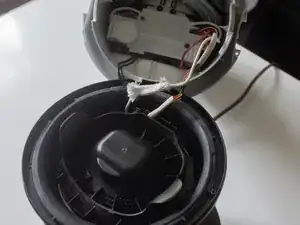
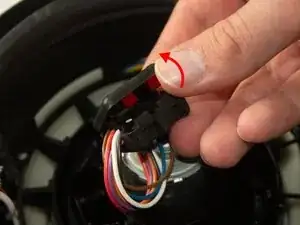
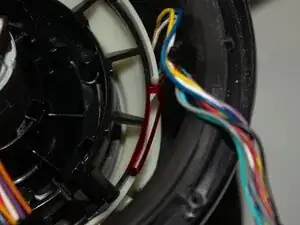
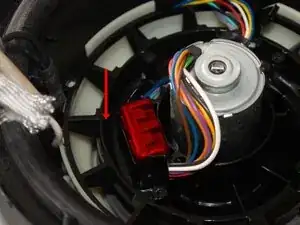
Take the connector out of it's slot
-
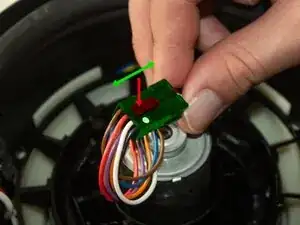
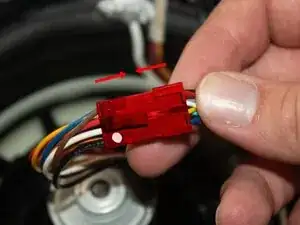
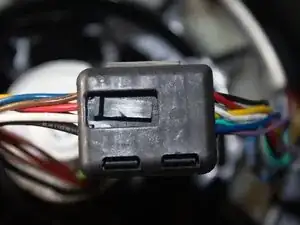
Remove it's shroud by unclipping the two clips
-
Take the connector and press the pin in and pull apart to disconnect the motor assembly.
-
-
-
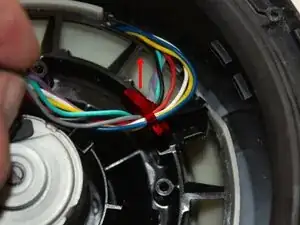
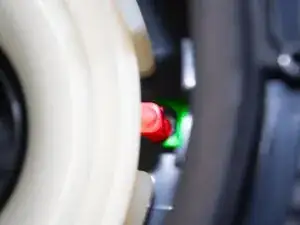
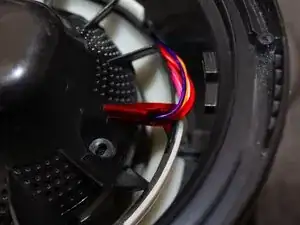
Pull up on the rubber gromet holding the loom in place
-
Then find the small clip holding the wires flat against the plastic bucket
-
Press the small clip holding them in down then to the right to dislodge this clip and free the wires.
-
-
-
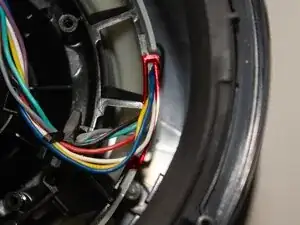
Make sure the wires are out the way of the clip as stated in the previous step
-
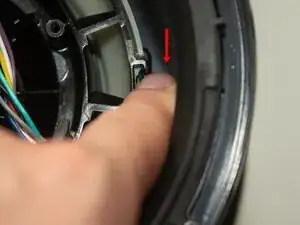
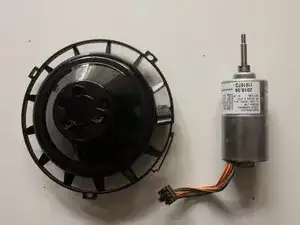
You can then remove the motor assembly freely
-
-
-
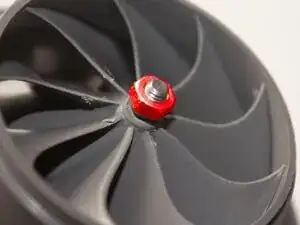
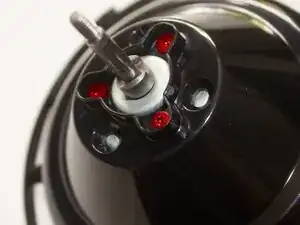
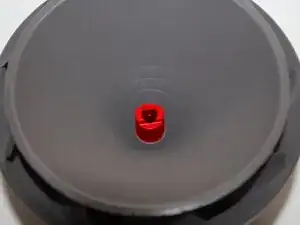
Use either plyers or a wrench to remove the nut from the impeller
-
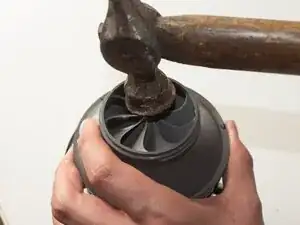
Use a hammer and tap the metal shaft while holding onto the impeller
-
Tap this down until the shaft is level with the impeller. You should see the base black plastic being pushed down.
-
-
-
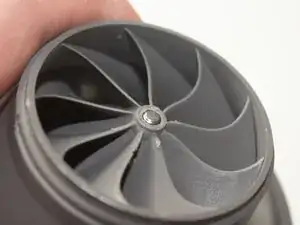
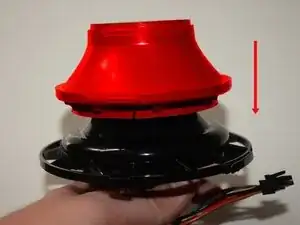
Pull the impeller from the motor shaft and place aside
-
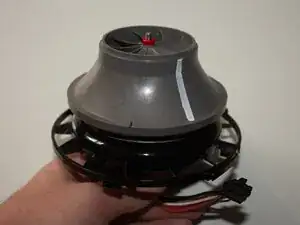
Unscrew the 3 screws holding the motor to the plastic housing
-
-
-
Screw the motor into the black plastic housing with the appropriate screws
-
To place the impeller back onto the shaft make sure to align the notches on the shaft to the ones on the impeller
-
Push the impeller down all the way
-
-
-
Re attach the nut to the top of the motor shaft
-
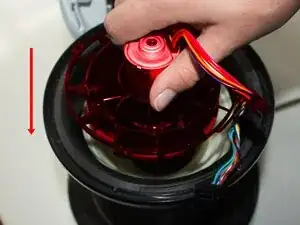
Place the motor assembly back into the motor bucket
-
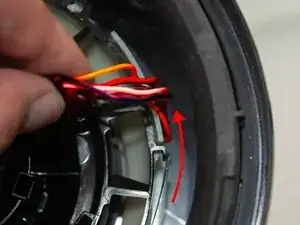
Re route the wiring loom into the clip
-
-
-
Refit the connector into it's place and make sure the wire loom is placed around the motor
-
When attaching the airflow smoother over the top of the motor, make sure the wires come out the side of one of the fins to avoid them being crushed as it's screwed in.
-
Repeat steps 1 - 4 in reverse order to complete
-


To reassemble your device, follow these instructions in reverse order.
