Introdução
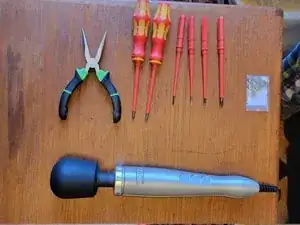
A visual guide for a manual i created recently
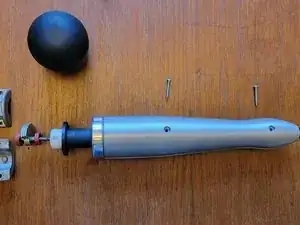
how to tear down and replace the bearings on a Doxy massager (original and die-cast editions) this may work on the new Doxy Die-Cast R which has internal batteries, but i haven't got one to tear down yet
-
-
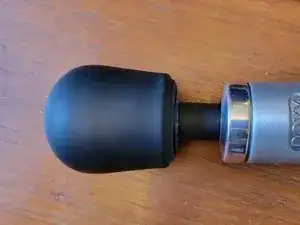
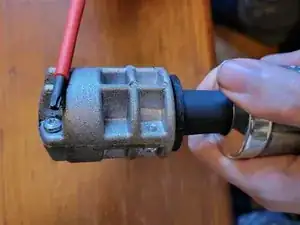
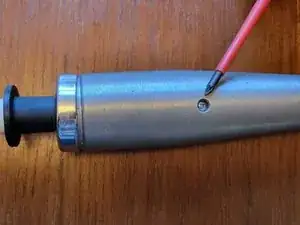
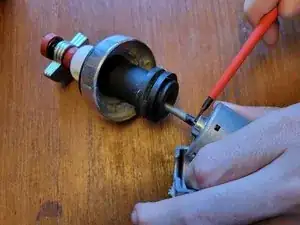
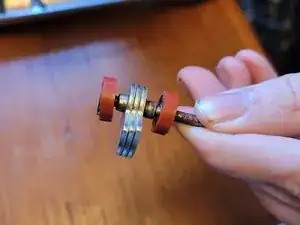
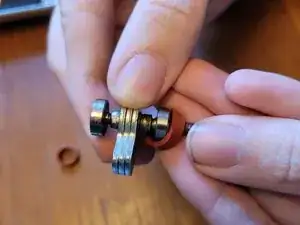
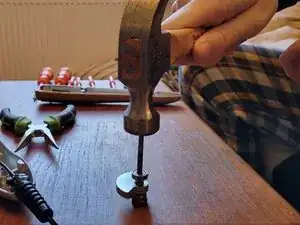
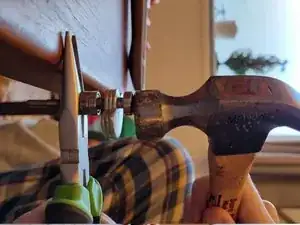
Use either prying force, impact, or torsion to break the glue under the metal collar
-
This may damage the collar visibly,
-
This will not stick back together, you will need some rubberised sealant or glue to put it back together
-
-
-
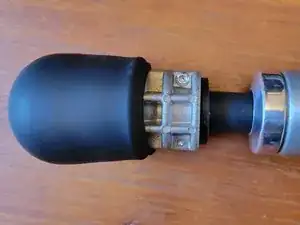
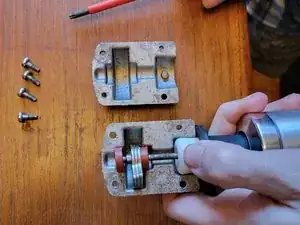
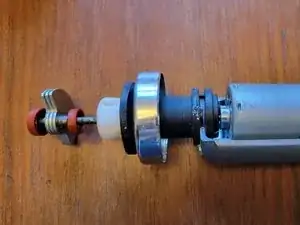
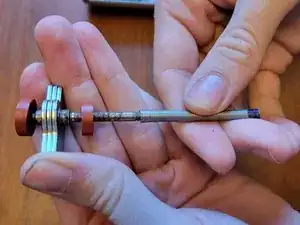
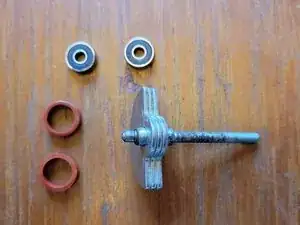
Press the new bearings into place
-
Be sure to only put force on the center bearing race as pressing from the outside race may damage the bearing
-
using one of the old bearings can help in distributing the load evenly
-
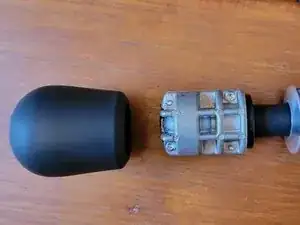
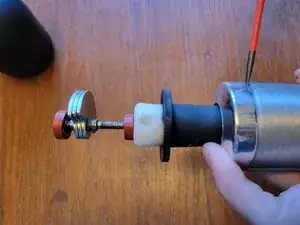
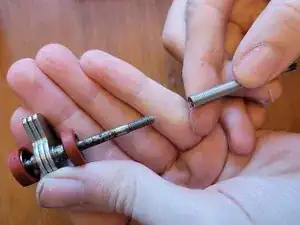
Replace the rubber dampers
-
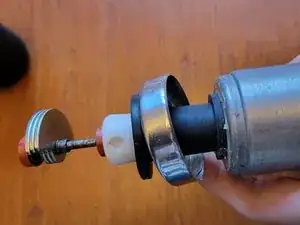


To reassemble your device, follow these instructions in reverse order.
You should now have a working Doxy with new Bearings!
some lubricant may be used to free up the bearings if the grease they come with is too thick
but be careful not to lubricate the rubber collars as they can slip and increase friction on the counterweight
5 comentários
SERIOUS WARNING! Please add an electrical danger warning to the start of this guide ASAP! Before opening you NEED to unplug (obvious) AND press the power button a few times to discharge the capacitors in the power brick! If it's been on anywhere in the last few days that thing can hold a big spark if you short out the very exposed contacts. Considering what I saw in a cabled version, if It's a Battery Powered Model, Don't Open until the battery is discharged enough to be completely unresponsive, and even then I'd be super careful with electrical safety measures and grounding.
For dealing with Metal collar, I had great success by using a wooden tongue depressor (wide popsicle stick, 1mm thick), firmly pushing around the lowest edge of it to slowly work it loose of the glue. No visible damage and definitely safer than prying with a screwdriver, the 1mm thickness of the pry tool was key to actually move the collar upwards enough to crack the glue spots.
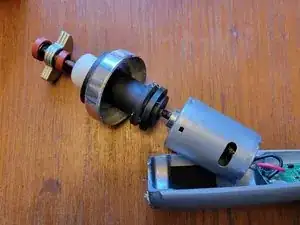
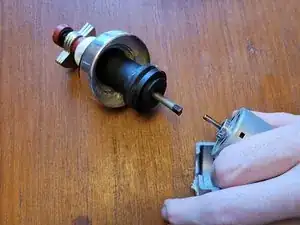
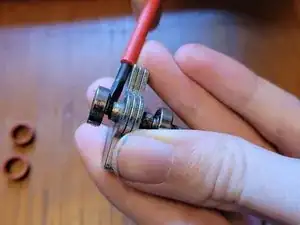
In step six, don't pry the spring! just grip around the narrowest part of the spring at about a CM above the motor and pull firmly, the motor is only attached with a friction collar inside the spring. Prying it could stretch the end of the spring making it hard to reassemble. The weighted spinny bit needs to be as close as possible to the original height above the motor to fit into the metal casing cleanly.
My device failed because the threading inside the rubber "neck" wedged in the collar wore down from all the sideways pressure (cough), and the metal part holding the rest of the head was no longer secure. Added a nice layer of Gorilla Glue there, let it set and it's held firm so far, which is great since I doubt that part's easily replaceable.
Be careful with the body screws, they look identical but one is longer and for the top spot. The motor wires can easily block the path of the screw if you're not careful. There was a lot of tension on that screw for me, and got stripped a bit when removing. It closed up pretty securely with just the bottom screw and the collar. (must resist urge to make jokes about this)