
Introdução
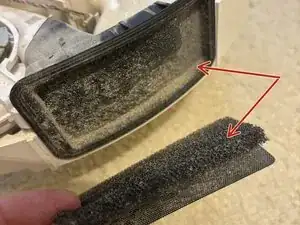
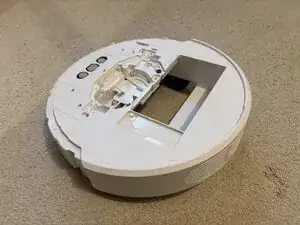
I get error messages that filer is full or wet so i need to clean it or replace. It was too often even with new replaced filter in dust bin. When it was new it was not the issue so i thought that there must be some non replaceable filters inside and sure there are some inside also. The disassemble is little more that expected to get to them but its not very hard
-
-
All tools you will need is ph1 and ph2 driver and flat spudger
-
Remove Brush and its cover
-
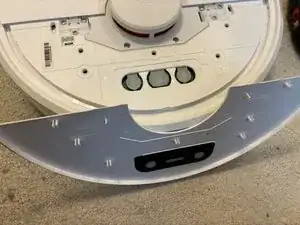
Remove dust container (opposite side)
-
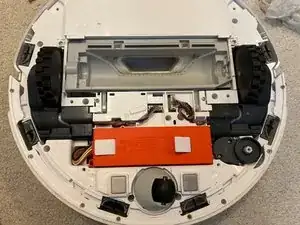
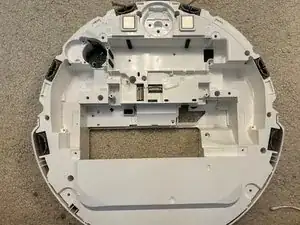
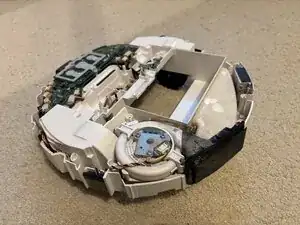
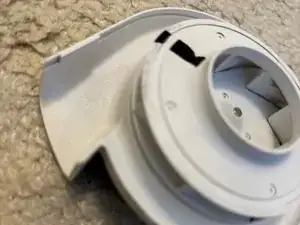
On second image is the internal filter that we trying to get to
-
-
-
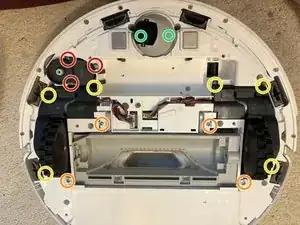
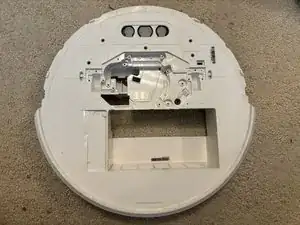
To remove bottom cover just remove all visible ph2 screws (one of them is covered with white warranty sticker)
-
All are the same size and length - you can put them aside. Inner screws are different ones
-
-
-
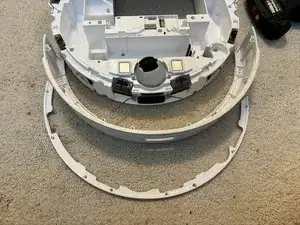
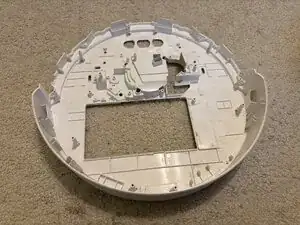
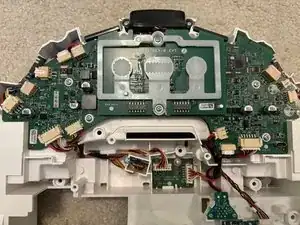
Top cover is clip on only. Check the image for locations. This is probably only risky part of disasembly
-
Left and Right edge ones have little larger holes - that helps when you try to put it back
-
-
-
I was not able to fully open bottom cover even after removing all screws until i removed LiDAR also. Its hard to believe but to open bottom you must remove it from top
-
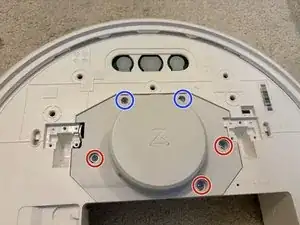
3 unique screws are hidden under white rubber
-
2 smaller screws are holding hinge and are same screws as rest LiDar uses - dont chage with screws from bottom - they are same diameter but shorter
-
4 Screws are inside cover
-
-
-
Side Brush (there is one screw below it need to be removed)
-
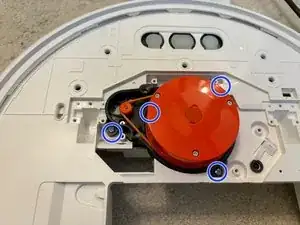
Main Brush with motor assembly
-
(Optional) Both wheels has 3 screws, you will need little longer screwdriver
-
(Optional) After remove wheel, you can rotate the hole to see screws
-
-
-
Filter can be cleaned
-
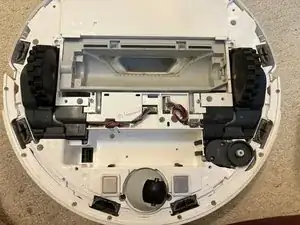
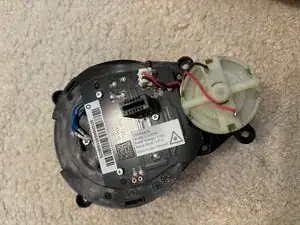
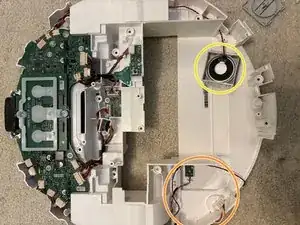
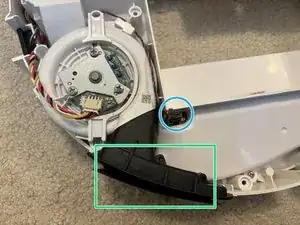
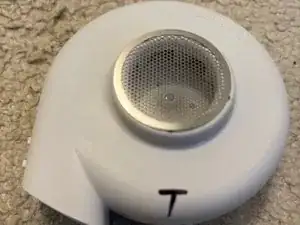
Sensor for presence of filter in dust bin
-
I was expecting much more dust in here, but probably will help a little in long therm
-
To reassemble your device, follow these instructions in reverse order.

Um comentário
Danke für diese Anleitung. Und ich dachte immer, dass der Fehler durch den Filter im Staubbehälter kam. Der Staubsauger meldete immer, dass der Filter nachh oder blockiert sei und hat die Saugleistung reduziert. Nun geht er wieder!!!
Johannes -
Actually, I run with only one of the two filters and the performance is awesome. The purpose of the filter behind the motor is still a mystery to me. The only thing I can think of is that it’s meant to slow down the exhaust airflow. Now I can feel a little breeze as the robot goes by.
Michal Hudek -