Introdução
Something broken on your family's old bread machine? This disassembly guide will help you take apart your West Bend Just for Dinner Bread Maker 41077 step-by-step. Feel free to stop the guide at any point if you have identified the troublesome part and can easily access it.
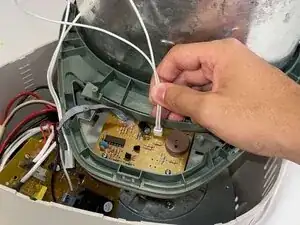
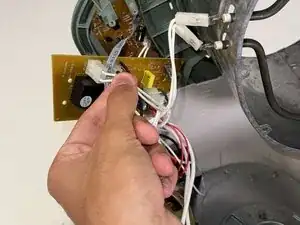
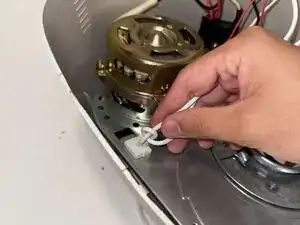
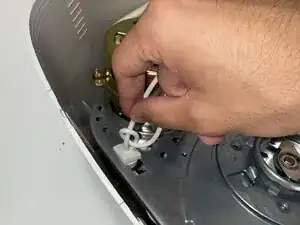
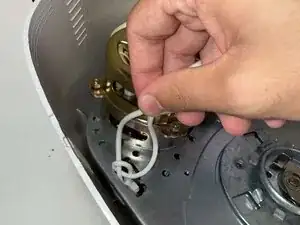
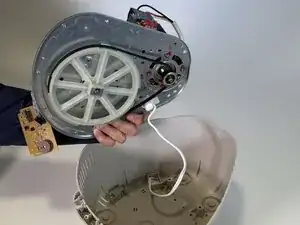
Issues often arise with the motor belt (usually worn-out teeth) and the kneading motor. The motor belt in this system connects the source motor to a larger gear attached to the kneading motor, likely to keep the wiring around the source motor away from any pieces in contact with food. A replacement motor belt can usually be found and ordered online, and a troublesome kneading motor will usually be due to loose wiring. You can fit the replacement belt around its tracks, just as the original one. You may notice that the kneading motor isn't spinning at a constant rate or is stuttering. You can check all the wires around the motor and give everything an extra push, and ensure all the screws and brackets are properly mounted.
Having a magnetic screwdriver helps. Ensure the machine is unplugged and has not been turned on for at least 30 minutes. The heating plate can remain hot to the touch after use.
There aren't any hazardous materials (lithium batteries, glass displays) that could cause serious bodily injury on this machine. The most important precaution is to ensure that the heating component (plate holding the dough bucket) is completely cool before starting the disassembly.
Ferramentas
-
-
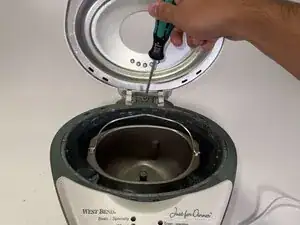
Open the lid of the bread maker.
-
Remove the 3.5mm screw from the hinge with a Phillips #1 screwdriver.
-
Remove the lid.
-
-
-
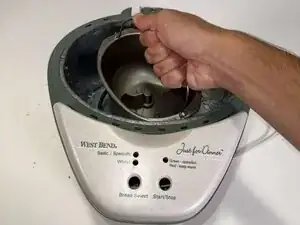
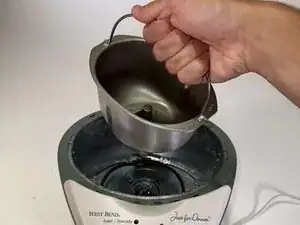
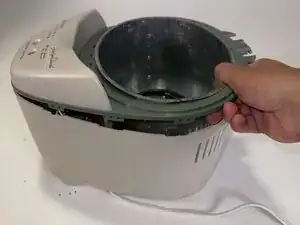
Grab the dough bucket by the handle and twist counterclockwise to unlock.
-
Remove the bucket.
-
-
-
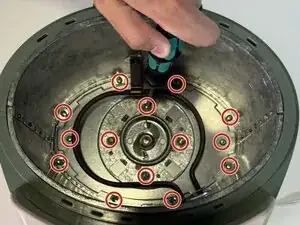
Remove the fourteen 3.9mm screws from the baseplate and frame with a Phillips #1 screwdriver.
-
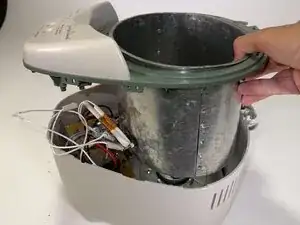
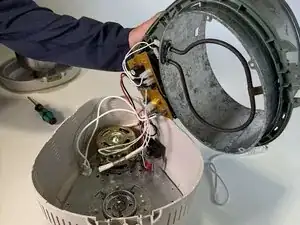
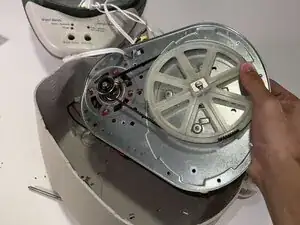
Remove the frame.
-
-
-
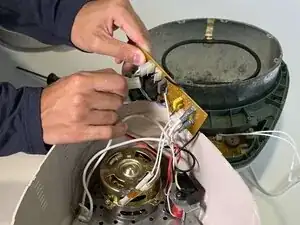
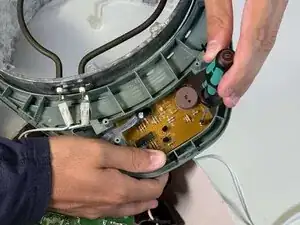
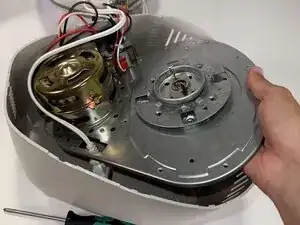
Pull the plastic top/metal frame out.
-
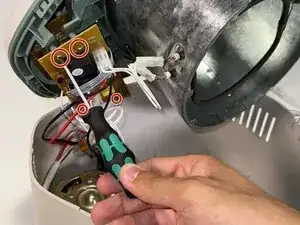
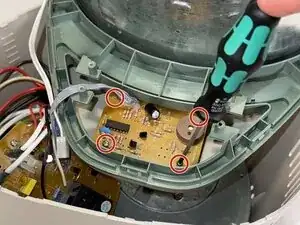
Remove the four 3.5mm screws from the orange PCB using a Phillips #00 screwdriver.
-

To reassemble your device, follow these instructions in reverse order.
