Introdução
-
-
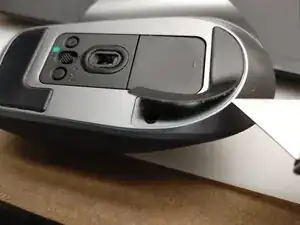
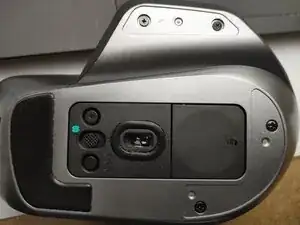
There are four screws hidden under the back two skates. You do not need to remove the front one. I used a razor blade to carefully lift the pads without touching the adhesive too much. If they get dirty, you may need to replace them.
-
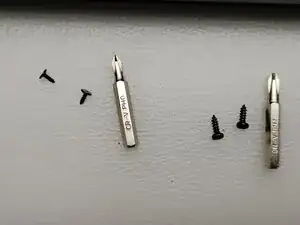
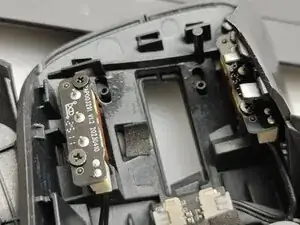
There are two #1 Phillips screws under the main pad and two #0 Phillips screws under the thumb wing.
-
-
-
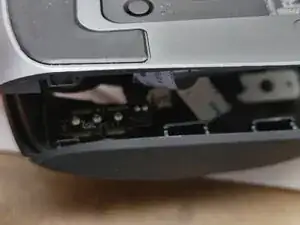
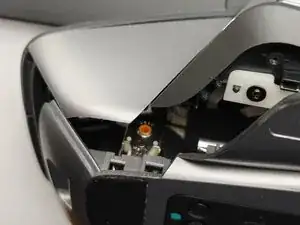
The back is now loose. Carefully start to pry it open, using a thin spudger or plastic card to the clips on the front.
-
There is one clip on near the USB-C port.
-
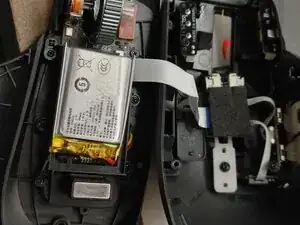
There are two clips just in front of the thumb. These are difficult to remove and require pulling the vertical silver piece out while slipping the bottom down.
-

To reassemble your device, follow these instructions in reverse order. Be sure to keep your mouse skates clean or you may have to replace them.