Introdução
How to take apart the Logitech G515 Keyboard
Ferramentas
-
-
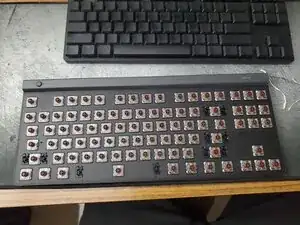
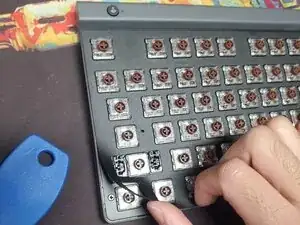
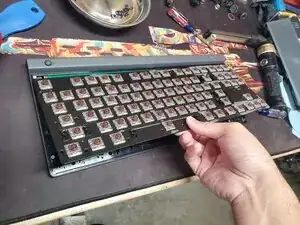
Remove the keycaps by evenly lifting up each key. Using a spare credit card to lift the south end of the key and my finger from the north end of the key helps remove the keys quickly.
-
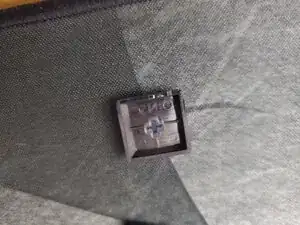
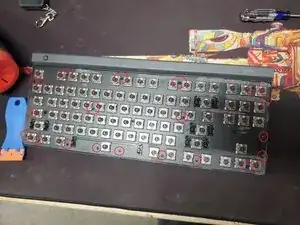
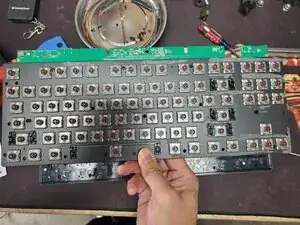
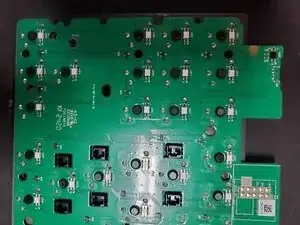
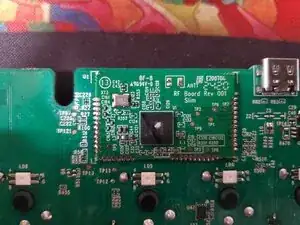
The switches are Kailh switches that are soldered to the board.
-
-
-
Remove the two rubber feet at the top on the backside. Using a heatgun/hairdryer helps soften the adhesive when removing the rubber feet.
-
Removing the bottom 3 rubber feet is not necessary.
-
-
-
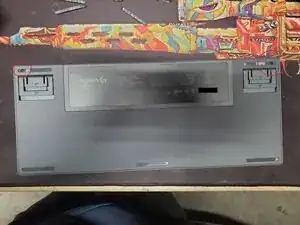
Remove the "battery" cover sticker. Note that mine is a wired G515. Mine came off in 2 pieces (1 is a sticker and another is a thick plastic film). Using a hairdryer/heat gun helps.
-
Remove the 2 screws from the "battery" cover/plate.
-
Then remove the "battery" cover plate.
-
-
-
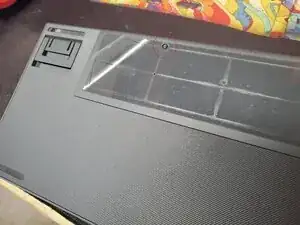
Remove the sticker/backing from the front of the keyboard. I started from a corner. You will need to use a hairdryer/heat gun to soften the adhesive. Don't concentrate the heat in one area for too long as it melts fairly quickly.
-
Be careful when removing the sticker/backing as it creases easily and will be noticeable when reinstalling it later. Mine has vertical lines as a result of me pulling the sticker/backing straight up as a means to remove it from the keyboard.
-
-
-
Remove the Phillip head screws. Keep in mind that these screws are not like the ones from the front of the keyboard. The top two on the backside are the silver ones and the lower/middle one is a shorter black pan head screw.
-
-
-
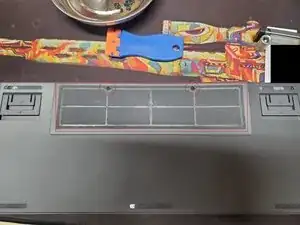
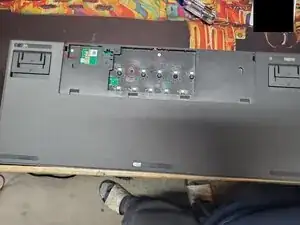
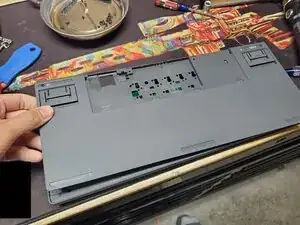
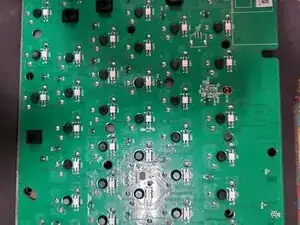
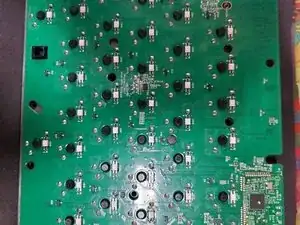
Remove the back plate of the keyboard.
-
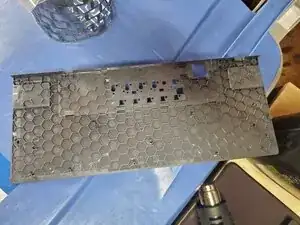
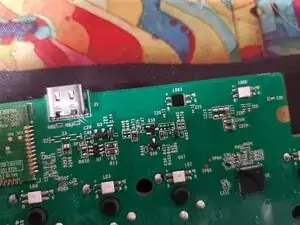
This is what the front of the back plate looks like when removed.
-


To reassemble your device, follow these instructions in reverse order.