Introdução
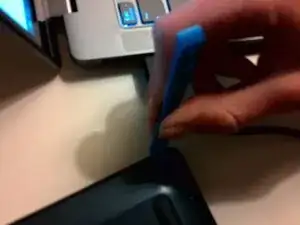
This disassembly involves a T-4 screwdriver and a pry tool.
-
-
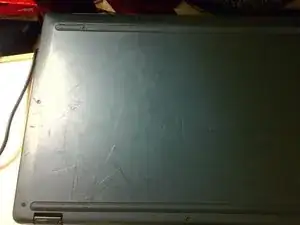
After removing the screws, use a pry tool to remove the back cover. Make sure to be careful on the left side, ats there are a lot of ribbon cables you can damage. There are no connections on the back plate, so you do not need to worry about ruining a ribbon cable.
-
-
-
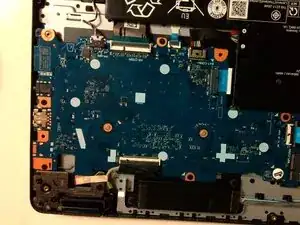
Remove the battery cable first, by using your fingers and some force. Make sure that no lights are blinking before removing the other cables. The battery connector goes right to the battery. After it is disconnected, remove every other cable.
-
-
-
After removing all the cables, grab a Philips head screwdriver and remove the screws surrounding the motherboard. There will be a Lenovo sticker over one of them, and removing it will void your warranty. This is still necessary for removing the motherboard. Make sure to remove the screw holding the Wi-Fi card in place.
-
-
-
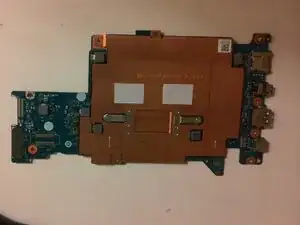
Remove the 2 screws holding down the heat sync with a ph000 bit. Now you are finished! Check out my Youtube guide to learn more!
-

To reassemble your device, follow these instructions in reverse order. also, check out this video:
