Introdução
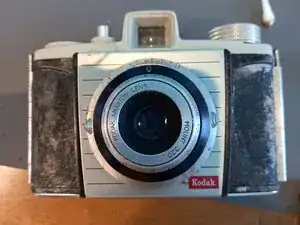
Removal of lens in case of stiff rings, dust in lenses or fungus.
-
-
Make sure you make a multitude of photo's and markings of where the lens was in what position before removal.
-
The leatherette is removed on this photo. There are no screws hidden underneath and removal is only a good idea if it's already loose or dirty.
-
The front of the camera is split it 2 parts, the lens at the front and then the shutter behind it.
-
-
-
The shutter is behind the lens and not visible from the outside.
-
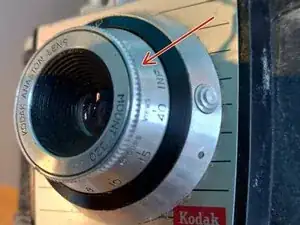
First the lens needs to be removed. This is done by screwing out the 2 grub screws at the side of the lens with a 0.9 flathead. They are located in the focus ring of the lens.
-
Important note: These screws are super tiny and you don't want to drop them. You can just screw them out a little bit to remove the tension and grip they have. You don't need to fully remove them at all to remove the first part of the lens.
-
Photo shows the first part that will be removed.
-
-
-
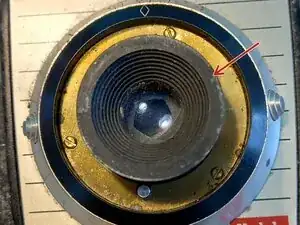
I made a small scratch on the brass inside ring and on the underside of the focus ring to make sure i placed it back in the right place. I would advice you to take it off while it's at infinite focus. That was the easiest to find back if you also unscrew the middle (actual) focus ring for regreasing.
-
-
-
The last picture also shows the 3 long brass screws that basically hold all the other pieces in place. Make sure you remove part by part and not everything that is loose at once.
-
-
-
When i did my dissassembly i messed up and put things in the wrong order. Please make sure you have it in the right order.
-
Which is (from first removed to last): Outside focus ring, brass cover, black ring with diamond, lensgroup, aperture ring, ring (should be greasy), kodak name plate, paper cover below.
-
-
-
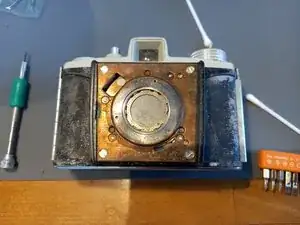
You should end up with this.
-
From here you could unscrew the 4 corner screws to reach the shutter mechanism or focus on the lensgroup to clean dust or possible fungus.
-
The reassembly is much harder then the disassembly, so be warned! And take good photo's!
-
Also no need to worry about how the aperture ring was, there is only 1 way it can fit back via a slot.
-
To reassemble your device, follow these instructions in reverse order. Make sure you take photo's of the whole process. "I'll remember how it was" will not cut it.
