Introdução
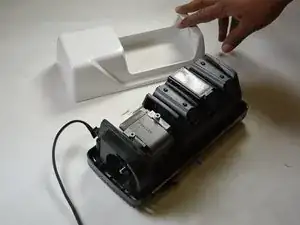
This is the most important step. You will not be able to proceed to any other guides until you successfully open the case. Be sure to layout your magnetic project mat to lay your screws as you remove them and be extra cautious of the sharp edges after you remove the case.
Ferramentas
-
-
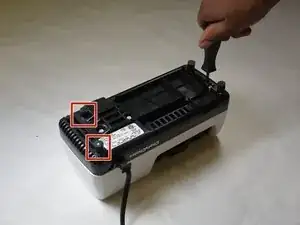
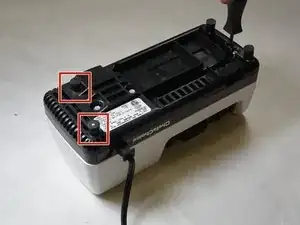
Remove the two rubber feet on the motor side of the device.
-
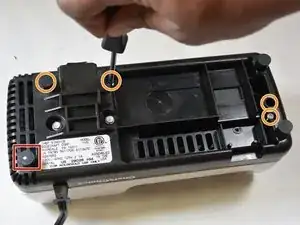
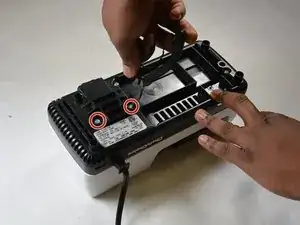
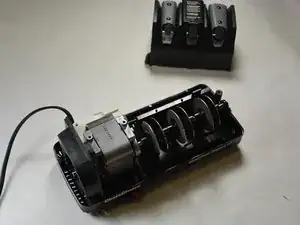
Remove the five Phillips screws from the bottom of the case.
-
Conclusão
To reassemble your device, follow these instructions in reverse order.
2 comentários
Thank you for this information. Disassembly instructions for these units are not easy to find.
Thank you. I have the M120 which I believe is similar. Only the three deeply recessed screws need to be removed to take the case apart. The others hold internal components in place.