Introdução
-
-
(Optional) Tip: Apply alcohol to seam to soften the glue
-
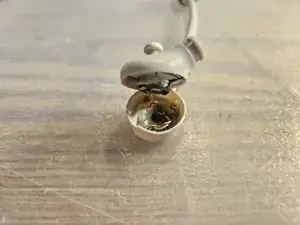
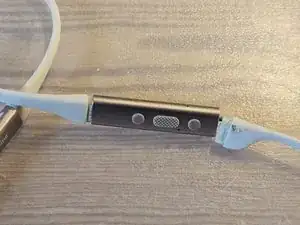
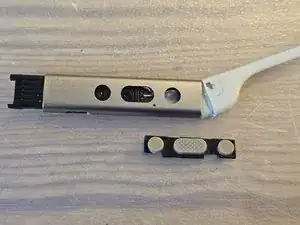
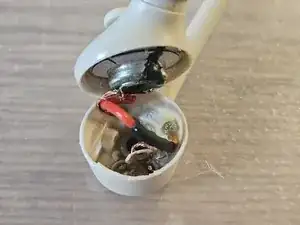
Pry open the metal shell carefully with a flat object, e.g. cutter knife
-
-
-
(Actually turned out to be unnecessary, nothing interesting beneath)
-
Remove the dark foam pad from the end of the cable. Make sure to grab the sticker pad (transparent) and not just the foam, otherwise it will crumble
-
Store the pad on a flat plastic foil to keep the glue intact
-
-
-
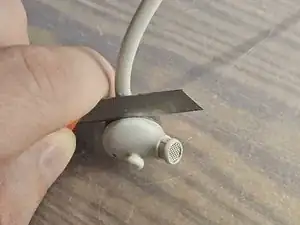
To pry open the earpiece/ speaker shell, carfeully insert a sharp object in different places around the seam
-
It will eventually pop open. Go gradually and gently, not too much at once
-
-
-
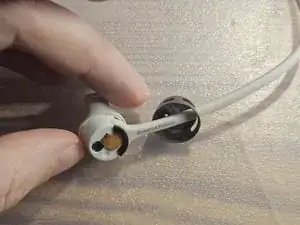
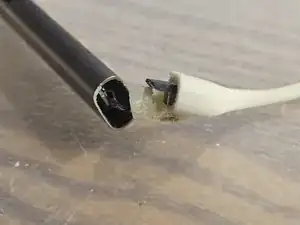
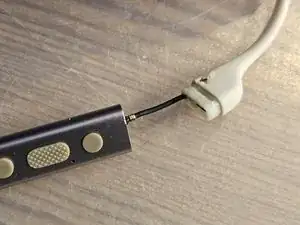
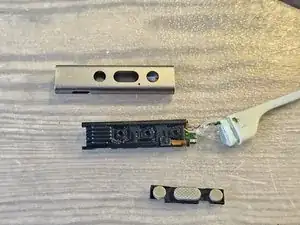
The cables are clipped into the metal shell and aditionally secured with glue. They can be removed with gentle force without damaging the metal (but I did slightly damage the rubber cable)
-
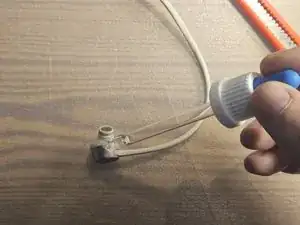
(Optional) apply alcohol to the seam to soften the glue
-
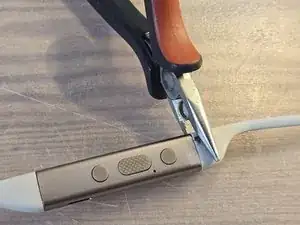
With some pliers gripping the cable and holding the metal shell with the fingers, gently rock sideways until the cable comes loose
-
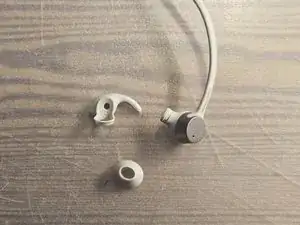
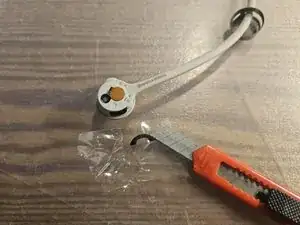
The cable to the earpiece is actually multiple parts:
-
the outer rubber cable
-
an inner black cable with the wires, which can slide back and forth inside the outer rubber cable
-
a Bluetooth antenna at the base of the right earpiece cable
-
-
-
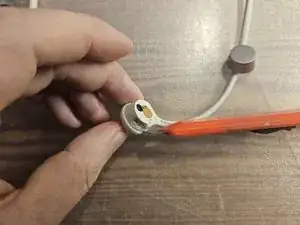
Holding the metal shell with your fingers and the cable with some pliers, gently rock up and down until the clip and glue comes loose
-
-
-
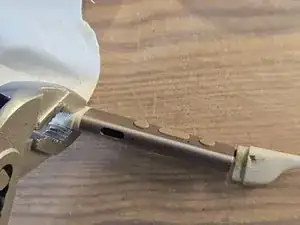
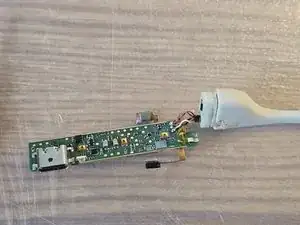
The black earpiece cable can be pulled back inside the rubber jacket. This allows the control unit to be pulled out towards the neckband by a few centimeters
-
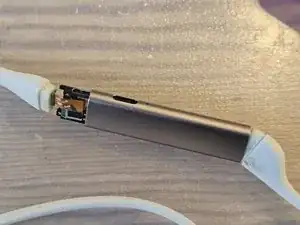
Once pulled far enough out, detach the FPC connecting the neckband to the right control unit
-
-
-
Pull the control PCB towards the neckband end several centimeters
-
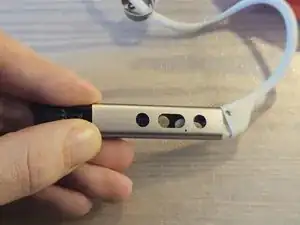
Remove the push buttons towards the earpiece side
-
Slide the PCB back into place
-
-
-
Now the PCB can be pulled out towards the earpiece end!
-
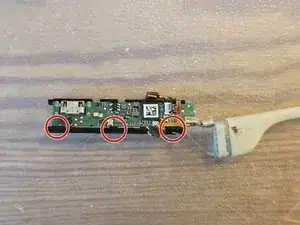
There are two microphones on a flex FPC. Gently pry these up from the plastic shell
-
The black plastic shell can then be removed by some clips on the back
-
To reassemble your device, follow these instructions in reverse order.
3 comentários
Hey, thank you very much for your effort! I can't find the battery on your Pictures. I need to Change it. Do you have any advise for me?
Georg -
Hi Georg,
you are right, the battery must be in the other side of the headset. I did not open the other side, but my guess would be:
* at the metal shell closer to the left earpiece, grip the neckband with some pliers and gently rocking it to pull it out of the metal shell
* I assume that just like on the other side in my pictures, there will be a flex PCB connected at the now open end
* unplug the flex PCB, you should now have the metal shell with the battery inside + the left earpiece as one part, and the neckband + control unit + right earpiece as the other part
* now you will probably have to grip the part where the left earpiece goes into the metal shell with some pliers and again gently wobble/rock it until it comes loose
* hopefully, you will now be able to pull out the battery (and probably some PCB where the left earpiece cables are soldered to) in the direction of the left earpiece
* as you can see from my pictures, to remove the button maybe you have to go back and forth
Good luck, Lenny
Lenny -
Hi I am having same issue my right ear has stopped working but when I tap it comes back so must be lose connection can't believe this as I have read a few other people are having same issue sounds like bad soldering?