Introdução
One of the fans was making a chittering sound and the laptop was shutting down because of overheating
Ferramentas
Peças
-
-
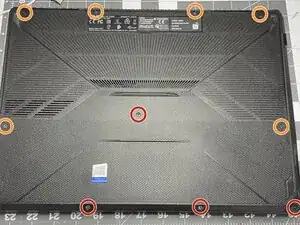
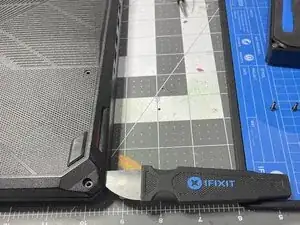
Insert an opener into the lower right corner
-
Gently slide the opener around the perimeter of the case opening to release the plastic tabs holding the bottom cover to the case
-
-
-
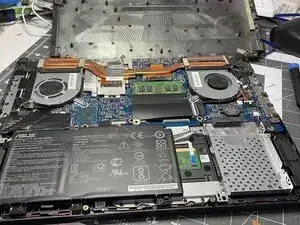
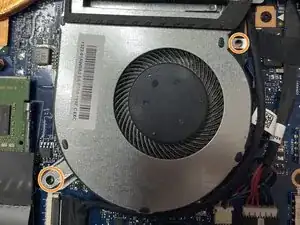
Power on the laptop to get the fans spinning, determine which one is making noise or otherwise not functioning
-
In my case, it was the CPU fan, which corresponded to the alarms I was getting (CPU overheating)
-
CPU fan is on the "right" side if you have the case open with the bottom of the laptop closest to you
-
Thus, the GPU is on the "left" side
-
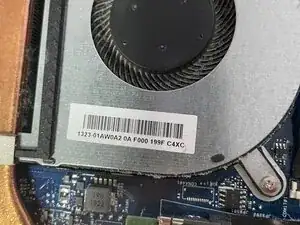
The fans have slight differences in their footprint
-
-
-
There's a ZIF connecter to disconnect to make it easier to remove the fan
-
Also disconnect the fan's small molex connector
-
-
-
Gently pull up on adhesive to detach pad from fan plastic arm
-
Gently lift up heat sink to slide fan arm underneath it
-
Remove fan
-
-
-
Reverse the instructions to re-install
-
If you have it, you can apply thread lock or Loc-Tite to the screws prior to re-installing.
-


To reassemble your device, follow these instructions in reverse order.