Introdução

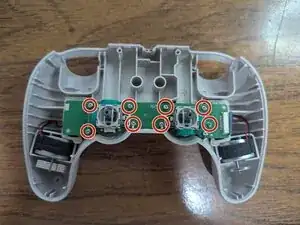
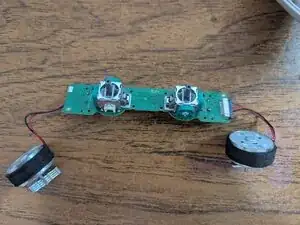
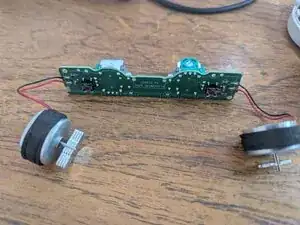
Follow this guide to remove the board that contains both joystick modules. Removing the board let's you solder new modules or clean them.

  1. 4uNHBkESiQHqRYVy
    4uNHBkESiQHqRYVy
    4MZBpkGaFVLdDbQc
    • Remove both pads by pushing them up.

  2. ii34HAWcHfqmNu2r
    • Remove both Torx T6 screws from the back.

  3. Fi4oAffroQ1Za6r4
    Fi4oAffroQ1Za6r4
    i1iQa4W1mMxrZRMQ
    ZdtfUKCI24DKFOES
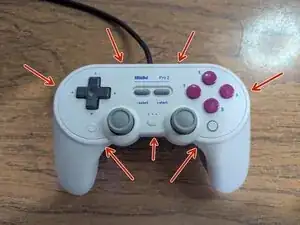
    • With an opening pick, detach the seven clips holding the faceplate. Start from the sides, towards the bottom.

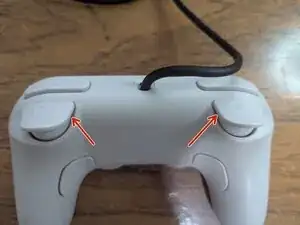
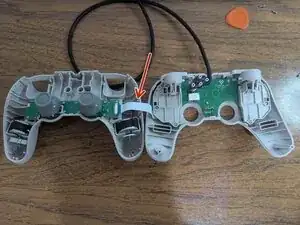
    • Detach the remaining clips by carefully raising the faceplate away from the clips.

    • A flex cable joins both plates.

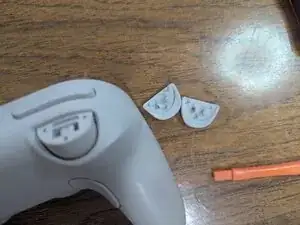
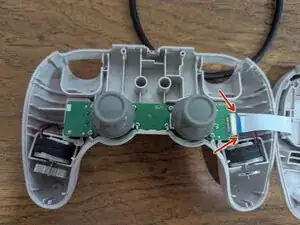
    • Move the faceplate to the side.

  4. XIhPr5CepcT1GNnZ
    • Push the sides of the connector away from it to free the cable.

  5. JPijWpVPTGaeobVR
    • Remove the 8 screws using a Phillips #0 screwdriver.

    • You can remove the joystick caps by lifting them.

  6. OuqvgnoJxUSyL245
    OuqvgnoJxUSyL245
    ikNyJmvXpravcQNd
    • Slowly lift the board from the controller. Make sure to lift both rumble motors as well.

Conclusão

To reassemble your device, follow these instructions in reverse order.

Adrián

Membro desde: 22/01/23

173 Reputação

0 comentários