Introdução

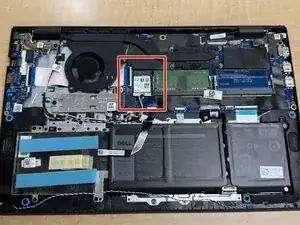
This guide will show you how to replace the Wi-Fi Card on a Dell Vostro 3510 computer.

The Wi-Fi Card is the part of your computer that allows it to connect to wireless networks.

You may need to replace the Wi-Fi card if it is damaged or has failed, if you want to upgrade for faster speed or better range, or if you have a compatibility issue.

Note: You don’t need to remove the battery to complete this repair, but be sure to disconnect the battery connector from the motherboard.

Before you begin, power off the laptop and disconnect it from the charging adapter and any peripherals.

  1. T1tfX4CTU2VHDqvw
    T1tfX4CTU2VHDqvw
    CAACGfimIlSVjWTs
    • Ensure the laptop is powered off.

    • Flip the laptop over.

  2. NmrSXlHVGeNZ5qIE
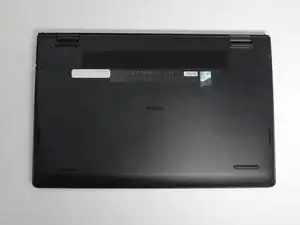
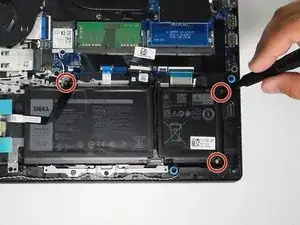
    • Use a Phillips #0 screwdriver to remove the screws highlighted with red circles.

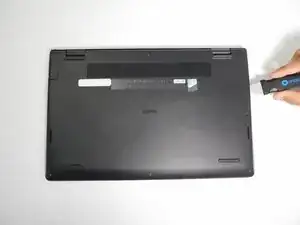
    • Loosen the two 1 mm captive screws (orange circles in the image) on the back corners of the bottom cover.

    • Keep track of each screw and make sure it goes back exactly where it came from to avoid damaging your laptop.

  3. ER2L66uAQgdHusNl
    ER2L66uAQgdHusNl
    HabbJvYAKiDGVRBs
    • Open up the back cover of the laptop.

    • It is much easier to open up the laptop with any type of spudger or with Jimmy.

  4. xxDv6I1NdEfXspKV
    xxDv6I1NdEfXspKV
    HYBQHdRYqRG6lVuw
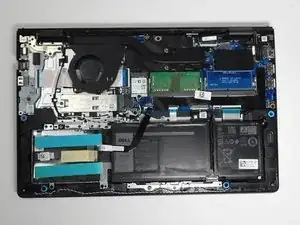
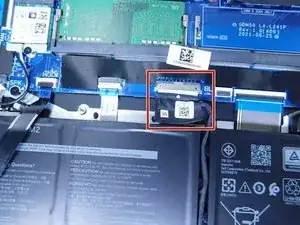
    • Remove the battery cable from the motherboard by lightly pulling on the black tape attached to the ribbon cable.

  5. HDccP2spbWaQEqcu
    • Use a Phillips #0 screwdriver to remove the three battery screws.

    • Carefully move the additional sata storage ribbon cable to the side.

  6. 2bgYPvaRRbIhEoqC
    • Gently remove the battery from the laptop.

    • Be careful with the other ribbon cables.

  7. ZTrl6GPvDvS1NuTm
    • The Wi-Fi Card is located to the left of the RAM and to the right of the CPU Fan.

  8. MQNrKlAL4pAs5Jqw
    MQNrKlAL4pAs5Jqw
    IKTjkOtTXj3jEOgV
    nbllj1OdVJWpTjVD
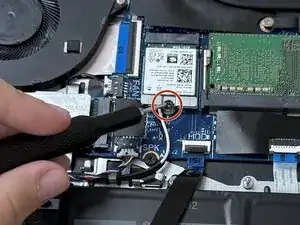
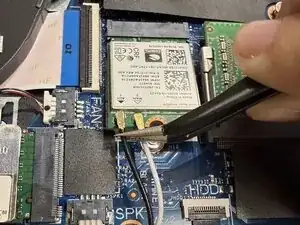
    • Use a Phillips #000 screwdriver to remove the single 3 mm screw securing the Wi-Fi card to the board.

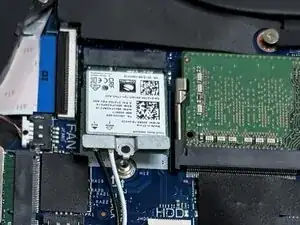
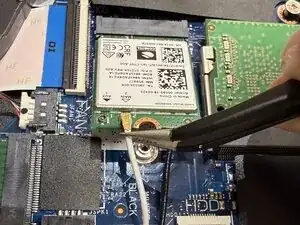
    • Remove the silver bracket.

  9. bCjQjfTKjttiCIjV
    bCjQjfTKjttiCIjV
    M3ETNiEU6MR3rjWl
    MFxXuTXFB1W1JLwq
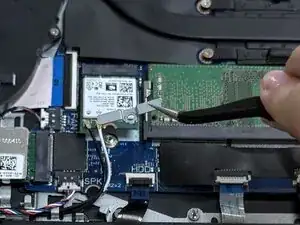
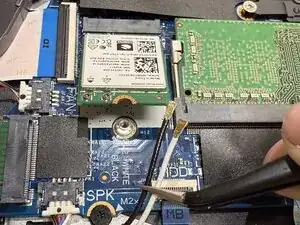
    • Slide a thin, ESD-safe pry tool or angled tweezers under the metal neck of the connector (as close to the head as possible) and lift straight up from the board.

    • When working with these connectors, it's key to always lift the head straight up. If pried on at an odd angle, you risk breaking the socket off of the board underneath.

    • Reconnecting these can be tricky. Use tweezers to hold the connector in place over its socket and gently press down with your finger or a spudger—the connector should "snap" into place. If you're having trouble, reposition the head and try again.

    • Connect the cables to the correct terminals on the Wi-Fi card, using the black and white symbols as a guide.

  10. LQS5oW1rAyJAHeaV
    • Gently slide the Wi-Fi card out of its socket.

Conclusão

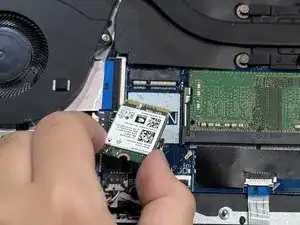
To reassemble your device, follow these instructions in reverse order. Take your e-waste to an R2 or e-Stewards certified recycler.

Jordan Douglass

Membro desde: 23/09/25

112 Reputação

0 comentários